
MICROS Compact Workstation 3 (310) Hard Drive Replacement

Joel Eagles and one other contributor
Last updated on May 16, 2025
Views: 330
View statistics:
- Past 24 Hours:
- 2
- Past 7 Days:
- 9
- Past 30 Days:
- 68
- All Time:
- 330
Comments: 0
No one has left comments on this guide. Will you be first?
Go to guide commentsCompleted: 1 2
1 person has marked this guide "completed." Will you be next?
2 people have marked this guide "completed." Including you — great job!
Favorites: 1 2
1 person has favorited (and subscribed to) this guide. Will you be next?
2 people have favorited (and subscribed to) this guide — including you!
Community-Contributed Guide
An awesome member of our community made this guide. It was not created by iFixit staff.
Introduction
Go to step 1 ↓Touch Screen POS machine from ORACLE / MICROS.
By default, these 310 models use soldered eMMC storage (ours were only 50gb). this is the process i used to add an ssd
What you need
Parts
Tools


-
-
-
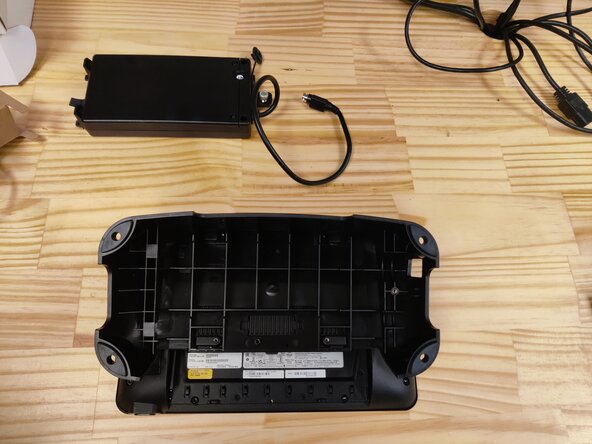
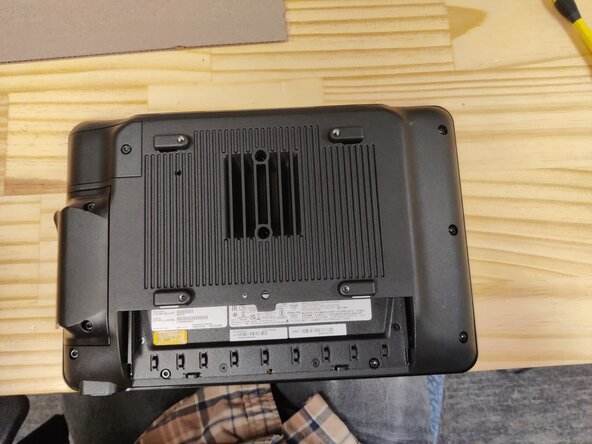
flip the device over and remove the power adapter hidden in the stand by unscrewing the thumbscrew, then remove the base by unscrewing the single hex screw
 Ask FixBot
-
-
-
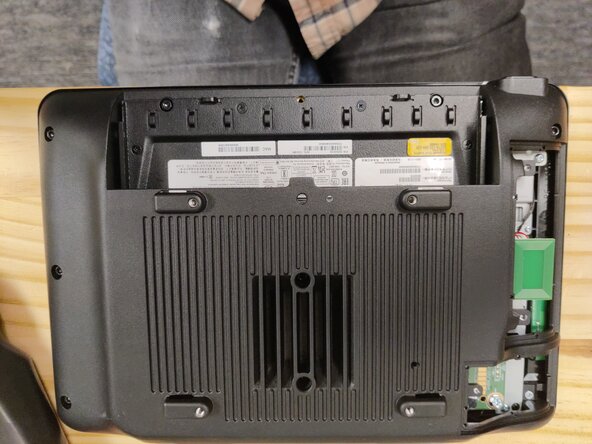
remove the covers for on the left side gently and disconnect the cables from the motherboard
-
unscrew the back cover. there are 8 captured hex head screws, and two loose Phillips screws. the Philips are under where the coveres were that you removed
-
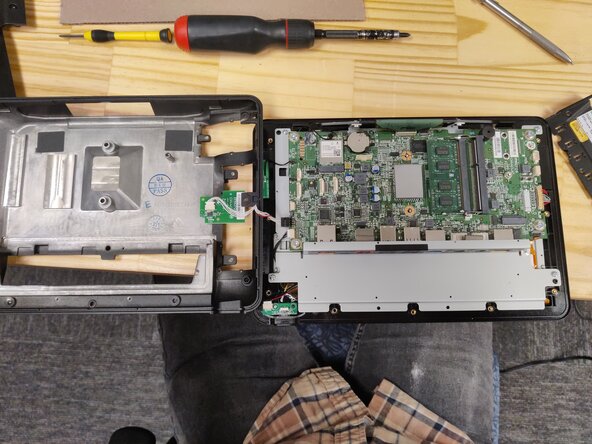
flip the back cover over to the left and disconnect the cable from the motherboard
-
-
-
-
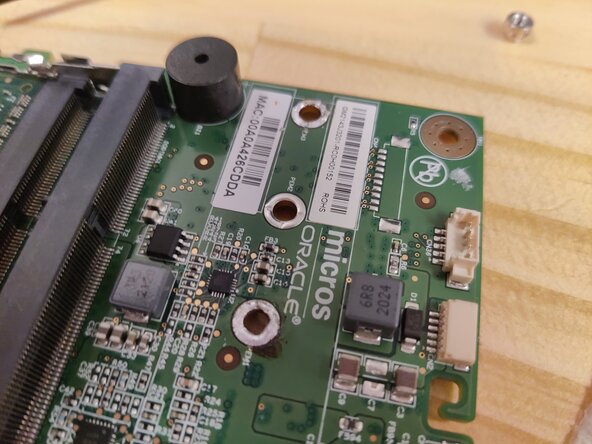
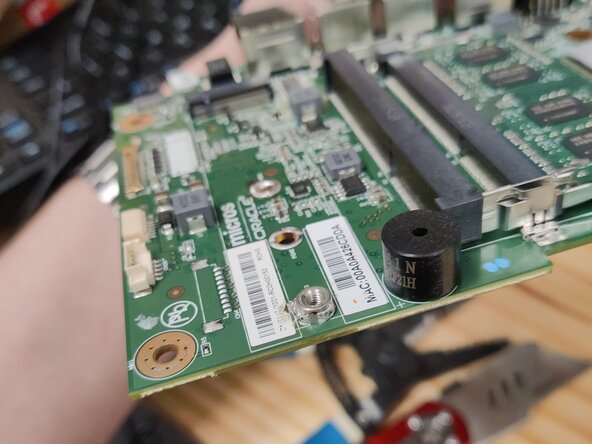
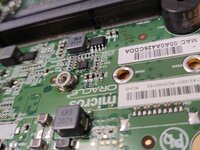
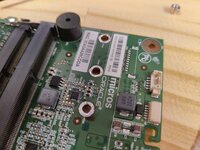
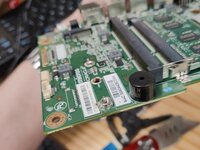
At this point you can insert your sata m.2 drive into the connector and screw it down, if your drive is a 2230. we only had 2280's in stock, to i had to desolder the screw terminal and move it to the 2280 position. note that we found not every ssd worked for this machine. we had good luck with Samsung 860 Pros
-
-





To reassemble your device, follow these instructions in reverse order.
Cancel: I did not complete this guide.
One other person completed this guide.
