
M3D Micro Nozzle Replacement

Yuliya Marusyk and one other contributor
Last updated on Dec 20, 2017
Views: 3.5K
View statistics:
- Past 24 Hours:
- 2
- Past 7 Days:
- 18
- Past 30 Days:
- 91
- All Time:
- 3,525
Comments: 1
1 guide comment.
Go to guide commentsCompleted: 3 4
3 people have marked this guide "completed." Will you be next?
4 people have marked this guide "completed." Including you — great job!
Favorites: 0 1
No one has favorited (and subscribed to) this guide. Will you be the first?
1 person has favorited (and subscribed to) this guide — and that's you!
Introduction
Go to step 1 ↓The nozzle is where the M3D's filament is extruded from, so it's a crucial component. If something is wrong with your nozzle, it's likely that your printer won't function properly. Luckily, the M3D Store sells a replacement nozzle that you can easily substitute for the faulty nozzle on your machine. The nozzle is easily accessible and as such, easy and quick to replace.
What you need
Tools


-
-
-
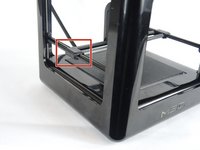
To release the x-rods, pull the x-rods away from the plastic sliders on the y-rods, and flip the slider upwards to release the tracks.
 Ask FixBot
-
-
-
Slide the tracks off the second slider and remove the printer head and x-tracks from the center of the printer. To remove the front cover of the print head, firmly grip the cover and gently pull it off.
-
-
-
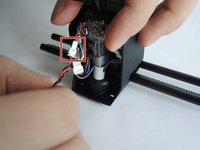
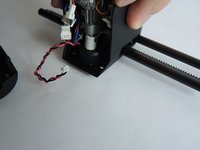
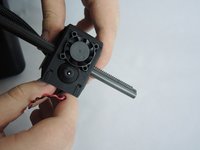
Disconnect the red and black wires at the white connector. They should easily separate.
-
-
-
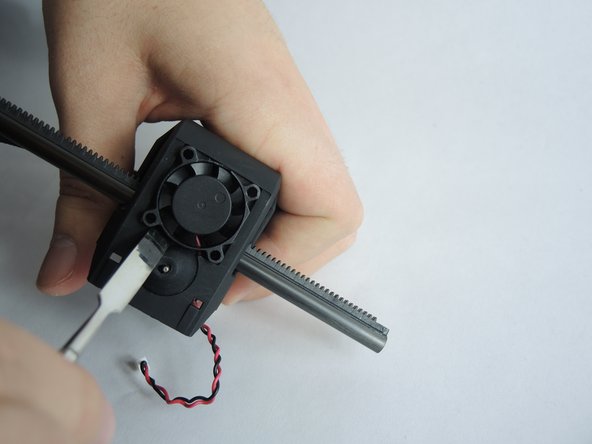
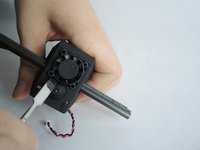
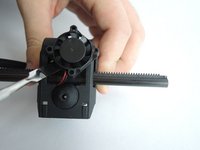
The fan is held loosely in place at the base of the printer head. Use a metal spudger to gently pry it out of the printer head.
-
-
-
-
-
-
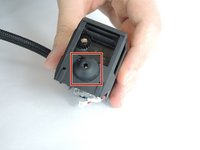
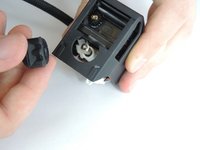
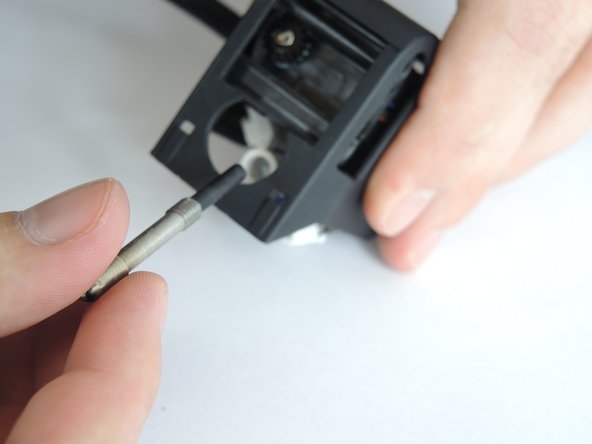
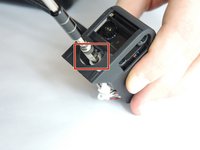
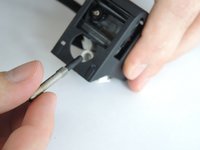
To remove the nozzle insulation, grip the insulation and pull it up off of the nozzle.
-
-









To reassemble your device, follow these instructions in reverse order.
Cancel: I did not complete this guide.
3 other people completed this guide.

Team

USF Tampa, Team S3-G2, Nance Fall 2017 Member of USF Tampa, Team S3-G2, Nance Fall 2017
USFT-NANCE-F17S3G2
4 Members
72 Guides authored
1 Guide Comment
Do you know where I can source replacement nozzles for this? M3D doesn't have a store page anymore and none of the "standard" nozzles that I've found look like the longer piece that the m3d uses. The one I'm replacing is completely gummed up and stuck on the heating element, so I'm looking to replace both but can't find a source for parts specifically for this model
