
M3D Micro Motor Replacement

Miguel Pina and 3 other contributors
Last updated on Dec 13, 2017
Views: 2.3K
View statistics:
- Past 24 Hours:
- 3
- Past 7 Days:
- 17
- Past 30 Days:
- 92
- All Time:
- 2,291
Comments: 4
3 comments on steps, 1 guide comment.
Go to guide commentsCompleted: 1 2
1 person has marked this guide "completed." Will you be next?
2 people have marked this guide "completed." Including you — great job!
Favorites: 0 1
No one has favorited (and subscribed to) this guide. Will you be the first?
1 person has favorited (and subscribed to) this guide — and that's you!
Introduction
Go to step 1 ↓When printing, your extruder may not work properly, the reason of this may be related to one of the two motors. If you determined that one of the motors could be the ones causing trouble, you will need to replace it. Through this guide we intend to show the step by step process that one must take to safely remove and replace the motor of a M3D Micro.
What you need
Tools

-
-
-
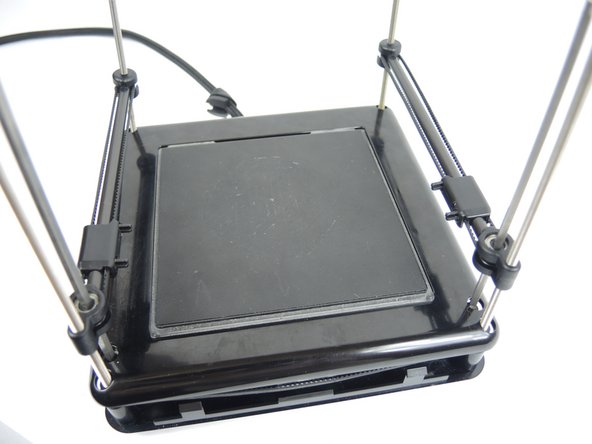
Removing the frame is necessary to access the z axis belt, motors and ports. Make sure the unit is unplugged and set on a hard level surface.
 Ask FixBot
-
-
-
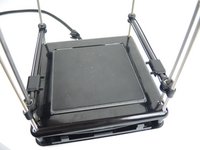
Pull the x-rods away from the plastic sliders on the y-rods, and flip the slider upwards to release the tracks. Lift the extruder assembly out of the way.
-
-
-
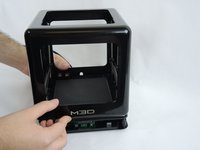
No tools are required to remove the frame. Press down on the printing bed with your thumbs while lifting the frame with your fingers. The frame easily slides up.
-
-
-
-
-
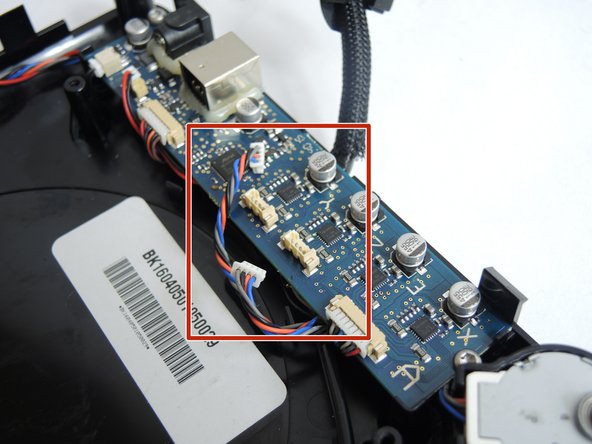
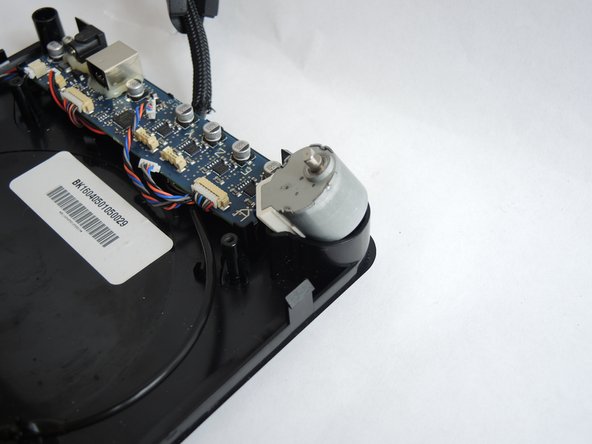
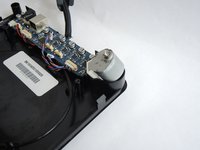
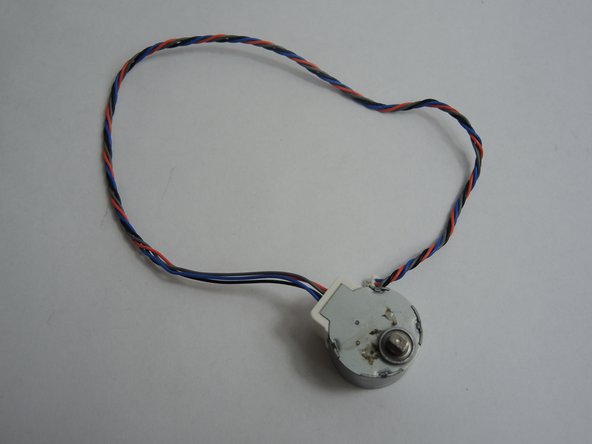
Once the base is opened you should find a circuit board and two motors like the one on the right, select the motor to be replaced.
-
-
-
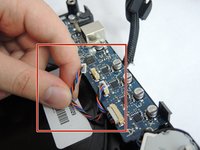
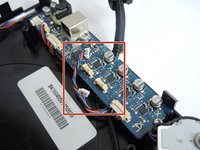
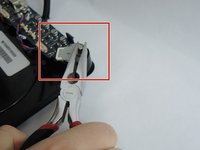
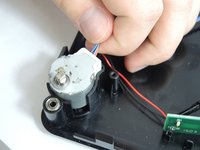
Unplug the connectors for the Orange, Blue, Gray and Black cables. These would be the motor cables.
-
-
-






To reassemble your device, follow these instructions in reverse order.
Cancel: I did not complete this guide.
One other person completed this guide.

Team

USF Tampa, Team S3-G2, Nance Fall 2017 Member of USF Tampa, Team S3-G2, Nance Fall 2017
USFT-NANCE-F17S3G2
4 Members
72 Guides authored
