Free Shipping on Domestic Orders $75+

Logitech Wireless K360 Printed Circuit Board (PCB) Replacement

What you need

  1. Logitech Wireless K360 Printed Circuit Board (PCB) Replacement, Battery: step 1, image 1 of 1
    • Turn the keyboard face down.

    Ask FixBot
    Add Comment

  2. Logitech Wireless K360 Printed Circuit Board (PCB) Replacement: step 2, image 1 of 1
    • With your thumbs on both sides of the battery tab, push upwards.

    • You should feel it disconnect.

    • Remove the cover exposing the batteries.

    Ask FixBot
    Add Comment

  3. Logitech Wireless K360 Printed Circuit Board (PCB) Replacement: step 3, image 1 of 1
    • Remove the old batteries.

    • Make sure the keyboard turns on and works.

    • Double check that the cover is back on correctly; you don't want it coming off and have the batteries fall out!

    Ask FixBot

    Add Comment

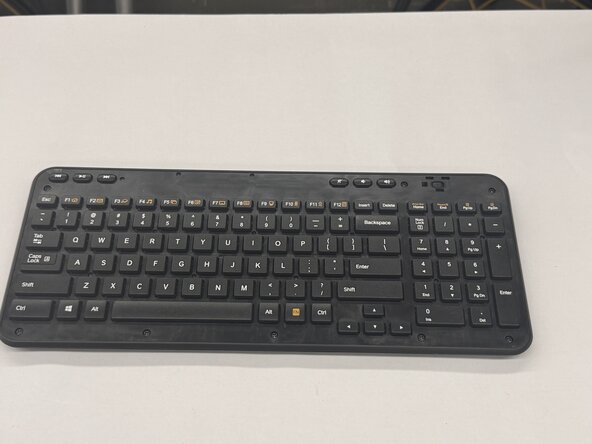
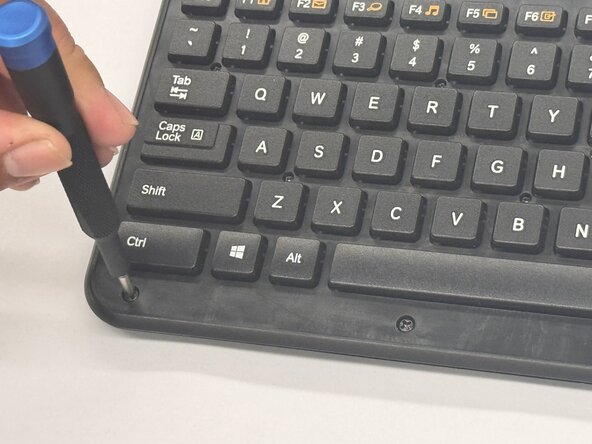
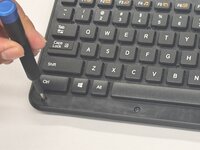
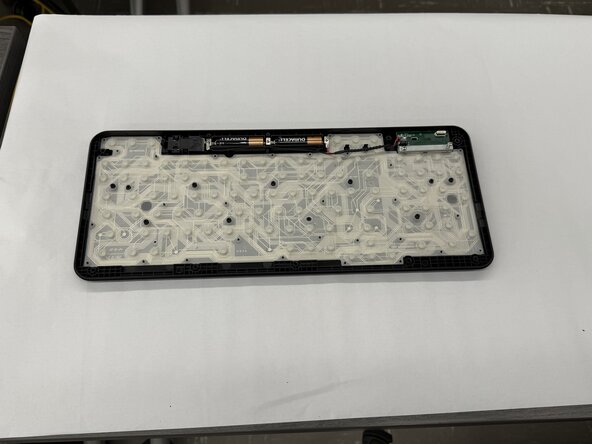
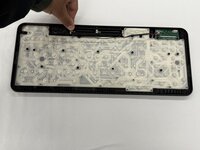
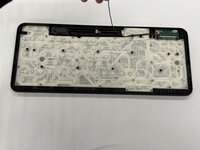
  4. Logitech Wireless K360 Printed Circuit Board (PCB) Replacement, Printed Circuit Board (PCB): step 4, image 1 of 3 Logitech Wireless K360 Printed Circuit Board (PCB) Replacement, Printed Circuit Board (PCB): step 4, image 2 of 3 Logitech Wireless K360 Printed Circuit Board (PCB) Replacement, Printed Circuit Board (PCB): step 4, image 3 of 3
    • Remove the keyboard cover.

    • Remove the screws using a Phillips #0 screwdriver.

    • There are a total of eight 8mm screws and twelve 6mm screws.

    Ask FixBot

    Add Comment

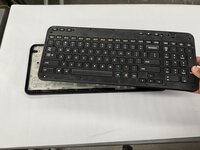
  5. Logitech Wireless K360 Printed Circuit Board (PCB) Replacement: step 5, image 1 of 2 Logitech Wireless K360 Printed Circuit Board (PCB) Replacement: step 5, image 2 of 2
    • Remove the top half of the keyboard carefully.

    • If there are issues removing the top half of the keyboard, you can try using something thin to get into the crevices.

    Ask FixBot

    Add Comment

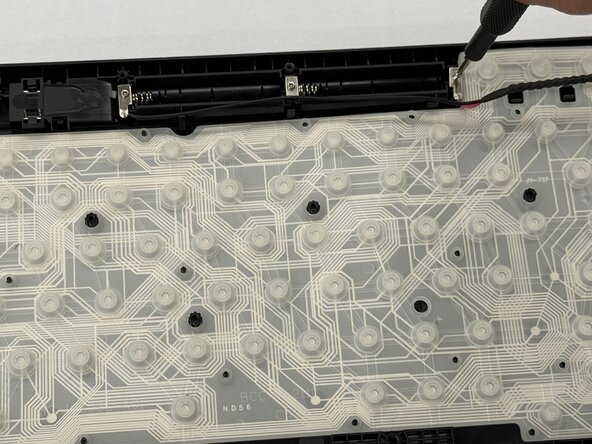
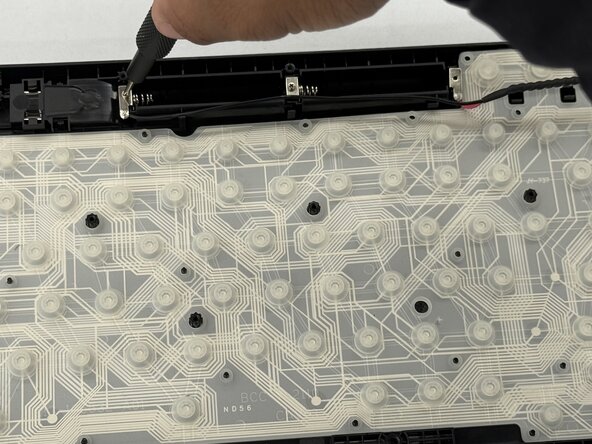
  6. Logitech Wireless K360 Printed Circuit Board (PCB) Replacement: step 6, image 1 of 3 Logitech Wireless K360 Printed Circuit Board (PCB) Replacement: step 6, image 2 of 3 Logitech Wireless K360 Printed Circuit Board (PCB) Replacement: step 6, image 3 of 3
    • Unscrew the two 2.0 mm silver screws using a Phillips #0 screwdriver.

    Ask FixBot

    Add Comment

  7. Logitech Wireless K360 Printed Circuit Board (PCB) Replacement: step 7, image 1 of 3 Logitech Wireless K360 Printed Circuit Board (PCB) Replacement: step 7, image 2 of 3 Logitech Wireless K360 Printed Circuit Board (PCB) Replacement: step 7, image 3 of 3
    • Unscrew the two 2.0 mm silver screws on either side of the printed circuit board (PCB) using a Phillips #0 screwdriver.

    Ask FixBot

    Add Comment

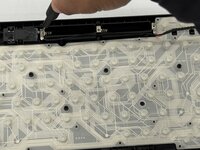
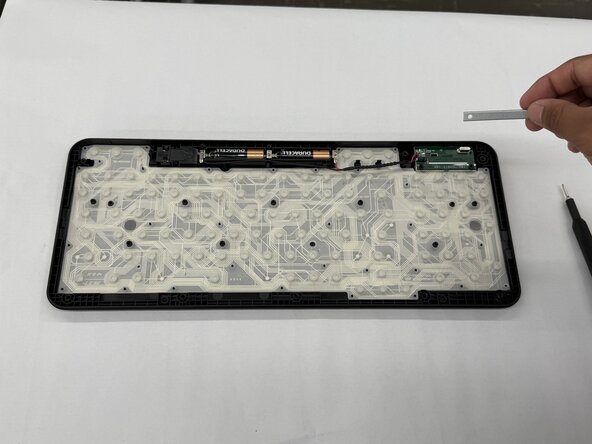
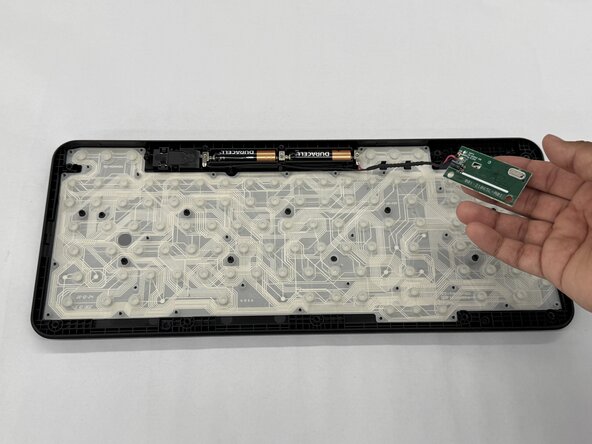
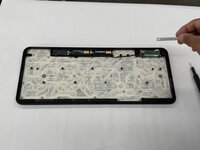
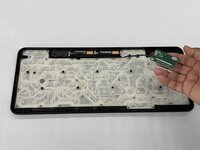
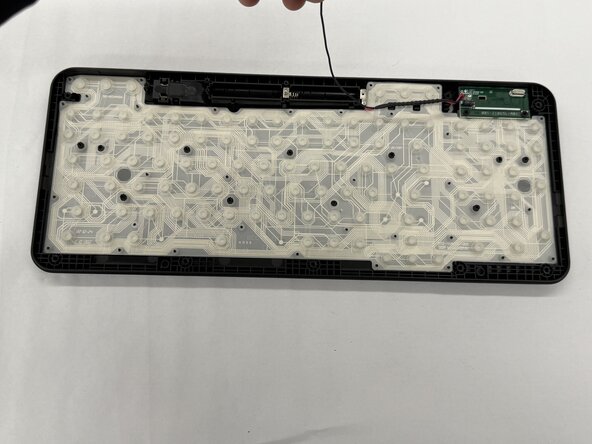
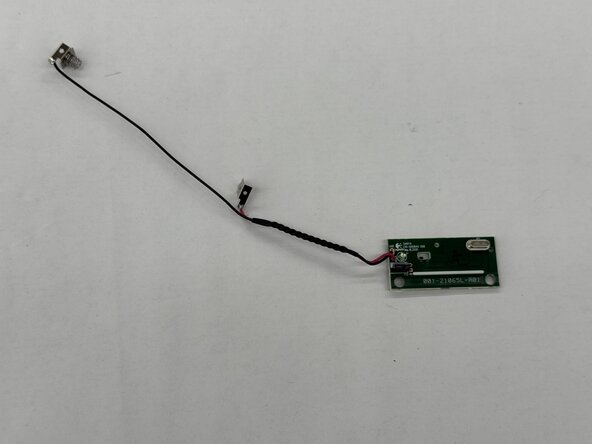
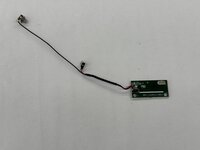
  8. Logitech Wireless K360 Printed Circuit Board (PCB) Replacement: step 8, image 1 of 3 Logitech Wireless K360 Printed Circuit Board (PCB) Replacement: step 8, image 2 of 3 Logitech Wireless K360 Printed Circuit Board (PCB) Replacement: step 8, image 3 of 3
    • Lift the entire printed circuit board (PCB) out of the panel.

    Ask FixBot

    Add Comment

Conclusion

To reassemble your device, follow these instructions in reverse order.

Cancel: I did not complete this guide.

3 other people completed this guide.

Othon Sanchez

Member since: 02/20/25

333 Reputation

3 Guides authored

Team

0 Guide Comments

Add Comment

View Statistics:

Past 24 Hours: 3

Past 7 Days: 9

Past 30 Days: 50

All Time: 550