
Logitech Wireless K360 Key Cap Replacement

Othon Sanchez and one other contributor
Last updated on Jun 3, 2025
Views: 741
View statistics:
- Past 24 Hours:
- 3
- Past 7 Days:
- 20
- Past 30 Days:
- 93
- All Time:
- 741
Comments: 0
No one has left comments on this guide. Will you be first?
Go to guide commentsCompleted: 0 1
No one has marked this guide "completed." Will you be the first?
1 person has marked this guide "completed." It's you — great job!
Favorites: 0 1
No one has favorited (and subscribed to) this guide. Will you be the first?
1 person has favorited (and subscribed to) this guide — and that's you!
Better Introduction
Improve this guide by completing or revising its introduction.
Introduction
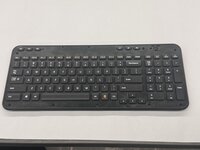
Go to step 1 ↓If your Logitech K360 has chipped or broken key caps, feel free to refer to our guide! Remove the batteries before you begin.
What you need
Tools


-
-
-
-
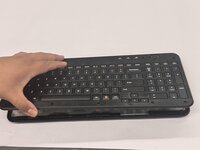
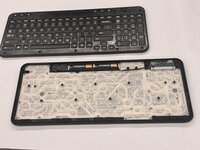
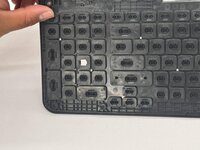
Flip the top half of the keyboard over.
-
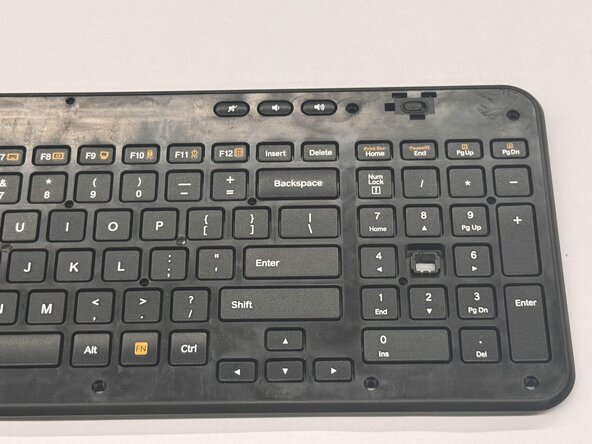
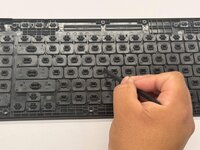
Use tweezers or an iFixit opening tool to pinch the damaged key cap out of the top half.
-


 Ask FixBot




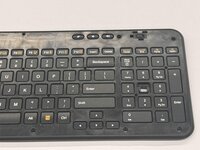
To reassemble your device, follow these instructions in reverse order.

Team

CSU Los Angeles, Team 7-3, Kershman Spring 2025 Member of CSU Los Angeles, Team 7-3, Kershman Spring 2025
CSULA-KERSHMAN-S25S7G3
5 Members
60 Guides authored
