
Logitech Webcam Pro 9000 USB Cable Replacement

Cory Davis and 9 other contributors
Last updated on Jan 14, 2026
Views: 7.7K
View statistics:
- Past 24 Hours:
- 1
- Past 7 Days:
- 13
- Past 30 Days:
- 104
- All Time:
- 7,677
Comments: 5
1 comment on steps, 4 guide comments.
Go to guide commentsCompleted: 3 4
3 people have marked this guide "completed." Will you be next?
4 people have marked this guide "completed." Including you — great job!
Favorites: 3 4
3 people have favorited (and subscribed to) this guide. Will you be next?
4 people have favorited (and subscribed to) this guide — including you!
Introduction
Go to step 1 ↓Follow this guide to remove and replace the Webcam Pro 9000 USB Cable of your webcam. If your webcam is not being detected by your device or there is physical damage to the USB, it is time to replace it. You must have prior knowledge on how to solder - a filler metal used to join two metal pieces - in order to install a new cable. If you don’t know how to solder, here is a how to link. This cable is required to connect a webcam to your computer to transmit audio and visual data for things like web conferences, video recording, and photos.
What you need
Tools
-
Spudger4.9
-
-
-


-
-
-
Remove the two 8 mm Phillips #0 screws on the back cover.
 Ask FixBot
-
-
-
Remove the four 6mm Phillips #0 screws connecting the motherboard and front cover.
-
-
-
-
Tool used on this step:Tweezers$4.99
-
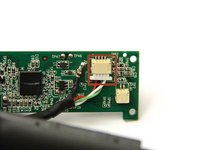
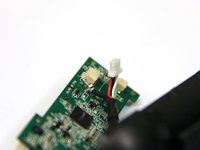
Use tweezers to grasp the white wire connector on the back of the motherboard.
-
Wiggle the connector back and forth to remove it from the socket.
-
-
-
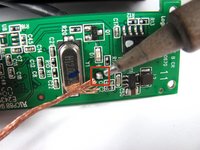
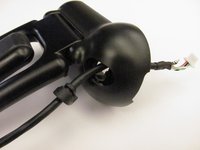
Desolder the joint on the front of the motherboard to completely detach the USB cable.
-
-
-
-
-
-
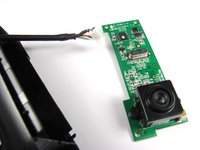
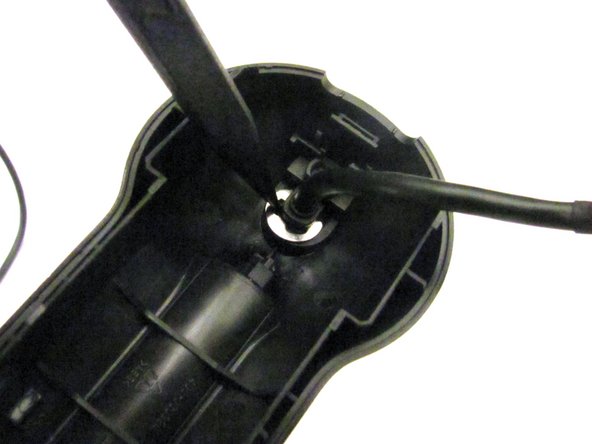
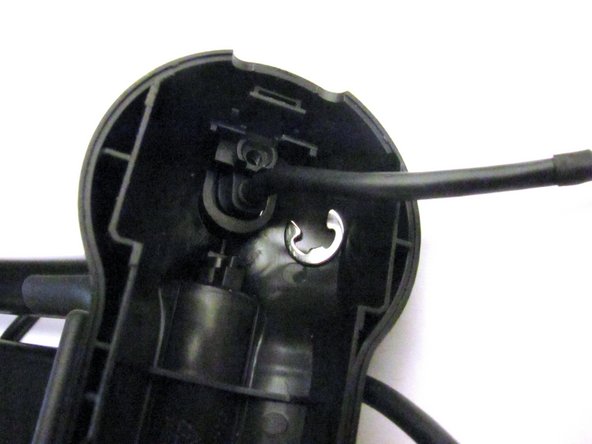
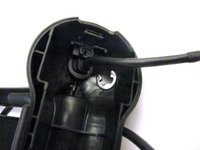
Wedge the pointy end of the spudger between the sliver E-ring and USB attachment base to extract the E-ring and release the USB cable.
-
-







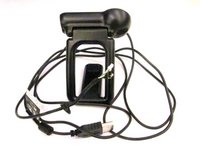
To reassemble your device, follow these instructions in reverse order.
Cancel: I did not complete this guide.
3 other people completed this guide.

Team

Cal Poly, Team 12-34, Amido Spring 2013 Member of Cal Poly, Team 12-34, Amido Spring 2013
CPSU-AMIDO-S13S12G34
4 Members
96 Guides authored
4 Guide Comments
Ich habe auch. ich braucht neu Kabel für C910 aber wo finden?
where i baught pro 9000 Cable
In hindsight, I wish I had just ordered a new camera. It is more difficult than these instructions make it look. I found a replacement cable on Amazon. Disassembly and removal of the old cable was easy. Soldering of the single wire on the new cable was difficult. I'm not as steady as I used to be, and the tiny cable and small board made it a difficult task. Once I finished the soldering, reassembly was easy except for the cable clip. Once done and I plugged it in, the camera would not work--USB device not recognized. I don't know whether the cable was incorrect or if I messed something up during the soldering. I finally trashed the old camera and ordered a new Logitech c920s. Wasted $10 on the failed cable and spent $70 on the new camera.
If you are unsure, it might be worth spending the money to upgrade instead of wasting time and money on a failed replacement cable like I did.
As an update to the above-- My repair failed because I had ordered the wrong cable.
