
Logitech Signature Slim Solar+ Battery Replacement

Arthur Shi and 4 other contributors
Last updated on Dec 2, 2025
Views: 1.6K
View statistics:
- Past 24 Hours:
- 4
- Past 7 Days:
- 50
- Past 30 Days:
- 193
- All Time:
- 1,600
Comments: 0
No one has left comments on this guide. Will you be first?
Go to guide commentsCompleted: 0 1
No one has marked this guide "completed." Will you be the first?
1 person has marked this guide "completed." It's you — great job!
Favorites: 1 2
1 person has favorited (and subscribed to) this guide. Will you be next?
2 people have favorited (and subscribed to) this guide — including you!
OEM Guide
iFixit collaborated with the manufacturer to make this guide.
Logitech
Logitech and iFixit are working together to help people repair their Logitech devices.
Introduction
Go to step 1 ↓Follow this guide to replace a worn-out or dead battery in your Logitech Signature Slim Solar+ keyboard.
It’s natural for batteries to lose capacity as they age. If your keyboard dies quickly and doesn't hold a charge, it may be time to replace the battery.
What you need
Fix Kit
This kit contains all the parts and tools needed to complete this guide.

Parts


Tools
-
Spudger4.9


-
-
-
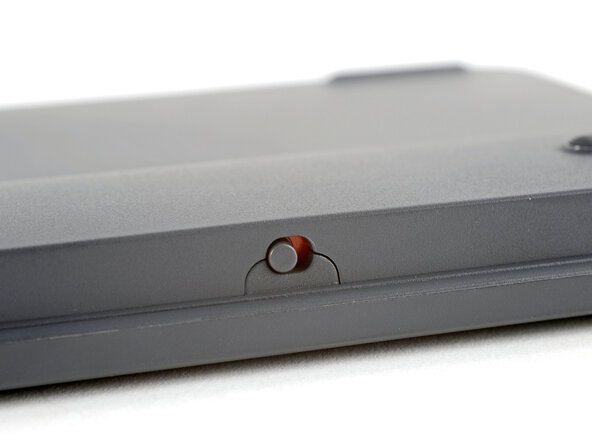
Slide the keyboard's power switch into the OFF position.
-
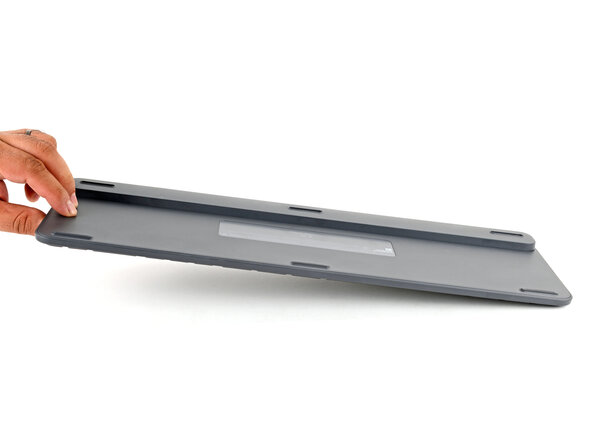
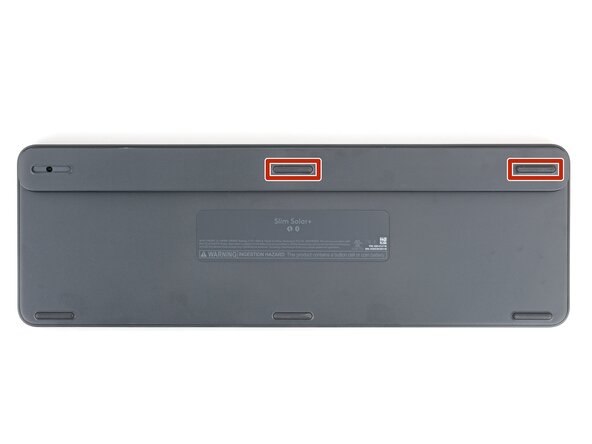
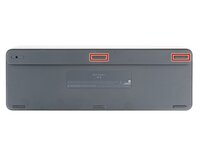
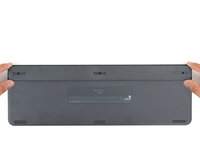
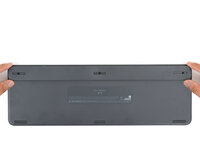
Lay your keyboard down with the feet facing up on a clean work surface.
 Ask FixBot
-
-
-
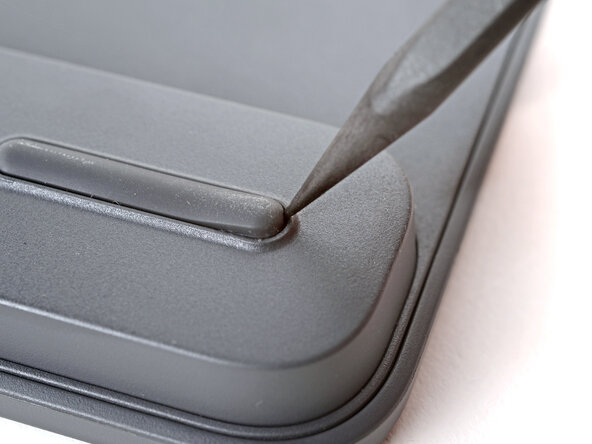
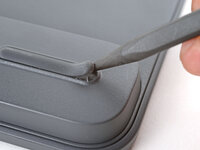
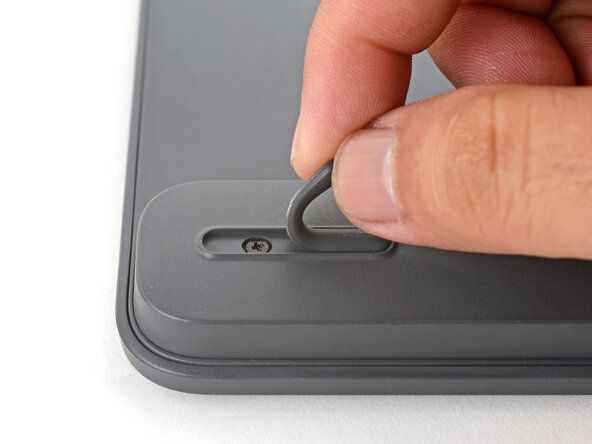
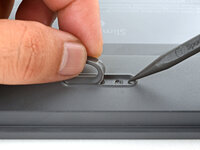
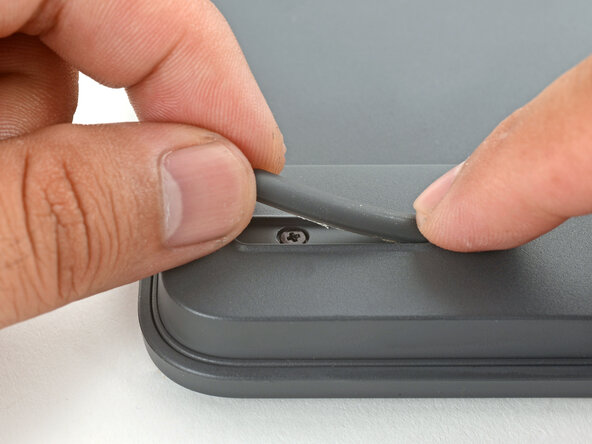
Insert the point of a spudger under an end of the foot.
-
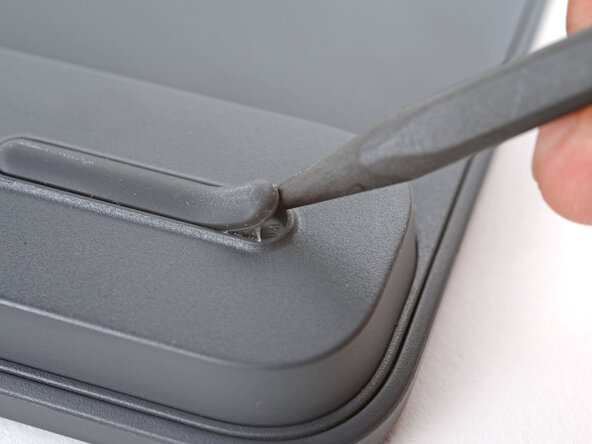
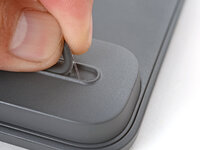
Push the spudger underneath the foot and lift until you can grip it with your fingers.
-
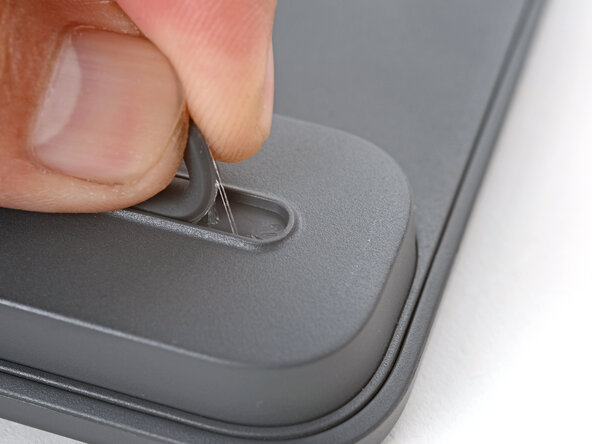
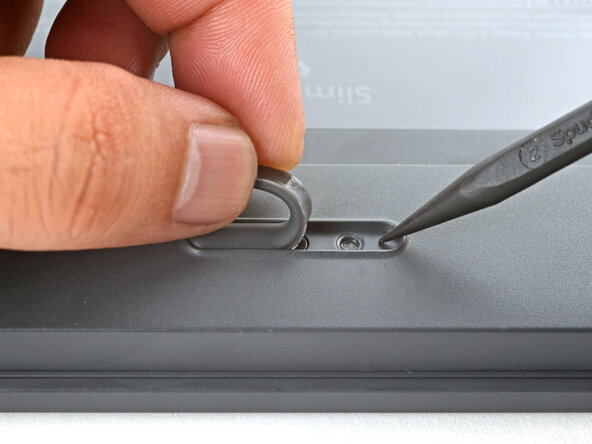
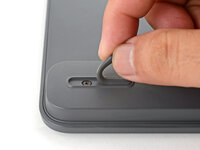
Peel the foot up and remove it. Keep it for reassembly.
-
-
-
Repeat the procedure to remove two remaining feet along the top edge. Keep these for reassembly.
-
-
-
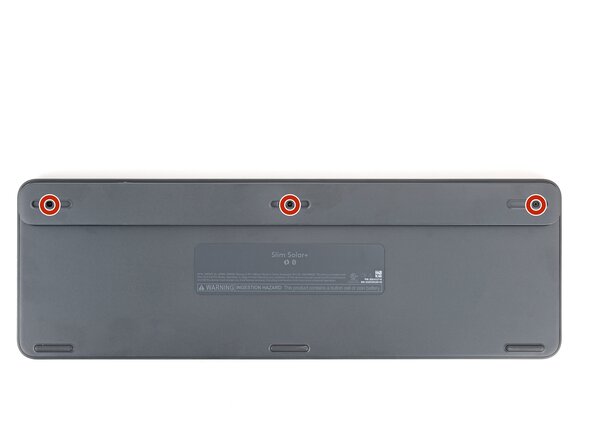
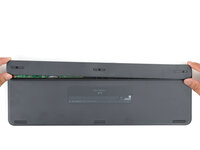
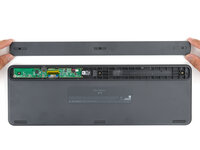
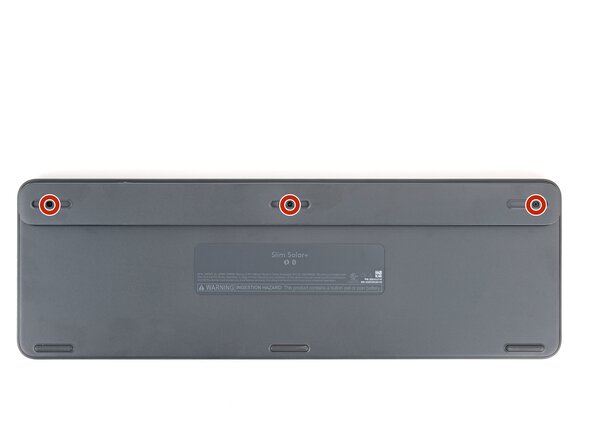
Use a Phillips screwdriver to loosen the three captive screws securing the battery cover.
-
-
-
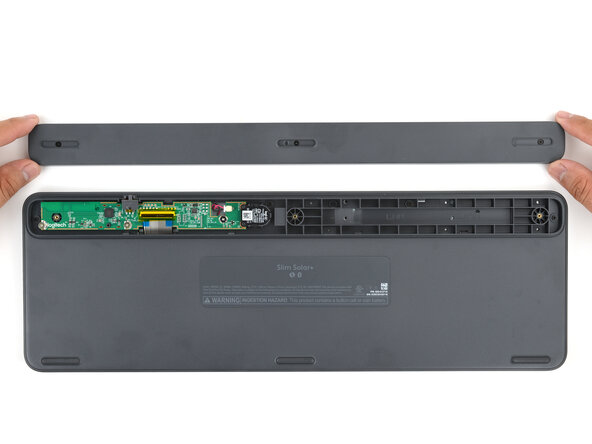
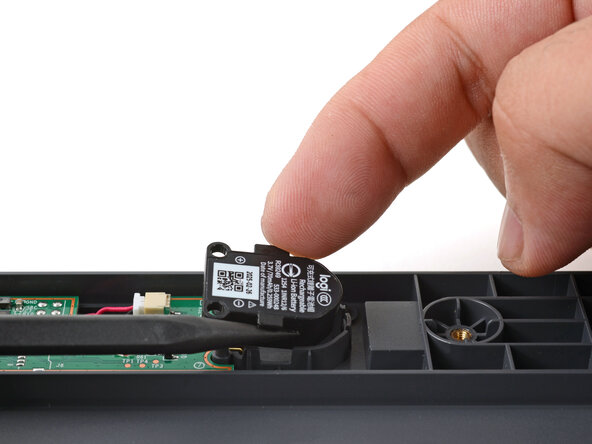
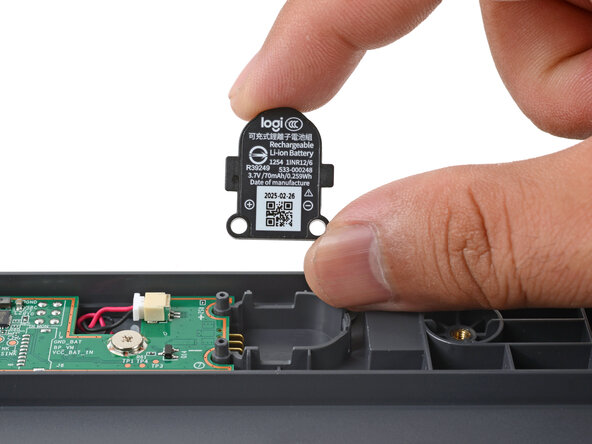
Use your fingers or a spudger to lift and remove the battery by its side tabs.
-
-
-
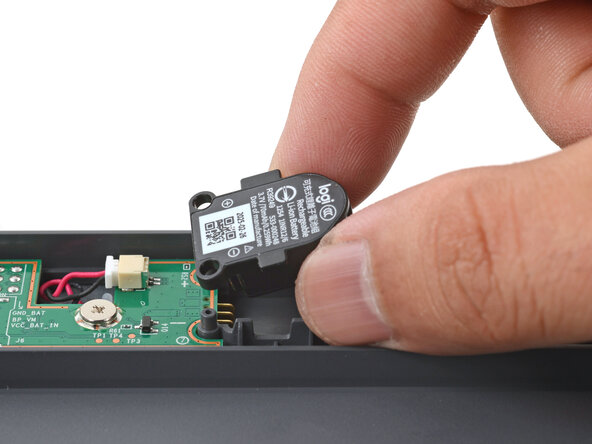
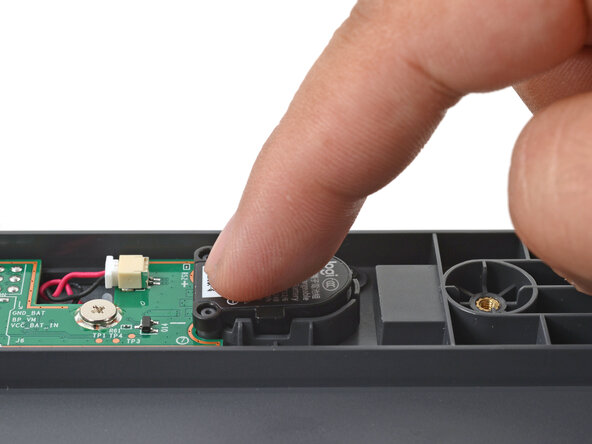
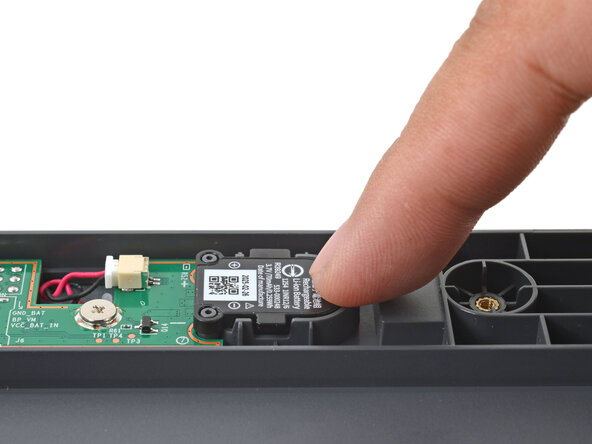
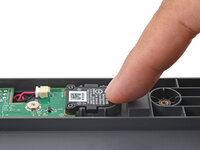
Align the battery with its recess and push down firmly with your finger to click it in place.
-
-
-
-
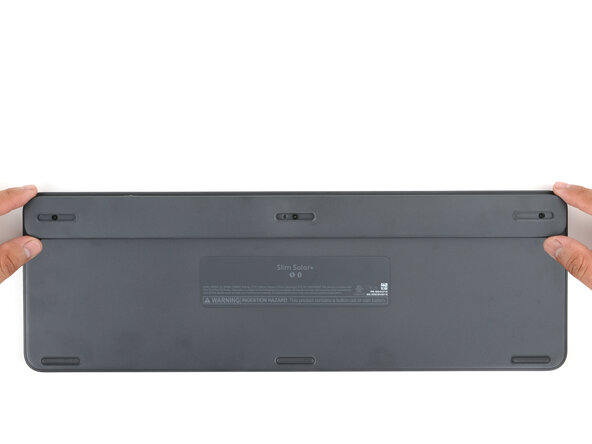
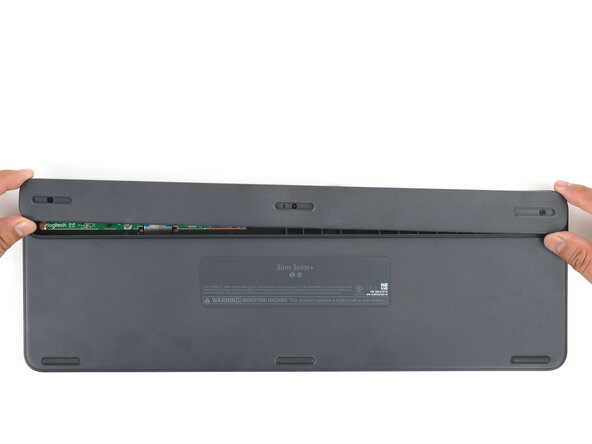
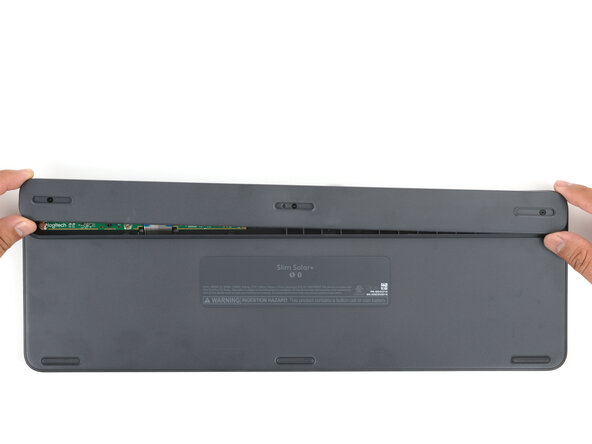
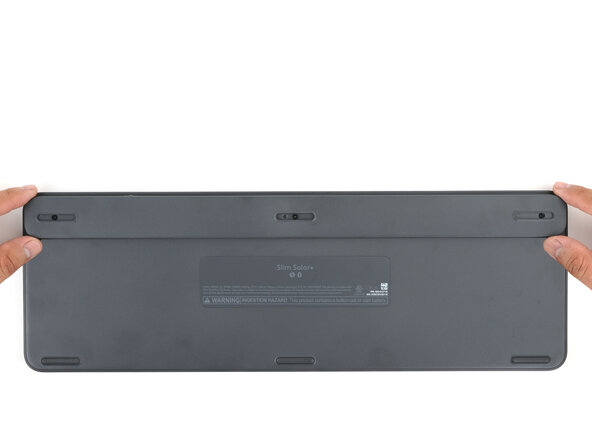
Lay the battery cover in place and gently press it onto the keyboard to engage the clips.
-
-
-
Use a Phillips screwdriver to tighten the three captive screws securing the battery cover.
-
-
Tool used on this step:Tesa 61395 Tape$2.95
-
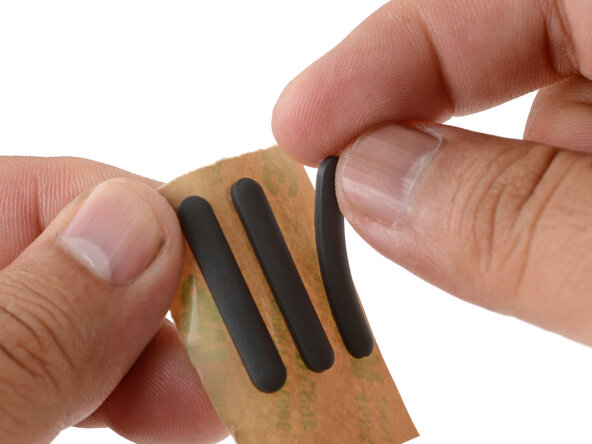
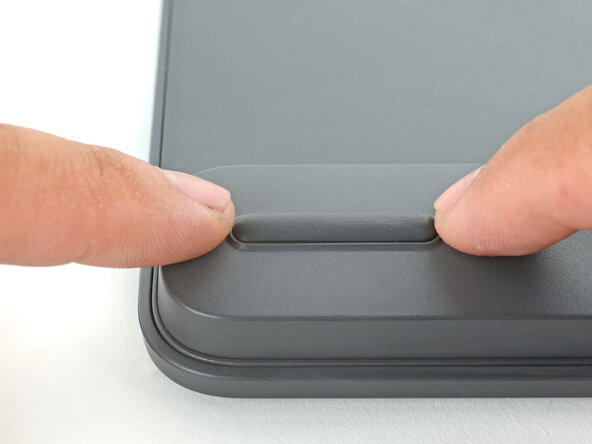
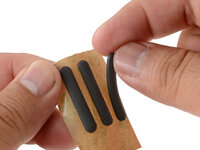
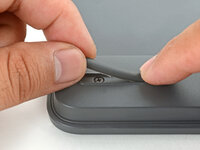
If you're installing new feet, remove them from their backing and firmly press them into place.
-
If you're reusing the feet, use a strip of double-sided tape to secure them in their recesses.
-
-
Repair didn’t go as planned? Try some basic troubleshooting, or ask our Answers community for help.
Reuse or Recycle—Never put discarded electronic parts in household waste. Visit Logitech Recycling to find your nearest recycling points, including the option to mail back old devices to Logitech for free if there’s no convenient solution in your area. You can also take your e-waste to any R2 or e-Stewards certified recycler. And don’t let good working parts or repaired devices die a slow death in your sock drawer—pass them along to someone who can use them.
Share your experience—Leave a comment here or send your feedback directly to Logitech at repair@logitech.com to help shape future repair guides and product design.

