
Logitech MBJ58 Mouse Buttons Replacement

Maximilian Betkowski and 8 other contributors
Last updated on Apr 28, 2020
Views: 3.6K
View statistics:
- Past 24 Hours:
- 3
- Past 7 Days:
- 20
- Past 30 Days:
- 96
- All Time:
- 3,639
Comments: 4
4 comments on steps.
Completed: 2 3
2 people have marked this guide "completed." Will you be next?
3 people have marked this guide "completed." Including you — great job!
Favorites: 1 2
1 person has favorited (and subscribed to) this guide. Will you be next?
2 people have favorited (and subscribed to) this guide — including you!
Introduction
Go to step 1 ↓This guide will walk you through the process of removing the top cover of the mouse to replace the mouse buttons.
What you need
Tools

-
-
-
Hold the mouse so that the bottom is facing up.
-
Remove the single Phillips #1 screw from the bottom half of the mouse.
 Ask FixBot
-
-
-
Place the mouse so that the bottom is resting against a hard surface.
-
Lift the top cover of the mouse gently, and remove it.
-
-
-
-
-
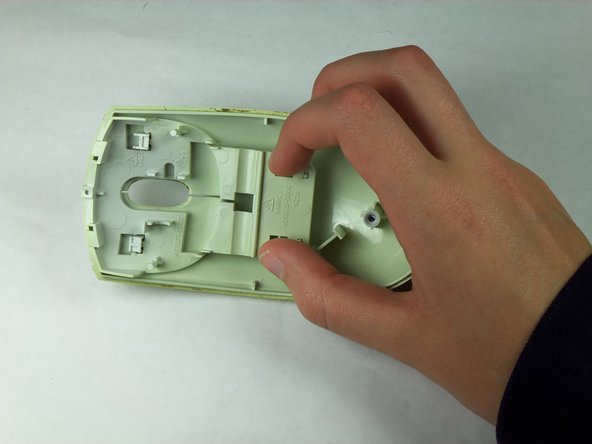
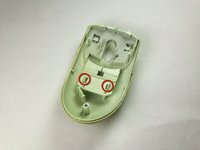
Locate the two tabs that are protruding from the button assembly.
-
Pinch the tabs together to free the buttons.
-
-
-
-
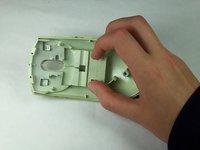
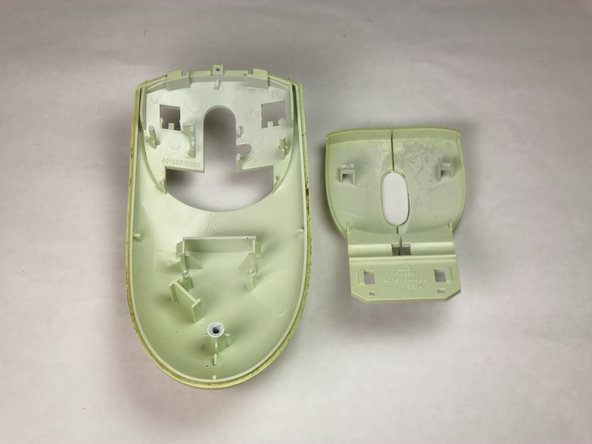
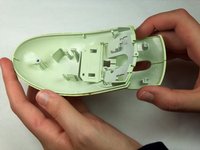
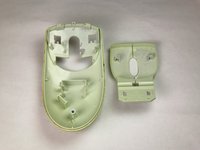
Remove the button assembly from the top cover by flipping the top cover upside down and pulling the button assembly downward and away from the top cover.
-
Slide the button assembly out from the top cover through the opening.
-
-



To reassemble your device, follow these instructions in reverse order.
Cancel: I did not complete this guide.
2 other people completed this guide.

Team

Cal Poly, Team 5-14, Forte Winter 2013 Member of Cal Poly, Team 5-14, Forte Winter 2013
CPSU-FORTE-W13S5G14
5 Members
84 Guides authored
