Introduction
This guide will cover the disassembly and cleaning of the Logitech K400r wireless keyboard. Before you begin, ensure that you have a small Phillips #0 screwdriver, compressed air, paper towels, and cotton swabs. For your safety, ensure that the device is turned off or the batteries are removed before disassembly.
What you need
-
-
-
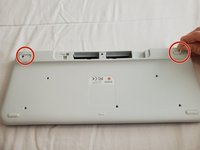
Use a small Phillips head screwdriver to unscrew all visible screws on the back of the keyboard.
 Ask FixBot
-
-
-
Remove the battery port so the batteries are exposed, then take them out.
-
Unscrew the screw in the battery port.
-
-
-
Remove the two rubber pieces from the top of the keyboard.
-
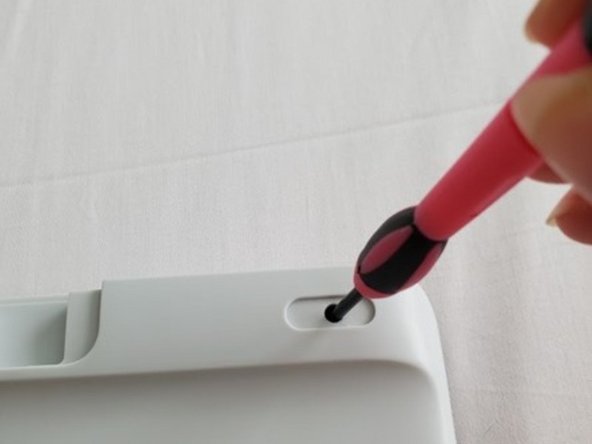
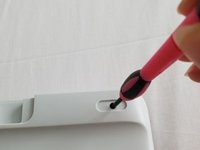
Unscrew the screws located under the rubber pieces.
-
-
-
-
Unscrew the screws located under the label in the center of the back of the keyboard.
-
-
-
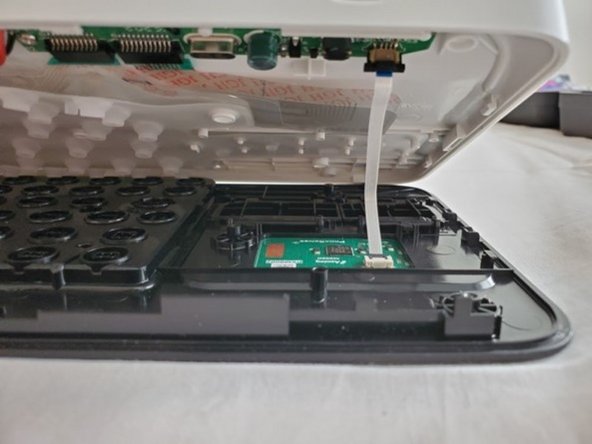
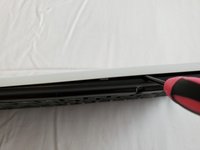
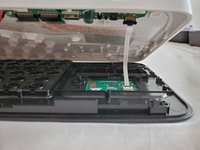
Carefully pry open the keyboard. You can use your screwdriver or any prying tool.
-
-
-
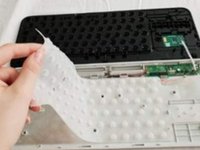
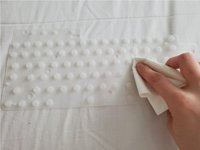
Remove the key matrix, which is soft and should be clear or white.
-
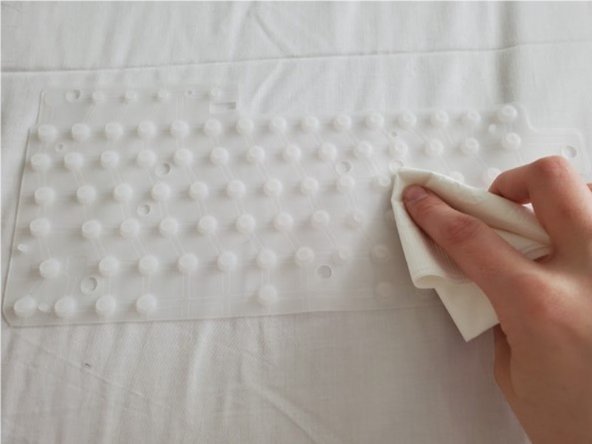
Using a dry cloth, lightly wipe off the key matrix.
-
-
-
Using a dry cotton swab, lightly dust off the mousepad and the area around the keys on the outside of the board.
-
-
-
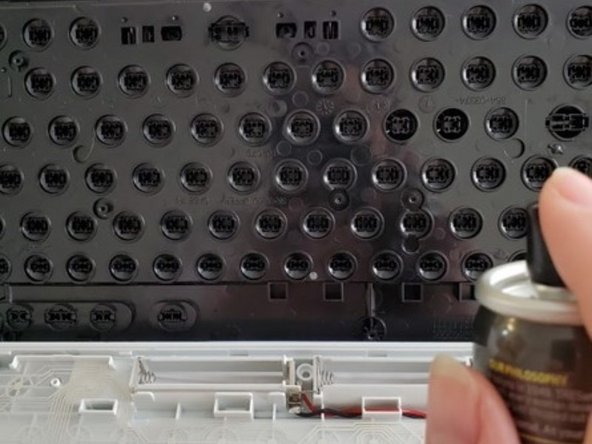
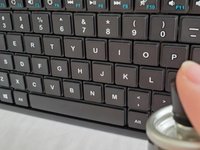
Using compressed air, dust is removed between the key switches and inside the circuit grid.
-
-
-
After you have cleaned all components of your keyboard, place the key matrix, key switchboard, and circuit grid back inside the keyboard.
-
Place all screws back into the exterior of the keyboard and screw them in tightly.
-
Place batteries back in the battery compartment and close the battery port.
-
The keyboard is reassembled!
-
-







Cancel: I did not complete this guide.
5 other people completed this guide.

1 Guide Comment
Thanks for the guide.
Should be noted that on newer/older (?) boards, the battery compartment is different, and doesn't have a screw in the middle. Instead a screw is hidden under the little serial number to the side of the battery compartment. there is however no sticker on the middle of the back hiding two screws.
You can also remove the keys, by depressing the two snap-in hooks from the back-side. I had to do this as the stablizer on my enter key (ISO layout) wasn't properly on.
EDIT: Just realized I have a K400 plus. Well those are the only differences, so this guide pretty much applies to that too! :)
