
Logitech Harmony Touch Buttons Replacement

Nicholas Townsend and 7 other contributors
Last updated on Jan 3, 2023
Views: 2.1K
View statistics:
- Past 24 Hours:
- 5
- Past 7 Days:
- 26
- Past 30 Days:
- 109
- All Time:
- 2,135
Comments: 0
No one has left comments on this guide. Will you be first?
Go to guide commentsCompleted: 2 3
2 people have marked this guide "completed." Will you be next?
3 people have marked this guide "completed." Including you — great job!
Favorites: 0 1
No one has favorited (and subscribed to) this guide. Will you be the first?
1 person has favorited (and subscribed to) this guide — and that's you!
Slice and Dice
The steps in this guide should be split up and made into a series of prerequisite guides.
Introduction
Go to step 1 ↓Follow this guide if you are preparing to replace or clean your Logitech Harmony Touch's buttons.
The buttons on the remote controller have essential functions to the user's entertainment system, including the on/off, volume control, menu, and more controls that need the buttons to function.
The Logitech Harmony Touch User Manual provides a full breakdown of each button and its location on the controller if a button goes missing or you want a clear image of the remote after the teardown.
What you need
Tools


-
-
-
Open the latch that accesses the charging port.
-
Remove the black sticker and the screw with the Phillips #0 Screwdriver.
-
Take the plastic opening tool and run it down the side of the remote to open the case.
-
Detach the white clamp to disconnect the case from the motherboard partially.
 Ask FixBot
-
-
-
Peel back the thin yellow plastic film.
-
Detach the clip found underneath the film.
-
Remove the screws that connect the motherboard to the case with the Phillips #0 Screwdriver.
-
-
-
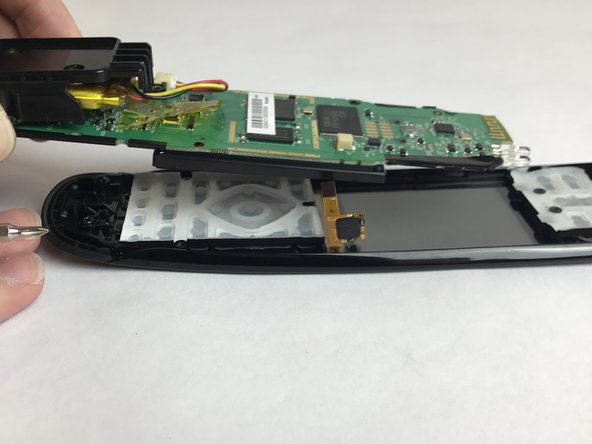
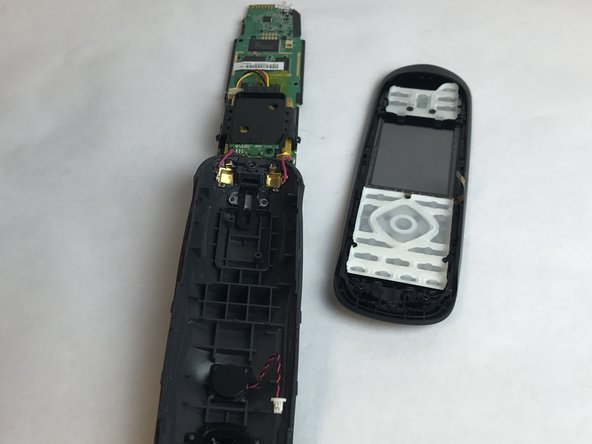
Next, carefully remove the motherboard from the top piece of the case.
-
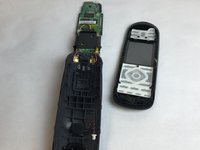
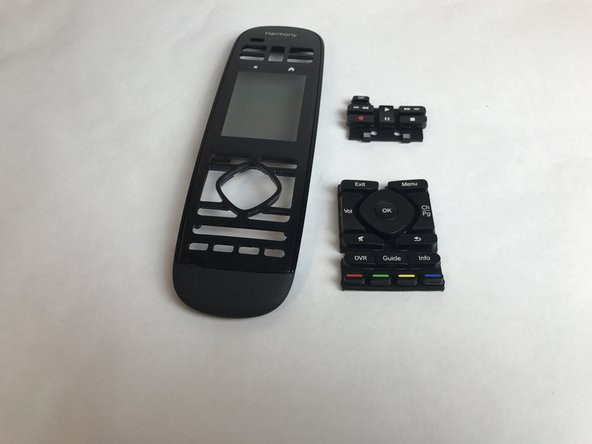
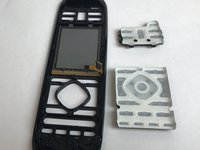
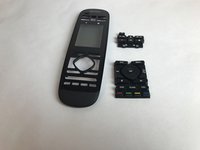
You should now be able to access all the buttons and remove them from the case.
-
-
-



To reassemble your device, follow these instructions in reverse order.
Cancel: I did not complete this guide.
2 other people completed this guide.

Team

USF Tampa, Team S4-G2, Eyestone Fall 2017 Member of USF Tampa, Team S4-G2, Eyestone Fall 2017
USFT-EYESTONE-F17S4G2
4 Members
60 Guides authored
