
Logitech Harmony Smart Keyboard Back Panel

Hayley Nichols and 4 other contributors
Last updated on May 13, 2019
Views: 1.7K
View statistics:
- Past 24 Hours:
- 2
- Past 7 Days:
- 16
- Past 30 Days:
- 86
- All Time:
- 1,705
Comments: 0
No one has left comments on this guide. Will you be first?
Go to guide commentsCompleted: 2 3
2 people have marked this guide "completed." Will you be next?
3 people have marked this guide "completed." Including you — great job!
Favorites: 0 1
No one has favorited (and subscribed to) this guide. Will you be the first?
1 person has favorited (and subscribed to) this guide — and that's you!
Introduction
Go to step 1 ↓This is a prerequisite guide that will instruct you on how to properly open your keyboard. This will be helpful for replacing internal components without damaging your device.
What you need
Tools
-
Spudger4.9


-
-
-
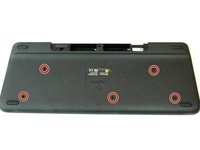
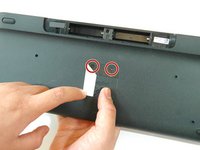
Peel off the center sticker to reveal two hidden 4.0 mm screws.
-
Unscrew these two screws with a Phillips #1 screwdriver.
-
-
-
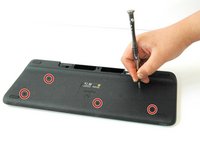
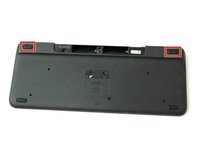
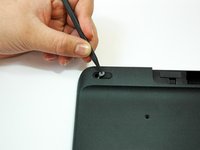
Lift both top left and top right rubber stickers halfway, using the sharp end of the plastic spudger.
-
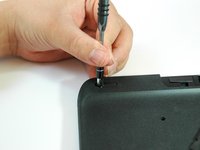
Unscrew a total of two 4.0 mm screws, under the rubber stickers, using a Phillips #1 screwdriver.
-
-
-
-
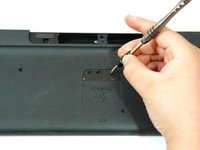
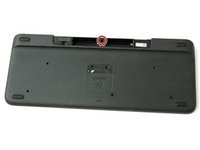
Unscrew the top center 4.0 mm screw, in the battery compartment, using the Phillips #1 screwdriver.
-
-
-
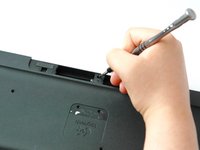
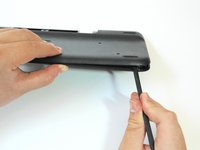
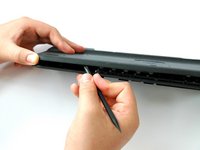
Wedge the flat end of the spudger between the back panel and front panel.
-
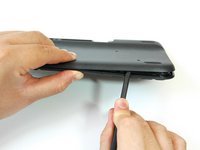
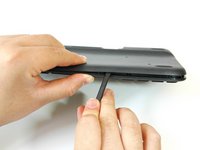
Slide the flat end of the spudger from right to left to pry the two panels apart.
-


 Ask FixBot












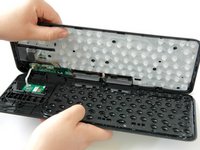
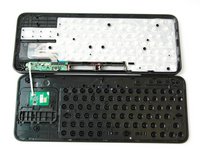
To reassemble your device, follow these instructions in reverse order.
Cancel: I did not complete this guide.
2 other people completed this guide.

Team

CSU Fullerton, Team S1-G2, Bruce Fall 2017 Member of CSU Fullerton, Team S1-G2, Bruce Fall 2017
CSUF-BRUCE-F17S1G2
3 Members
60 Guides authored
