Free Shipping on Domestic Orders $75+

Logitech Harmony Smart Control Hub Light Bulb Replacement

What you need

    1. Logitech Harmony Smart Control Hub Light Bulb Replacement, Light Bulb: step 1, image 1 of 2 Logitech Harmony Smart Control Hub Light Bulb Replacement, Light Bulb: step 1, image 2 of 2
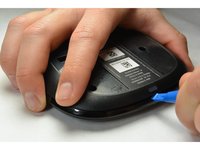
      • Use a spudger to lift up one of the rubber pads on the bottom of the hub.

      • Pull back the rubber pad and remove it. This will expose the screws on the bottom of the device.

      • Repeat for the second rubber pad.

      Ask FixBot

      Add Comment

    2. Logitech Harmony Smart Control Hub Light Bulb Replacement: step 2, image 1 of 2 Logitech Harmony Smart Control Hub Light Bulb Replacement: step 2, image 2 of 2
      • Use a PH00 screwdriver bit to remove the four 6mm Phillips screws on the bottom of the device.

      Ask FixBot

      Add Comment

    3. Logitech Harmony Smart Control Hub Light Bulb Replacement: step 3, image 1 of 2 Logitech Harmony Smart Control Hub Light Bulb Replacement: step 3, image 2 of 2
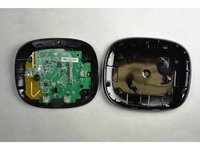
      • Use a spudger to separate the top and bottom pieces of the device.

      Ask FixBot

      Add Comment

    4. Logitech Harmony Smart Control Hub Light Bulb Replacement: step 4, image 1 of 2 Logitech Harmony Smart Control Hub Light Bulb Replacement: step 4, image 2 of 2
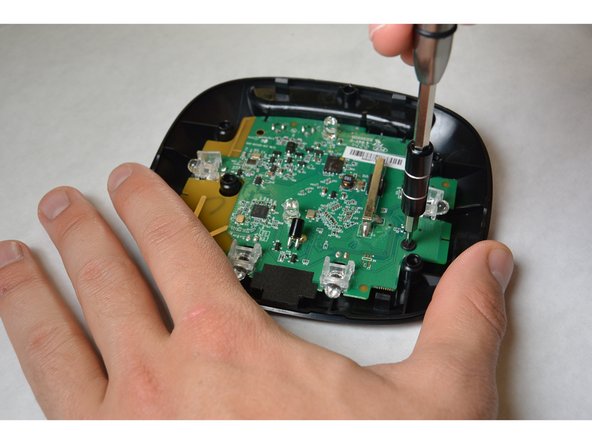
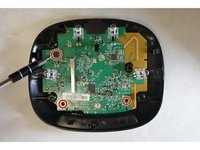
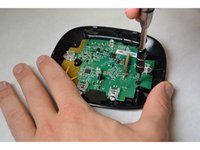
      • Use the PH00 screwdriver bit to unscrew the three 4mm Phillips screws on the control board.

      Ask FixBot

      Add Comment

    5. Logitech Harmony Smart Control Hub Light Bulb Replacement: step 5, image 1 of 2 Logitech Harmony Smart Control Hub Light Bulb Replacement: step 5, image 2 of 2
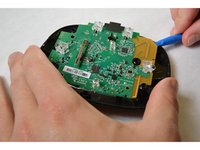
      • Place the end of the opening tool under the yellow corner of the circuit board as shown.

      • Gently push upward to pry the board from its housing.

      Ask FixBot

      Add Comment

    6. Logitech Harmony Smart Control Hub Light Bulb Replacement: step 6, image 1 of 3 Logitech Harmony Smart Control Hub Light Bulb Replacement: step 6, image 2 of 3 Logitech Harmony Smart Control Hub Light Bulb Replacement: step 6, image 3 of 3
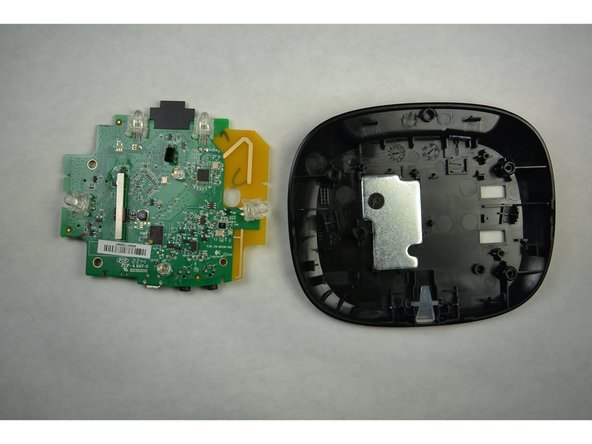
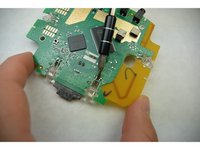
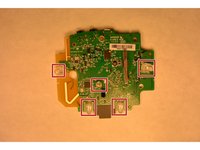
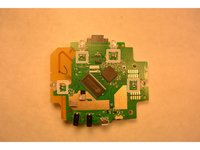
      • Determine which of the five bulbs are defective.

      • Turn the board over to expose the bulb solder.

      • Using a soldering iron, remove the solder and bulb. Replace with a new bulb and re-solder.

      Ask FixBot

      Add Comment

Conclusion

To reassemble your device, follow these instructions in reverse order.

Cancel: I did not complete this guide.

2 other people completed this guide.

Josh Hendricks

Member since: 09/17/15

464 Reputation

4 Guides authored

Team

IUPUI, Team 3-2, Harley Fall 2015 Member of IUPUI, Team 3-2, Harley Fall 2015

IUPUI-HARLEY-F15S3G2

4 Members

60 Guides authored

0 Guide Comments

Add Comment

View Statistics:

Past 24 Hours: 1

Past 7 Days: 3

Past 30 Days: 30

All Time: 911