Free Shipping on Domestic Orders $75+

Logitech Harmony 900 Button Pad Replacement

Views: 1.3K

View statistics:

Past 24 Hours:
1
Past 7 Days:
17
Past 30 Days:
101
All Time:
1,296
Comments: 0

No one has left comments on this guide. Will you be first?

Go to guide comments
Completed: 1

1 person has marked this guide "completed." Will you be next?

Favorites: 0

No one has favorited (and subscribed to) this guide. Will you be the first?

Time Required: 4 minutes
Difficulty: Moderate
Logitech Harmony 900 Button Pad Replacement

Introduction

Go to step 1 ↓

This guide shows how to replace the buttons on the Logitech Harmony 900. This is useful for if your buttons get stuck or broken.

What you need

Parts

Tools

    1. Logitech Harmony 900 Button Pad Replacement, Battery: step 1, image 1 of 2 Logitech Harmony 900 Button Pad Replacement, Battery: step 1, image 2 of 2
      • Press the oval shaped button on the lower back of the remote to release the battery cover.

      • While pressing the button, remove the cover.

      Ask FixBot

      Add Comment

    2. Logitech Harmony 900 Button Pad Replacement: step 2, image 1 of 2 Logitech Harmony 900 Button Pad Replacement: step 2, image 2 of 2
      • Push the battery in, pull it up, and slide it out.

      Ask FixBot

      Add Comment

    1. Logitech Harmony 900 Button Pad Replacement, Motherboard: step 3, image 1 of 1
      Tool used on this step:
      Tweezers
      $4.99
      Buy
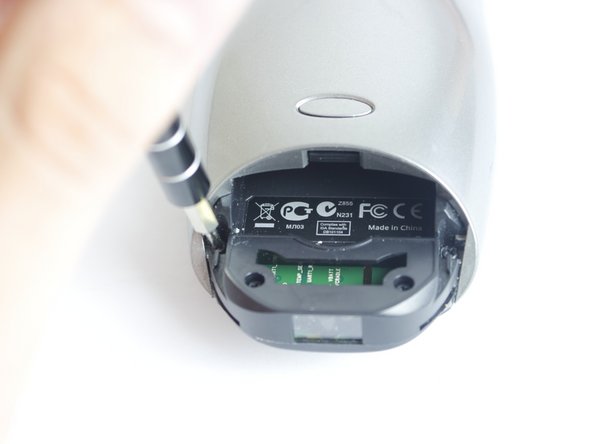
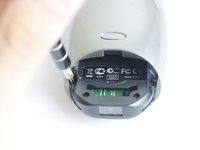
      • Using tweezers, peel off the sticker located under the battery cover to reveal two screws.

      Ask FixBot

      Add Comment

    2. Logitech Harmony 900 Button Pad Replacement: step 4, image 1 of 2 Logitech Harmony 900 Button Pad Replacement: step 4, image 2 of 2
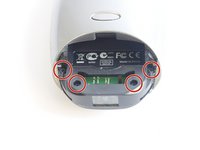
      • Locate and unscrew the four 50mm screws using the Philips #0 screwdriver.

      Ask FixBot

      Add Comment

    3. Logitech Harmony 900 Button Pad Replacement: step 5, image 1 of 1
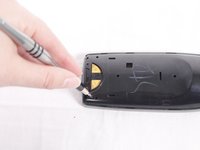
      • Use a credit card to pry the black, plastic, back cover off of the device.

      • You may need to get the process started with a metal prying tool before you start using the credit card.

      Ask FixBot

      Add Comment

    4. Logitech Harmony 900 Button Pad Replacement: step 6, image 1 of 2 Logitech Harmony 900 Button Pad Replacement: step 6, image 2 of 2
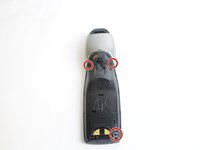
      • Locate the three 50mm screws on the back of the remote and remove them using the Phillips #0 screwdriver.

      Ask FixBot

      Add Comment

    5. Logitech Harmony 900 Button Pad Replacement: step 7, image 1 of 2 Logitech Harmony 900 Button Pad Replacement: step 7, image 2 of 2
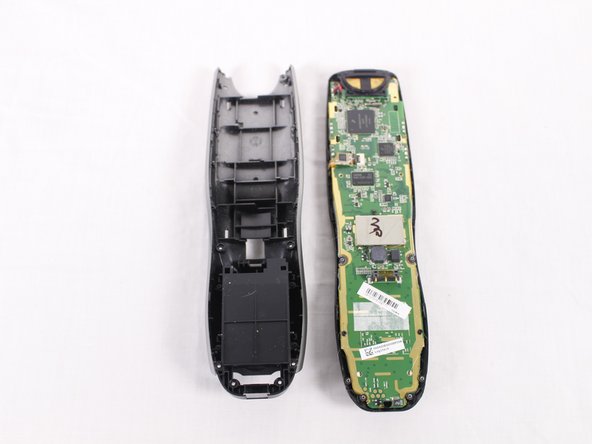
      • Pry the black, front face of the remote from the back silver part by inserting a credit card in between and sliding down.

      • Again, you may need to use a metal prying tool to get the separation started.

      Ask FixBot

      Add Comment

    6. Logitech Harmony 900 Button Pad Replacement: step 8, image 1 of 2 Logitech Harmony 900 Button Pad Replacement: step 8, image 2 of 2
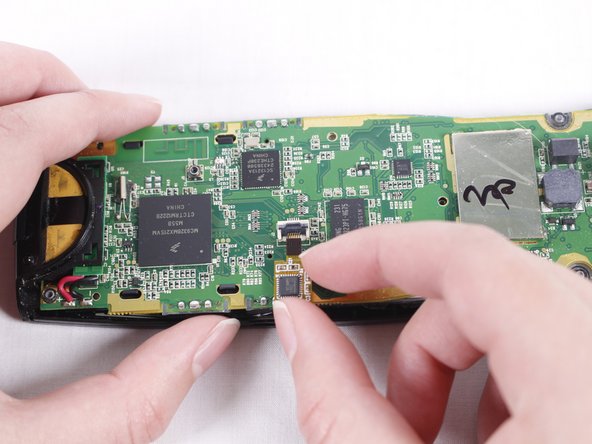
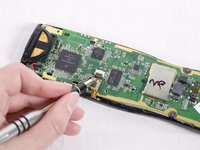
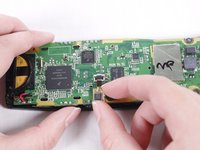
      • When you look at the circuit board, you should see a ribbon attaching the board to the plastic casing.

      • A little lever is holding the ribbon in place. Lift the lever with your nail or a 2.5mm flat-head screwdriver. Move the ribbon away from the circuit board.

      Ask FixBot

      Add Comment

    7. Logitech Harmony 900 Button Pad Replacement: step 9, image 1 of 2 Logitech Harmony 900 Button Pad Replacement: step 9, image 2 of 2
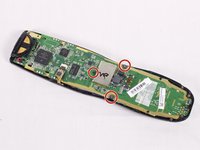
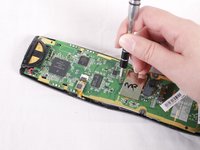
      • Using the Philips #0 screwdriver, remove the three 50mm screws from the circuit board.

      Ask FixBot

      Add Comment

    8. Logitech Harmony 900 Button Pad Replacement: step 10, image 1 of 1
      • Using your hands, carefully separate the motherboard from the rest of the remote.

      Ask FixBot

      Add Comment

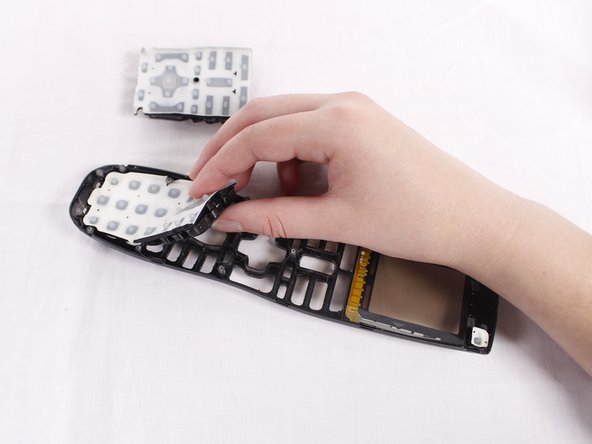
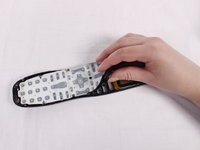
    1. Logitech Harmony 900 Button Pad Replacement, Button Pad: step 11, image 1 of 2 Logitech Harmony 900 Button Pad Replacement, Button Pad: step 11, image 2 of 2
      • Peel off the button pads from the device frame.

      Ask FixBot

      Add Comment

Conclusion

To reassemble your device, follow these instructions in reverse order.

Cancel: I did not complete this guide.

One other person completed this guide.

Tyler Hanks

Member since: 09/25/17

442 Reputation

3 Guides authored

Team

USF Tampa, Team S4-G5, Eyestone Fall 2017 Member of USF Tampa, Team S4-G5, Eyestone Fall 2017

USFT-EYESTONE-F17S4G5

4 Members

48 Guides authored

0 Guide Comments

Add Comment

View Statistics:

Past 24 Hours: 1

Past 7 Days: 17

Past 30 Days: 101

All Time: 1,296