
Logitech Gamepad F310 Trigger Spring Replacement

Alan Mendoza DracoKing and 3 other contributors
Last updated on Jun 12, 2024
Views: 2K
View statistics:
- Past 24 Hours:
- 5
- Past 7 Days:
- 29
- Past 30 Days:
- 144
- All Time:
- 1,955
Comments: 3
2 comments on steps, 1 guide comment.
Go to guide commentsCompleted: 1 2
1 person has marked this guide "completed." Will you be next?
2 people have marked this guide "completed." Including you — great job!
Favorites: 1 2
1 person has favorited (and subscribed to) this guide. Will you be next?
2 people have favorited (and subscribed to) this guide — including you!
Introduction
Go to step 1 ↓If your triggers on your Logitech Gamepad F310 seem to be loose or broken, you might need to replace the springs inside them. Luckily this is a fairly easy process. Follow this guide to replace the springs on the triggers for your Gamepad controller.
The trigger spring is to help make trigger return back original position. The trigger is special function for gaming purpose like aiming, zooming and etc. So those are reason to replace trigger spring.
No special tools or skills are required.
What you need
Tools


-
-
-
Use a Phillips #1 screwdriver to remove all seven 3 mm screws that secure the rear case.
 Ask FixBot
-
-
-
Press along the seams of the controller and gently pull the front and rear case apart.
-
-
-
-
-
Use a Phillips #1 screwdriver to remove:
-
Four 3 mm screws
-
One 5 mm screw
-
Gently lift the motherboard off of the back case and slide the cord out of the top slot.
-
-
-


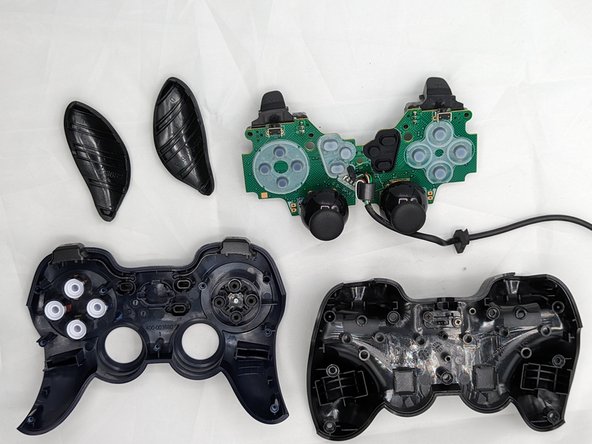
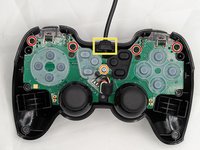


You're all finished! To reassemble your device, follow these instructions carefully in reverse order.
Cancel: I did not complete this guide.
One other person completed this guide.

Team

University of North Texas, Team 2-6, Kilpatrick Spring 2024 Member of University of North Texas, Team 2-6, Kilpatrick Spring 2024
UNT-KILPATRICK-S24S2G6
4 Members
72 Guides authored
1 Guide Comment
I completed this guide in conjunction with this video:
