Free Shipping on Domestic Orders $75+

Logitech G920 Driving Force Motor Motherboard Replacement

What you need

  1. Logitech G920 Driving Force Motor Motherboard Replacement, Motor Motherboard: step 1, image 1 of 1
    • Use the Phillips #0 screwdriver to remove the five 9.5 mm external screws.

    • Only three of the five screws are visible from each side of the wheel due to the center unit.

    Ask FixBot

    Add Comment

  2. Logitech G920 Driving Force Motor Motherboard Replacement: step 2, image 1 of 1
    • Using the Phillips #0 screwdriver, remove the 5 mm screws holding the bumpers in place.

    Ask FixBot

    Add Comment

  3. Logitech G920 Driving Force Motor Motherboard Replacement: step 3, image 1 of 2 Logitech G920 Driving Force Motor Motherboard Replacement: step 3, image 2 of 2
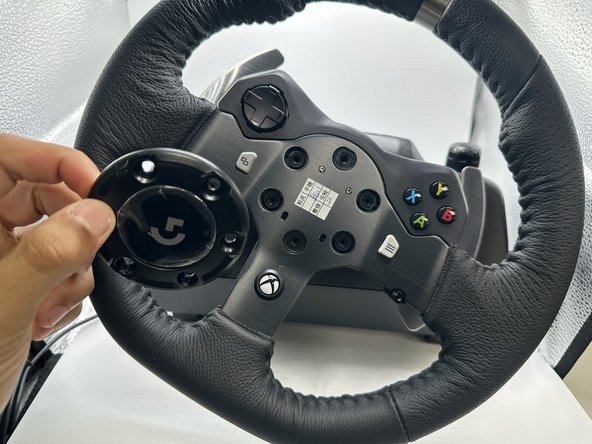
    • Using the TR25 Torx Security Screwdriver, remove the six 23.8 mm screws holding the face plate together.

    • Remove the face plate from the steering wheel.

    Ask FixBot

    Add Comment

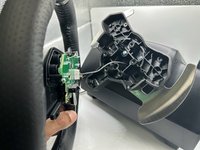
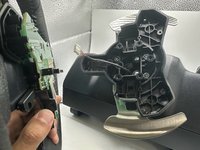
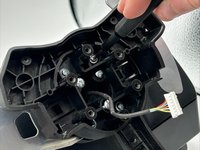
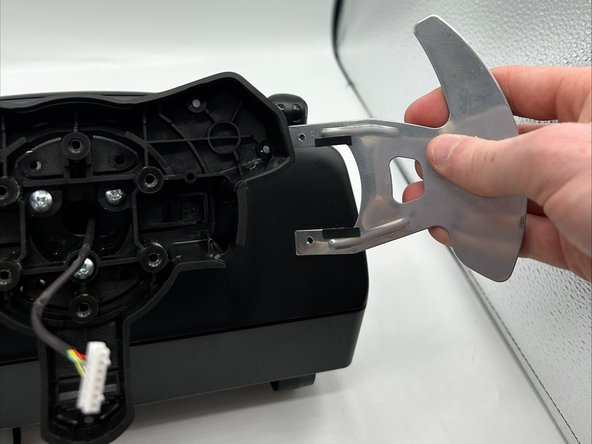
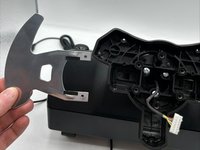
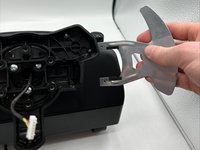
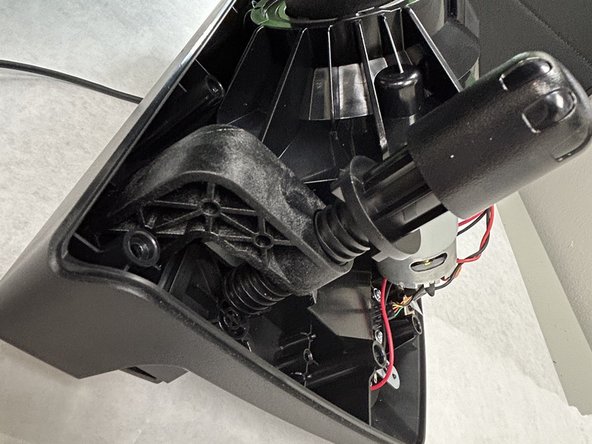
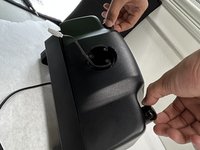
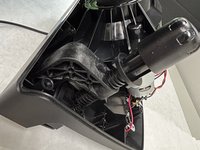
  4. Logitech G920 Driving Force Motor Motherboard Replacement: step 4, image 1 of 2 Logitech G920 Driving Force Motor Motherboard Replacement: step 4, image 2 of 2
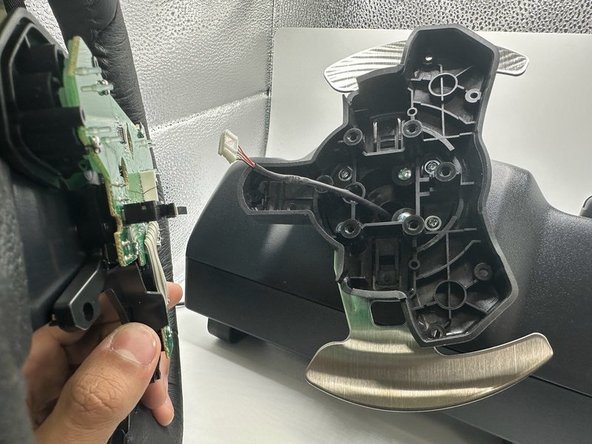
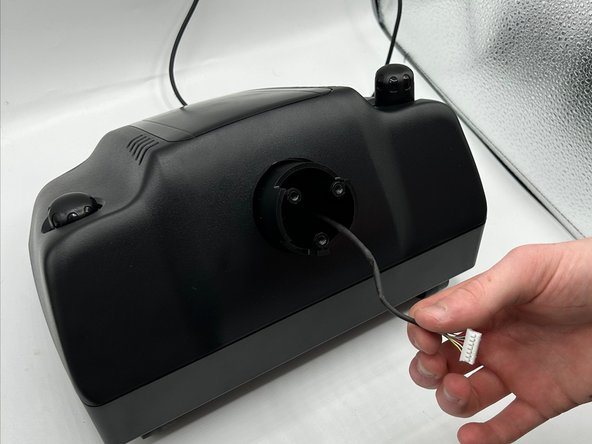
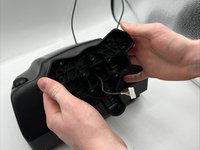
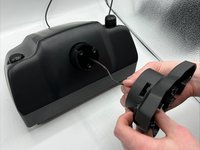
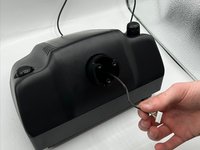
    • Remove the wheel from the main steering wheel console.

    • Ensure this is done carefully as to not damage the connection wire.

    Ask FixBot

    Add Comment

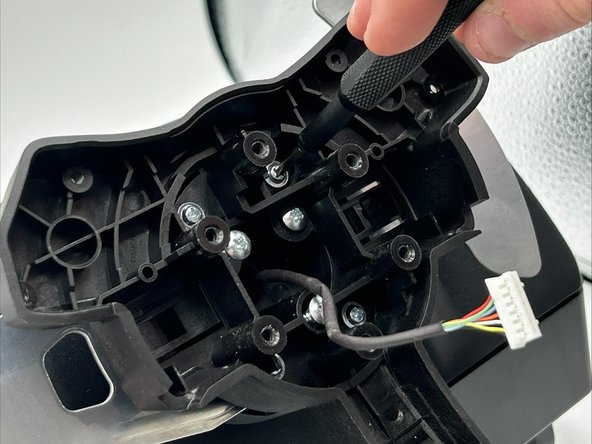
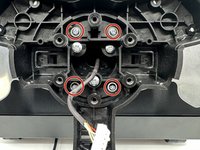
  5. Logitech G920 Driving Force Motor Motherboard Replacement: step 5, image 1 of 2 Logitech G920 Driving Force Motor Motherboard Replacement: step 5, image 2 of 2
    • Remove the four 13.5 mm screws with a Phillips #0 screwdriver.

    Ask FixBot

    Add Comment

  6. Logitech G920 Driving Force Motor Motherboard Replacement: step 6, image 1 of 2 Logitech G920 Driving Force Motor Motherboard Replacement: step 6, image 2 of 2
    • Remove the pedals from both sides of the wheel base.

    Ask FixBot

    Add Comment

  7. Logitech G920 Driving Force Motor Motherboard Replacement: step 7, image 1 of 1
    • Remove the three 36 mm screws with a Phillips #2 screwdriver.

    Ask FixBot

    Add Comment

  8. Logitech G920 Driving Force Motor Motherboard Replacement: step 8, image 1 of 3 Logitech G920 Driving Force Motor Motherboard Replacement: step 8, image 2 of 3 Logitech G920 Driving Force Motor Motherboard Replacement: step 8, image 3 of 3
    • Remove the wheel base from the motor box.

    Ask FixBot

    Add Comment

  9. Logitech G920 Driving Force Motor Motherboard Replacement: step 9, image 1 of 1
    • Flip the motor box over.

    • Remove the twelve 12.2 mm screws with a Phillips #0 screwdriver.

    • Remove the two 11.5 mm screws with a Phillips #0 screwdriver.

    Ask FixBot

    Add Comment

  10. Logitech G920 Driving Force Motor Motherboard Replacement: step 10, image 1 of 2 Logitech G920 Driving Force Motor Motherboard Replacement: step 10, image 2 of 2
    • Flip over the motor box once more.

    • Remove the motor box cover.

    Ask FixBot

    Add Comment

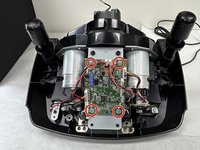
  11. Logitech G920 Driving Force Motor Motherboard Replacement: step 11, image 1 of 3 Logitech G920 Driving Force Motor Motherboard Replacement: step 11, image 2 of 3 Logitech G920 Driving Force Motor Motherboard Replacement: step 11, image 3 of 3
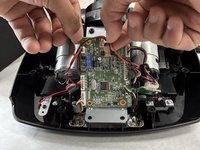
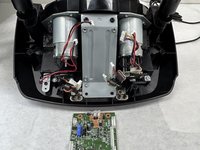
    • Remove the four 5 mm screws with a Phillips #0 screwdriver.

    • Detach the wires connected to the motherboard.

    • Remove the motherboard from the motor box.

    Ask FixBot

    Add Comment

Conclusion

To reassemble your device, follow these instructions in reverse order.

Cancel: I did not complete this guide.

6 other people completed this guide.

1 Guide Comment

Which wire is for the USB?

Davoyles lags - Reply Share

Add Comment

View Statistics:

Past 24 Hours: 6

Past 7 Days: 63

Past 30 Days: 342

All Time: 7,925