Introduction
If your Logitech G X56 HOTAS Throttle produces buzzing sounds, crackling feedback, intermittent input, or no response from the throttle axis—even while other components appear to function correctly—the internal potentiometers may be worn out or damaged. Potentiometers are mechanical sensors that translate physical movement into electrical signals, and over time they can degrade due to dust, wear, or internal failure. This guide will show you how to access and replace the throttle potentiometers to restore smooth and accurate input control.
What you need
-
-
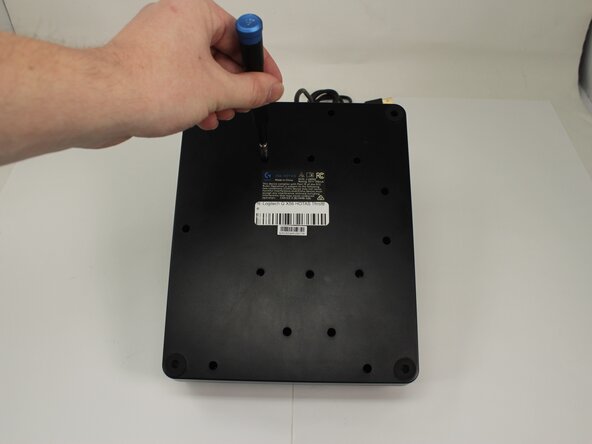
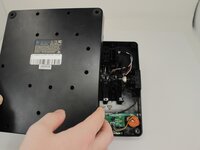
Remove the fifteen 13.6 mm Phillips #1 screws that secure the bottom panel to the base plate.
-
-
-
-
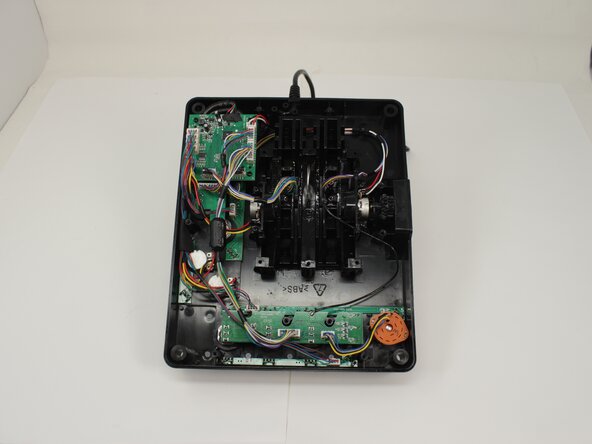
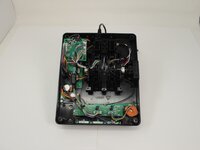
Disconnect the motherboard wire bundles leading to the potentiometer.
-


To reassemble your device, follow the above steps in reverse order.
Take your e-waste to an R2 or e-Stewards certified recycler.
Repair didn’t go as planned? Try some basic troubleshooting or ask our Answers community for help.
Cancel: I did not complete this guide.
One other person completed this guide.

Team

University of Memphis, Team 3-5, Sneed Spring 2025 Member of University of Memphis, Team 3-5, Sneed Spring 2025
UM-SNEED-S25S3G5
4 Members
7 Guides authored