Free Shipping on Domestic Orders $75+

Logitech G X56 HOTAS Joystick Trigger Spring Replacement

Views: 535

View statistics:

Past 24 Hours:
2
Past 7 Days:
13
Past 30 Days:
91
All Time:
535
Comments: 0

No one has left comments on this guide. Will you be first?

Go to guide comments
Completed: 0

No one has marked this guide "completed." Will you be the first?

Favorites: 0

No one has favorited (and subscribed to) this guide. Will you be the first?

Time Required: 5 - 7 minutes
Difficulty: Moderate
Logitech G X56 HOTAS Joystick Trigger Spring Replacement

Introduction

Go to step 1 ↓

If your Logitech G X56 HOTAS Joystick (model 945-000058) isn’t registering the input when the Trigger is pressed, use this guide to replace the defective Trigger.

The Trigger is one of the primary input controls on the joystick. It is commonly used for firing weapons or activating key functions in flight and space simulation games. A defective trigger may result in delayed responses, intermittent inputs, or can be unresponsive during gameplay.

Before using this guide, inspect the Trigger for physical damage or signs of debris that may be interfering. Check the joystick on a different USB port or computer to rule out software conflicts.

Before beginning, disconnect the joystick from any USB connection or power source.

What you need

Tools

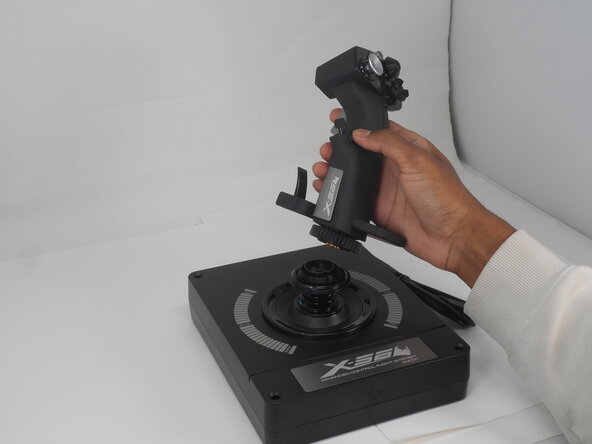
    1. Logitech G X56 HOTAS Joystick Trigger Spring Replacement, Logitech G X56 HOTAS Joystick Disassembly: step 1, image 1 of 2 Logitech G X56 HOTAS Joystick Trigger Spring Replacement, Logitech G X56 HOTAS Joystick Disassembly: step 1, image 2 of 2
      • Turn the locking bezel counterclockwise, then remove the joystick from the joystick base.

      Ask FixBot

      Add Comment

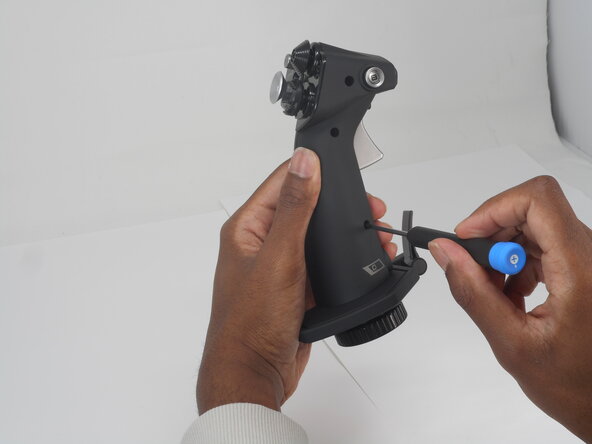
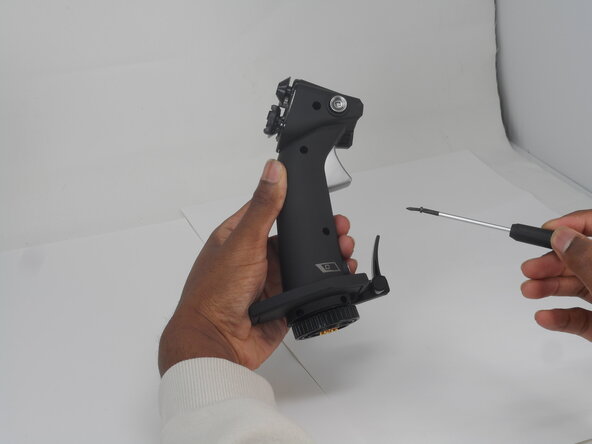
    2. Logitech G X56 HOTAS Joystick Trigger Spring Replacement: step 2, image 1 of 3 Logitech G X56 HOTAS Joystick Trigger Spring Replacement: step 2, image 2 of 3 Logitech G X56 HOTAS Joystick Trigger Spring Replacement: step 2, image 3 of 3
      • Remove the five 11.7 mm-long Phillips #0 screws that secure the case.

      Ask FixBot

      Add Comment

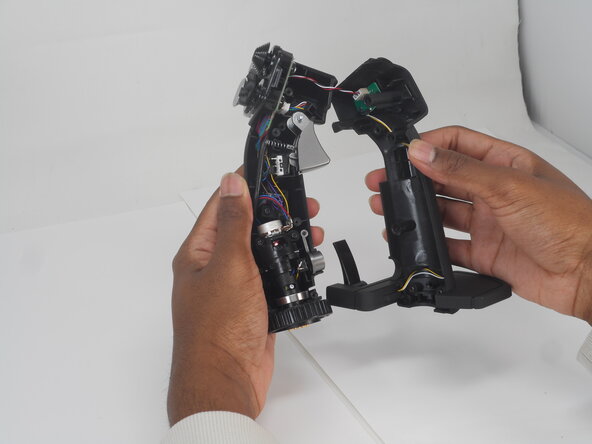
    3. Logitech G X56 HOTAS Joystick Trigger Spring Replacement: step 3, image 1 of 2 Logitech G X56 HOTAS Joystick Trigger Spring Replacement: step 3, image 2 of 2
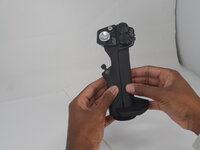
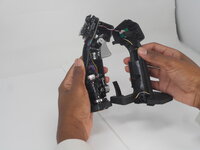
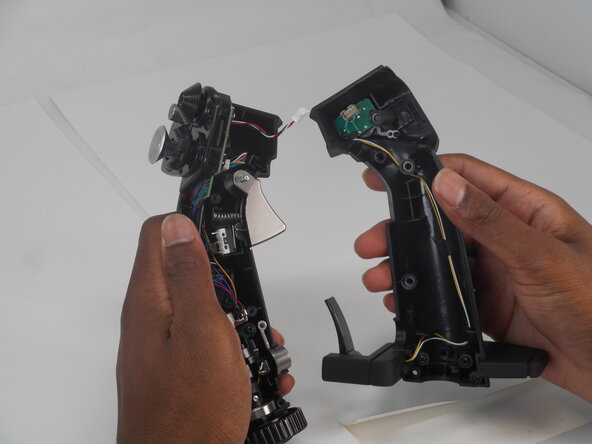
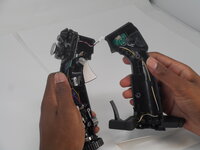
      • Pull the joystick casing apart to reveal the internal components.

      • The casing will need a little force to split open.

      • Take care not to damage or strain the connected cable.

      Ask FixBot

      Add Comment

    4. Logitech G X56 HOTAS Joystick Trigger Spring Replacement: step 4, image 1 of 2 Logitech G X56 HOTAS Joystick Trigger Spring Replacement: step 4, image 2 of 2
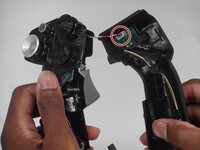
      • Grip and pull the white connector directly out of its socket.

      • The connector is fragile. If removed forcefully, it may affect the PCB performance.

      Ask FixBot

      Add Comment

    5. Logitech G X56 HOTAS Joystick Trigger Spring Replacement: step 5, image 1 of 2 Logitech G X56 HOTAS Joystick Trigger Spring Replacement: step 5, image 2 of 2
      • Refer to the left or right side for replacement guides of other parts (left, then right side in order).

      Ask FixBot

      Add Comment

    1. Logitech G X56 HOTAS Joystick Trigger Spring Replacement, Trigger Spring: step 6, image 1 of 2 Logitech G X56 HOTAS Joystick Trigger Spring Replacement, Trigger Spring: step 6, image 2 of 2
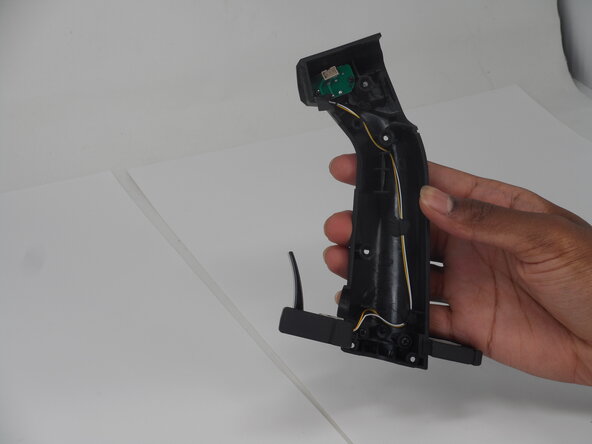
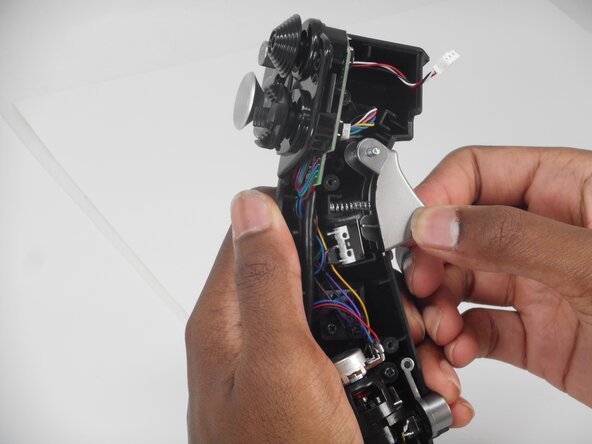
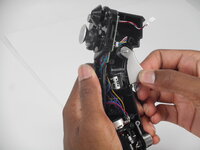
      • Locate the trigger button on the left dissembled side of the joystick.

      Ask FixBot

      Add Comment

    2. Logitech G X56 HOTAS Joystick Trigger Spring Replacement: step 7, image 1 of 2 Logitech G X56 HOTAS Joystick Trigger Spring Replacement: step 7, image 2 of 2
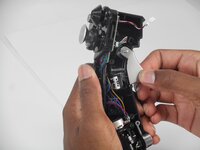
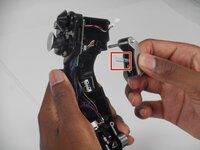
      • Use two fingers to grab the trigger and pull upwards slowly.

      • The spring attached to the trigger pops out if not done carefully.

      Ask FixBot

      Add Comment

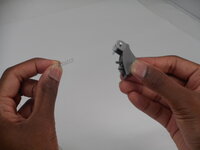
    3. Logitech G X56 HOTAS Joystick Trigger Spring Replacement: step 8, image 1 of 2 Logitech G X56 HOTAS Joystick Trigger Spring Replacement: step 8, image 2 of 2
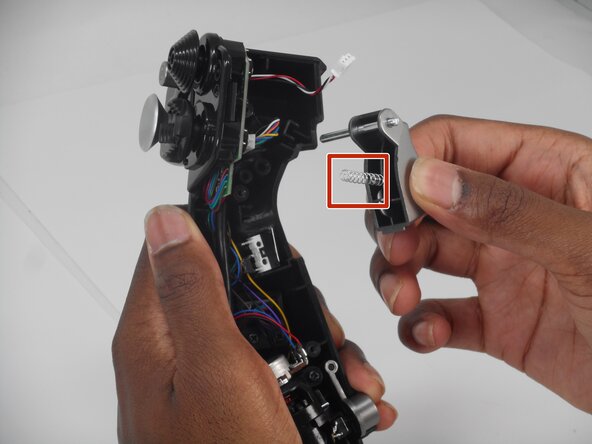
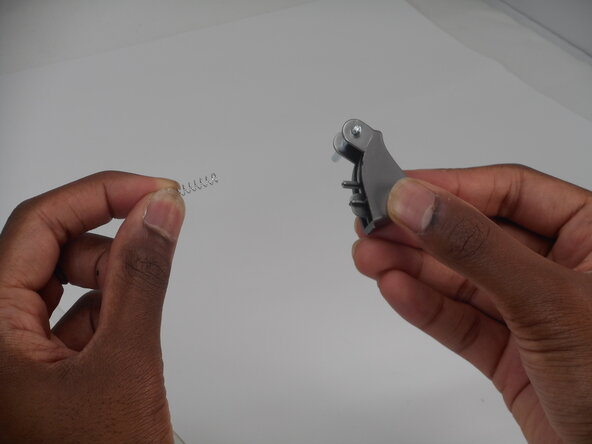
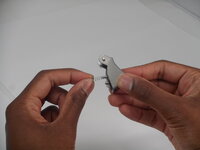
      • Detach the spring and replace it with a new one.

      Ask FixBot

      Add Comment

Conclusion

To reassemble your device, follow these instructions in reverse order.

Cancel: I did not complete this guide.

0 Guide Comments

Add Comment

View Statistics:

Past 24 Hours: 2

Past 7 Days: 13

Past 30 Days: 91

All Time: 535