Introduction
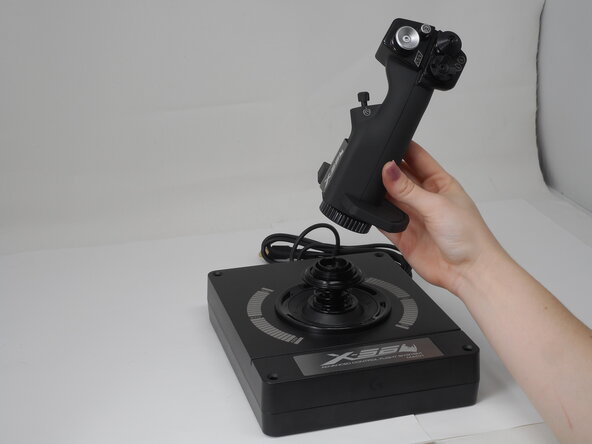
If your Logitech G X56 HOTAS Joystick (model 945-000058) feels too loose, unbalanced, or lacks resistance during movement, use this guide to replace the Joystick Tension Spring.
The tension spring provides mechanical resistance to the joystick’s pitch and roll movements. A worn or broken spring can result in a limp or overly sensitive stick, making precise control difficult during the flight simulation.
Before using this guide, try adjusting the spring system using the default spring tension adjustment feature. Before beginning, disconnect the joystick from all USB and power sources.
The spring is under mechanical tension, so use caution during removal or installation to prevent injury or component damage.
-
-
Turn the locking bezel counterclockwise until the joystick comes away from the base.
 Ask FixBot
-
-
-
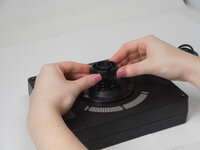
Remove the plastic ring by applying pressure and lifting equally on both sides.
-
-
-
-
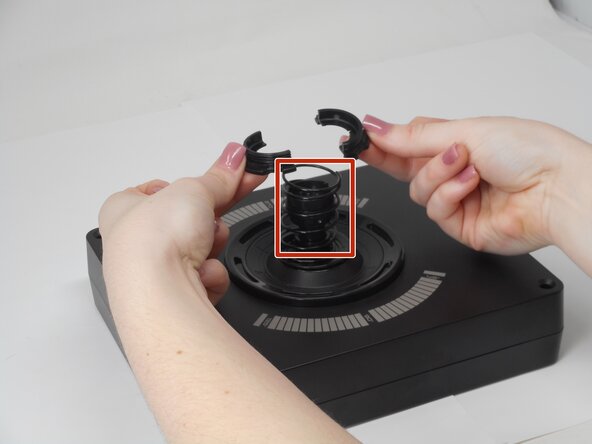
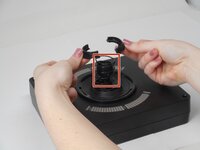
There is a locking clamp that locks the spring that splits in two. Take one half of the clamp off, press the spring down, and take the other clamp out.
-


To reassemble your device, follow the above steps in reverse order.
Repair didn’t go as planned? Try some basic troubleshooting or ask our Answers community for help.
Cancel: I did not complete this guide.
One other person completed this guide.

Team

University of Memphis, Team 1-5, Sneed Spring 2025 Member of University of Memphis, Team 1-5, Sneed Spring 2025
UM-SNEED-S25S1G5
3 Members
6 Guides authored