Free Shipping on Domestic Orders $75+

Logitech Dual Action Triggers Repair

What you need

  1. Logitech Dual Action Triggers Repair, Logitech Dual Action Triggers Repair: step 1, image 1 of 1
    • To get into the controller, you will need to unscrew the 7 screws on the back.

    • You will have to remove the bottom oval sticker to reveal the screw circled in red.

    Ask FixBot

    Add Comment

  2. Logitech Dual Action Triggers Repair: step 2, image 1 of 2 Logitech Dual Action Triggers Repair: step 2, image 2 of 2
    • With the screws removed, turn the controller upside down and separate the front end from the back end.

    • It is likely that the buttons will fall out of place, so as you open the controller, try to keep track of where the pieces go.

    Ask FixBot

    Add Comment

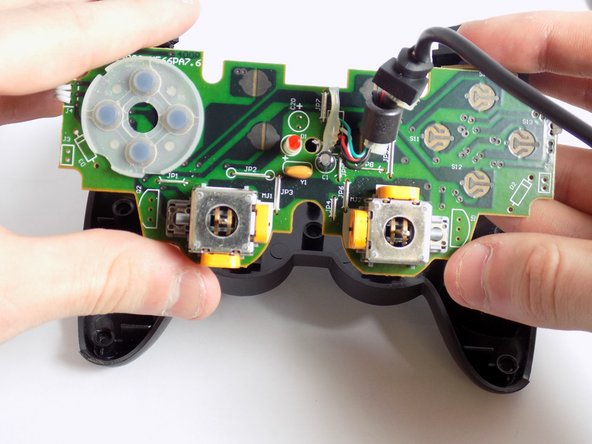
  3. Logitech Dual Action Triggers Repair: step 3, image 1 of 1
    • There should be 4 circular buttons labeled 1-4, 4 smaller circular buttons for the D-Pad, and 3 oval shaped buttons.

    Ask FixBot

    Add Comment

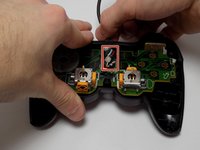
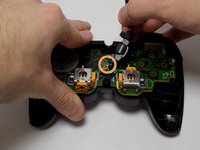
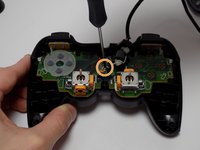
  4. Logitech Dual Action Triggers Repair: step 4, image 1 of 3 Logitech Dual Action Triggers Repair: step 4, image 2 of 3 Logitech Dual Action Triggers Repair: step 4, image 3 of 3
    • In the center of the controller, pull upwards on the USB cord.

    • Be careful not to pull hard enough to yank the wires connecting to the logic board.

    • With the wire out of the way, remove the screw it exposed. This will disconnect the logic board from the controller.

    Ask FixBot

    Add Comment

  5. Logitech Dual Action Triggers Repair: step 5, image 1 of 3 Logitech Dual Action Triggers Repair: step 5, image 2 of 3 Logitech Dual Action Triggers Repair: step 5, image 3 of 3
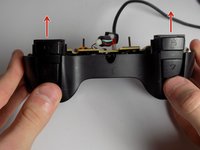
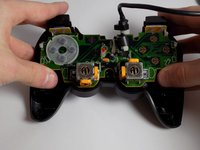
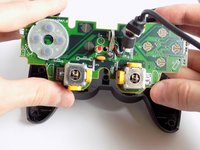
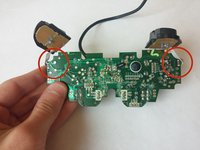
    • To remove the triggers, push upwards from the back on them.

    • Once far enough, detach the logic board from the back cover piece and the triggers.

    Ask FixBot

    Add Comment

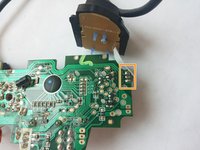
  6. Logitech Dual Action Triggers Repair: step 6, image 1 of 2 Logitech Dual Action Triggers Repair: step 6, image 2 of 2
    • If the wire is unplugged solely from the logic board, you can fasten it back into its place.

    • Look at the second picture to see where the wires go.

    Ask FixBot

    Add Comment

  7. Logitech Dual Action Triggers Repair: step 7, image 1 of 3 Logitech Dual Action Triggers Repair: step 7, image 2 of 3 Logitech Dual Action Triggers Repair: step 7, image 3 of 3
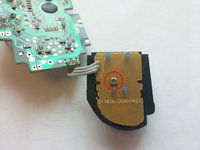
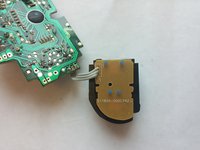
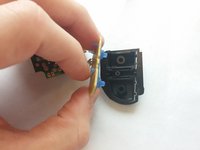
    • Unscrew the screw on the trigger to remove the back cover.

    • Once removed, carefully pull the back cover off.

    Ask FixBot

    Add Comment

  8. Logitech Dual Action Triggers Repair: step 8, image 1 of 1
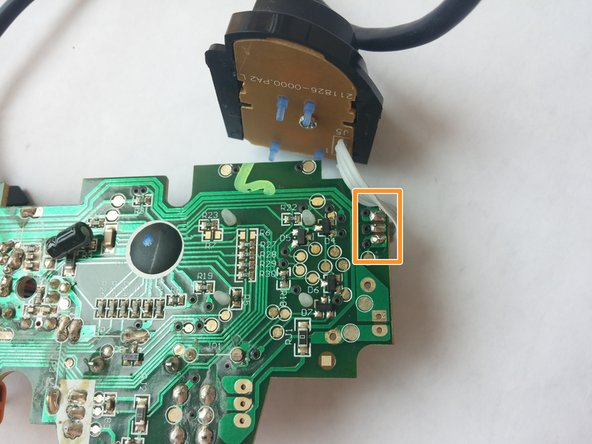
    • The 3 wires are soldered into the 3 spots circled on the picture.

    • You can now fasten the wire into the right spot on the trigger piece.

    Ask FixBot

    Add Comment

Conclusion

To reassemble your device, follow these instructions in reverse order.

Cancel: I did not complete this guide.

8 other people completed this guide.

Brian Neuman

Member since: 01/20/15

1,157 Reputation

3 Guides authored

Team

USF Tampa, Team 7-4, Remmell Winter 2015 Member of USF Tampa, Team 7-4, Remmell Winter 2015

USFT-REMMELL-W15S7G4

4 Members

5 Guides authored

4 Guide Comments

Hi dear, can you say me the order of colours in the USB cable? I think green, white, red, black thin and black thick. Is It correct?

Cas - Reply Share

Where can I get conductive pads for this?

Ginga - Reply Share

Hi dear, can you say me the order of colours in the USB cable? I think green, white, red, black thin and black thick. Is It correct?

RADO rakotonatoandro - Reply Share

Hi dear, can you say me the order of colours in the USB cable? I think green, white, red, black thin and black thick.

RADO rakotonatoandro - Reply Share

Add Comment

View Statistics:

Past 24 Hours: 13

Past 7 Days: 35

Past 30 Days: 128

All Time: 12,167