Introduction
USB ports on the router are used to connect and transmit data from another device. Faulty USB ports can be replaced with the proper equipment. This guide will show you how to remove a soldered USB port for replacement.
What you need
-
Tool used on this step:Tweezers$4.99
-
Remove the antennas by unscrewing them from the base.
-
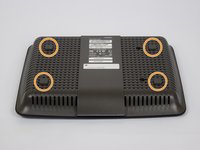
Flip over the device and locate the four rubber feet on the bottom.
-
Remove the rubber feet with tweezers
 Ask FixBot
-
-
-
Remove the 0.4cm head screws from each slot with the #1 Phillips head Screwdriver.
-
-
-
-
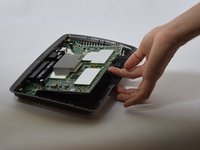
Use a blue plastic opening tool to remove the top cover.
-
Move the blue plastic opening tool gently underneath the top cover from side to side.
-
-
-
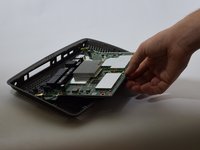
Gently lift the motherboard and remove it from the case
-
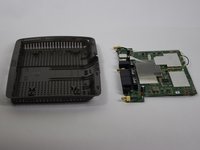
Put the motherboard over a (preferably white) surface.
-
-
-
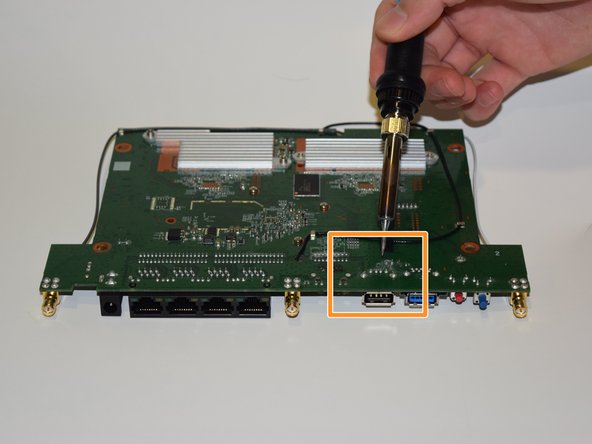
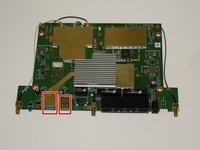
Locate the USB ports on both sides of the router motherboard. There are six points on the reverse side where the USB ports are soldered onto.
-
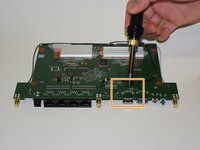
Apply the soldering iron carefully to the six points to melt to solder. Touching the motherboard with the solder can damage the circuits.
-
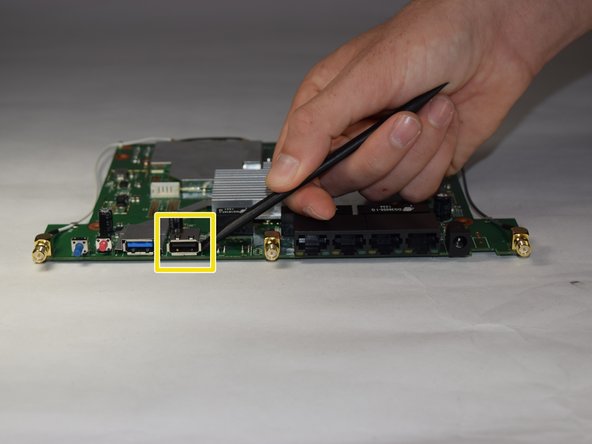
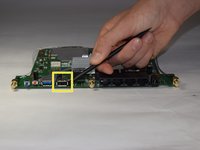
After the solder has melted and been removed, gently pry the USB port with a black spudger to separate it from the motherboard.
-
Confirm that all of the old solder has been removed after the USB port is detached from the motherboard.
-





To reassemble your device, follow these instructions in reverse order.
Cancel: I did not complete this guide.
2 other people completed this guide.

Team

USF Tampa, Team 11-1, Blackwell Fall 2016 Member of USF Tampa, Team 11-1, Blackwell Fall 2016
USFT-BLACKWELL-F16S11G1
4 Members
12 Guides authored
