Introduction
For optimal performance, the middle antenna needs to be pointed straight up and the side antennas should be angled outwards at +/- 30 degrees.
If the antennas are not staying in place, it could affect the performance of the router, and you need to be replace them.
What you need
-
-
Tool used on this step:Tweezers$4.99
-
Remove the antennas by unscrewing them from the base.
-
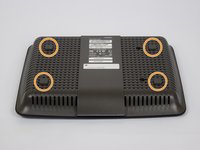
Flip over the device and locate the four rubber feet on the bottom.
-
Remove the rubber feet with tweezers
 Ask FixBot
-
-
-
Remove the 0.4cm head screws from each slot with the #1 Phillips head Screwdriver.
-
-
-
-
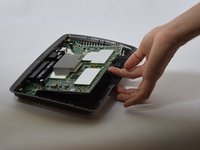
Use a blue plastic opening tool to remove the top cover.
-
Move the blue plastic opening tool gently underneath the top cover from side to side.
-
-
-
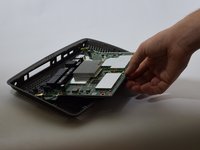
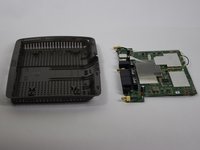
Gently lift the motherboard and remove it from the case
-
Put the motherboard over a (preferably white) surface.
-
-
-
-
-
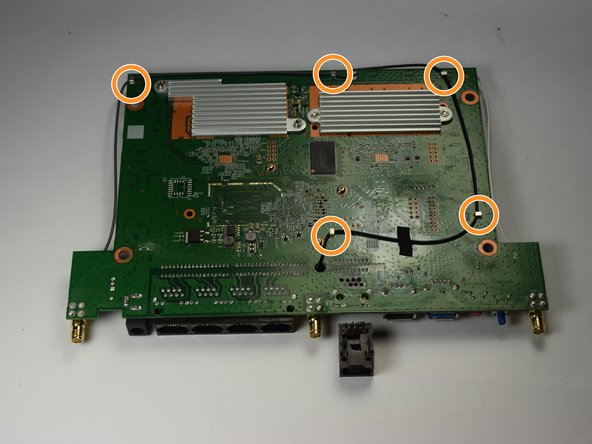
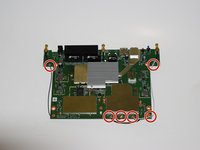
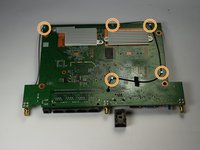
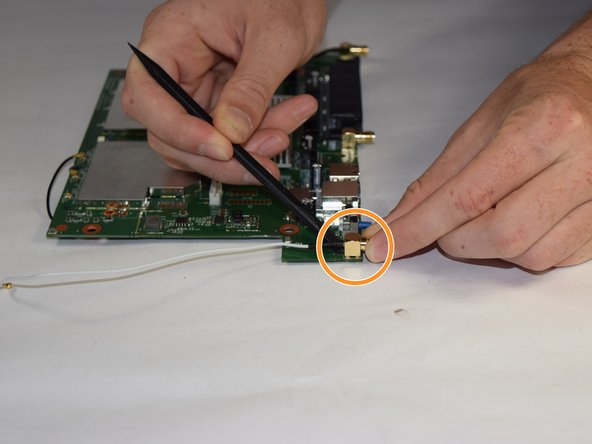
Detach the wires from the motherboard.
-
Flip the motherboard and repeat the process.
-
-
-
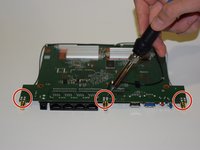
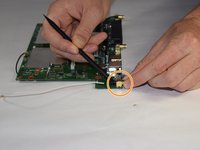
Locate the four solder points on each port and melt them using a soldering iron.
-
Remove each port using a nylon spudger
-
-






To reassemble your device, follow these instructions in reverse order.
Cancel: I did not complete this guide.
5 other people completed this guide.

Team

USF Tampa, Team 11-1, Blackwell Fall 2016 Member of USF Tampa, Team 11-1, Blackwell Fall 2016
USFT-BLACKWELL-F16S11G1
4 Members
72 Guides authored
