Free Shipping on Domestic Orders $75+

Lexmark T650 Fuser Roller Replacement

What you need

    • A damaged pressure roller leads to paper jams.

    • A damaged non-stick coating on the heated roller causes dark marks and double images. Toner that sticks to the non stick coating on the heated roller makes an after-image or marks 94mm (3.7 inches) below the original dark print.

    Ask FixBot

    Add Comment

  1. Lexmark T650 Fuser Roller Replacement, Remove front cover: step 2, image 1 of 1
    • Remove these two 6mm Philips #2 screws then remove the front cover

    Ask FixBot

    Add Comment

  2. Lexmark T650 Fuser Roller Replacement, Remove top cover: step 3, image 1 of 2 Lexmark T650 Fuser Roller Replacement, Remove top cover: step 3, image 2 of 2
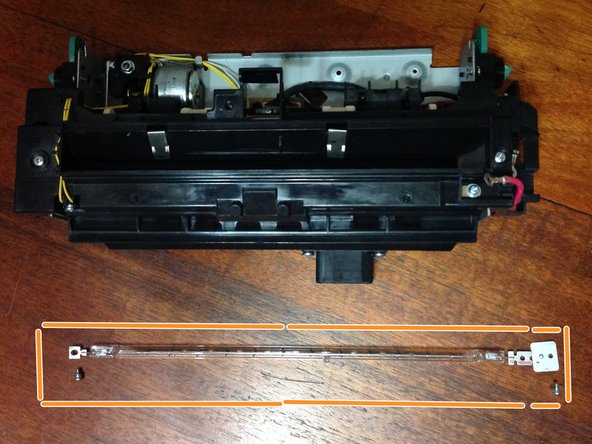
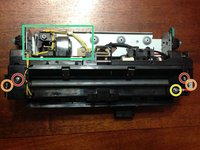
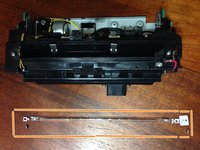
    • Remove these two 6mm #2 screws from the two ends of the heating element and carefully withdraw the glass heating element.

    • The glass heating element is shown in the second picture.

    • Remove these two 6mm #2 screws attaching the top cover.

    • Remove this screw attaching the red power cable.

    • Unplug the pair of yellow wires and unhook them from the hooks tucking them in place.

    • The top cover can now be removed.

    Ask FixBot

    Add Comment

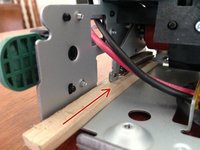
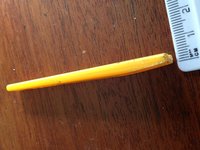
  3. Lexmark T650 Fuser Roller Replacement, Release the springs: step 4, image 1 of 2 Lexmark T650 Fuser Roller Replacement, Release the springs: step 4, image 2 of 2
    • Insert a wedge under each of the two spring support arms to lift the two springs.

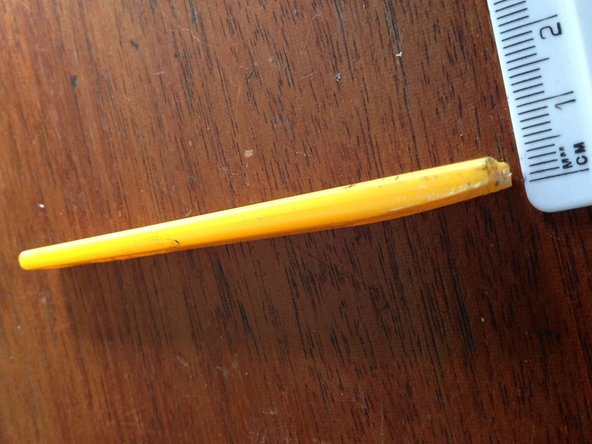
    • The wedges should remain in place while the fuser unit is being stored. Otherwise the pressure from top roller will make a permanent indentation in the soft pressure roller.

    • The second picture shows a suitable wedge. This example was made from a toothbrush handle.

    Ask FixBot

    Add Comment

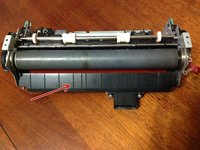
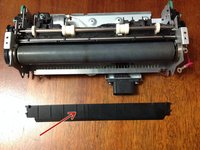
  4. Lexmark T650 Fuser Roller Replacement, Remove paper guide: step 5, image 1 of 2 Lexmark T650 Fuser Roller Replacement, Remove paper guide: step 5, image 2 of 2
    • gently bend this paper guide to remove it.

    Ask FixBot

    Add Comment

  5. Lexmark T650 Fuser Roller Replacement, Remove top roller: step 6, image 1 of 3 Lexmark T650 Fuser Roller Replacement, Remove top roller: step 6, image 2 of 3 Lexmark T650 Fuser Roller Replacement, Remove top roller: step 6, image 3 of 3
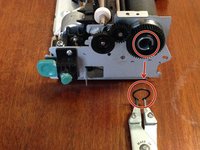
    • Use circlip pliers to remove the circlip attaching the cogwheel to the top roller.

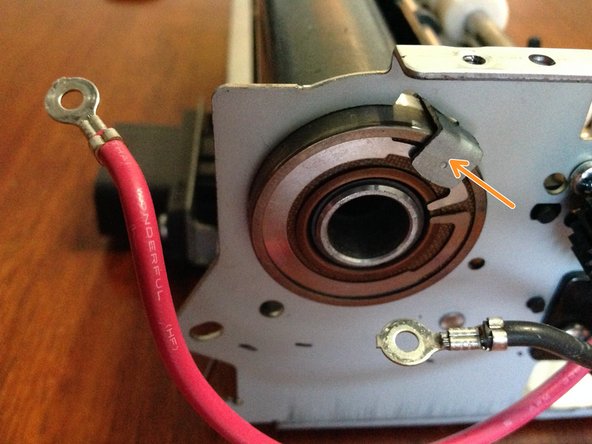
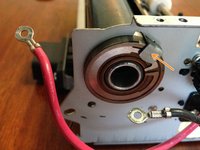
    • Slide this metal catch upwards to release the bearing from its holder. Remove the bearing.

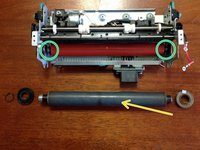
    • The top roller can now be removed.

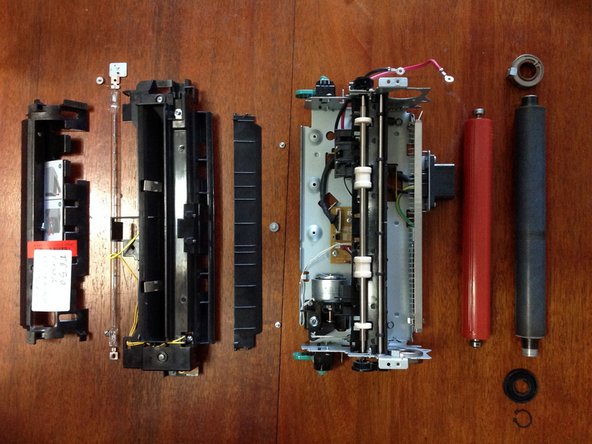
    • The red pressure roller is now visible with its bearings resting in the holder at each end.

    Ask FixBot

    Add Comment

  6. Lexmark T650 Fuser Roller Replacement, Remove the pressure roller: step 7, image 1 of 2 Lexmark T650 Fuser Roller Replacement, Remove the pressure roller: step 7, image 2 of 2
    • The pressure roller can now be lifted out.

    Ask FixBot

    Add Comment

Conclusion

To reassemble your device, follow these instructions in reverse order.

Cancel: I did not complete this guide.

3 other people completed this guide.

David42

Member since: 02/11/18

1,508 Reputation

7 Guides authored

0 Guide Comments

Add Comment

View Statistics:

Past 24 Hours: 0

Past 7 Days: 13

Past 30 Days: 50

All Time: 1,980