Free Shipping on Domestic Orders $75+

Lenovo Yoga Tablet 2 830-F Display Replacement

What you need

    1. Lenovo Yoga Tablet 2 830-F Display Replacement, Display: step 1, image 1 of 2 Lenovo Yoga Tablet 2 830-F Display Replacement, Display: step 1, image 2 of 2
      • Remove the three screws on the back of the device with the Phillips Screwdriver #00 bit.

      • Using the blue opening tools or spudger, gently remove the back cover to expose the interior of the tablet.

      Ask FixBot

      Add Comment

    2. Lenovo Yoga Tablet 2 830-F Display Replacement: step 2, image 1 of 3 Lenovo Yoga Tablet 2 830-F Display Replacement: step 2, image 2 of 3 Lenovo Yoga Tablet 2 830-F Display Replacement: step 2, image 3 of 3
      • Remove the six screws on the back of the motherboard with the Phillips Screwdriver #00 bit.

      • Remove the three screws on the back of the secondary board with the Phillips Screwdriver #00 bit.

      • Remove the ribbon cables connecting the boards to the other electrical components

      • Some of the ribbon cables are secured with clips, simply pry up the clips before sliding them out of the pin connectors.

      Ask FixBot

      Add Comment

    3. Lenovo Yoga Tablet 2 830-F Display Replacement: step 3, image 1 of 3 Lenovo Yoga Tablet 2 830-F Display Replacement: step 3, image 2 of 3 Lenovo Yoga Tablet 2 830-F Display Replacement: step 3, image 3 of 3
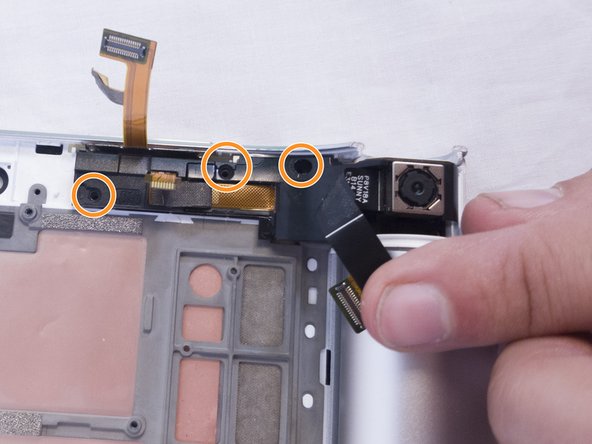
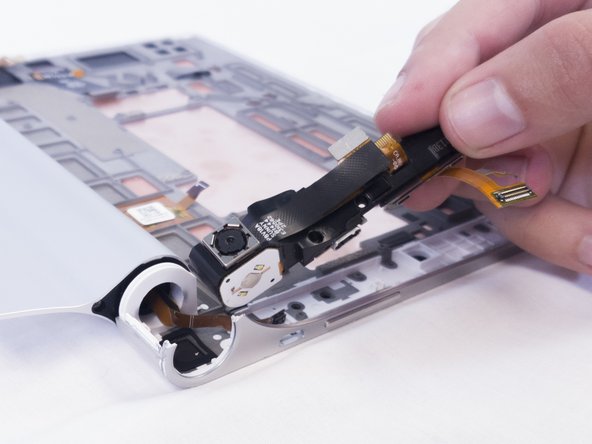
      • Remove the three 2mm screws on the back of the left speaker module with the Phillips Screwdriver #00 bit.

      • Remove the three 2mm screws on the back of the right speaker module.

      • Gently remove both the left and right speaker modules.

      Ask FixBot

      Add Comment

    4. Lenovo Yoga Tablet 2 830-F Display Replacement: step 4, image 1 of 3 Lenovo Yoga Tablet 2 830-F Display Replacement: step 4, image 2 of 3 Lenovo Yoga Tablet 2 830-F Display Replacement: step 4, image 3 of 3
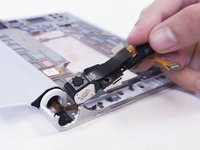
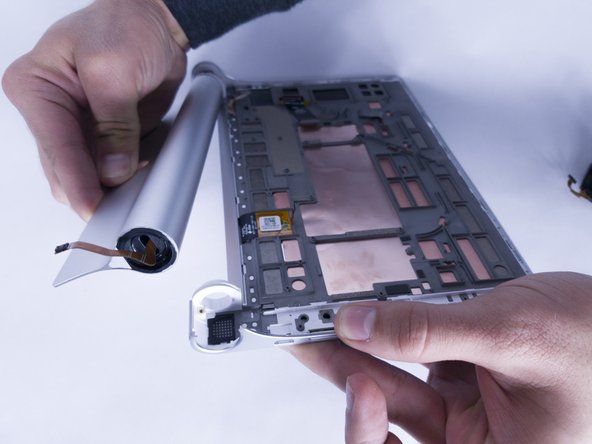
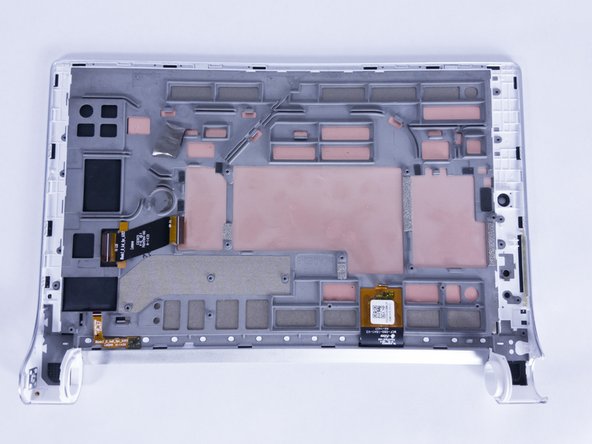
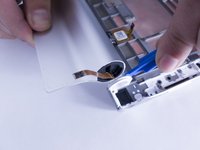
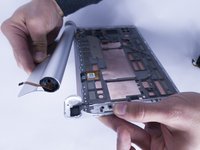
      • Use the opening tool to pry the battery compartment off the right hand side of the back.

      • This may require a decent amount of force to accomplish. If you feel like the white plastic holder will break, try using the spudger at a different angle.

      • Do not attempt to use the spudger on the right hand side of the device. It must be done on the left side.

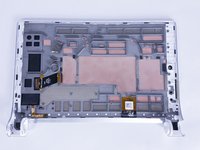
      • The display and housing for the screen are one piece and would be bought together.

      Ask FixBot

      Add Comment

Conclusion

Well done on replacing your tablet's display! Reassemble your device by following these instructions backwards, ensuring all parts are correctly aligned and secure. Enjoy your refreshed Lenovo Yoga Tablet!

Cancel: I did not complete this guide.

4 other people completed this guide.

Mario Gjyli

Member since: 09/28/17

461 Reputation

3 Guides authored

Team

USF Tampa, Team S2-G4, Nance Fall 2017 Member of USF Tampa, Team S2-G4, Nance Fall 2017

USFT-NANCE-F17S2G4

3 Members

54 Guides authored

0 Guide Comments

Add Comment

View Statistics:

Past 24 Hours: 1

Past 7 Days: 12

Past 30 Days: 37

All Time: 4,931