Introduction
If you are following this guide, that means your Wifi module is causing you issues with connecting to any Wifi network on your Lenovo Yoga Tab 3 8. Before starting to work on your device, it is advised to back up any important files just in case something happens. You will want to make sure you have the device powered off to prevent harming yourself or damaging your hardware. To make reassembly easier, be sure to avoid misplacing the small screws by keeping track of them as you go.
What you need
-
-
Tool used on this step:Tweezers$4.99
-
Open the kickstand by pressing the release button in the center.
-
Remove the identification sticker with a pair of tweezers to allow access to the two 2mm screws underneath.
 Ask FixBot
-
-
-
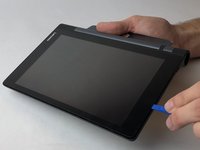
Starting along the edge opposite of the hinge, insert a plastic opening tool between the screen and the backing to begin separating the small clips holding the backing on.
-
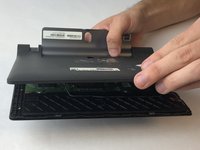
Work along the edge and then up the sides, separating the clips with the plastic opening tool.
-
-
-
-
-
-
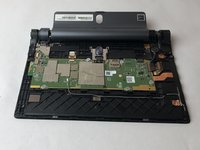
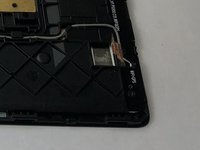
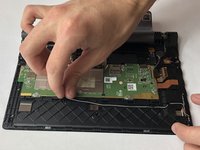
Locate the WiFi module connection on the motherboard by following the grey wire along the bottom. Use a spudger to gently pry it off.
-
-
Tool used on this step:Tweezers$4.99
-
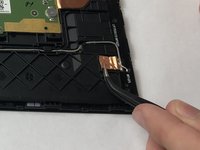
Locate the copper foil holding down the WiFi module near where the grey wire connects. Use tweezers to carefully lift up and separate the copper foil.
-
-
-
Remove the three 2mm screws holding the wifi module to the device using a PH00 screwdriver.
-
-
-
Remove the grey wire from the channel holding it by gently lifting it up with your fingers.
-
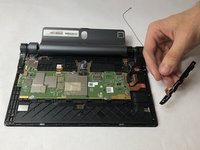
Lift the wifi module out of the device with your fingers.
-
-






To reassemble your device, follow these instructions in reverse order.

Team

USF Tampa, Team S16-G2, Eyestone Fall 2017 Member of USF Tampa, Team S16-G2, Eyestone Fall 2017
USFT-EYESTONE-F17S16G2
4 Members
88 Guides authored
