Free Shipping on Domestic Orders $75+

Lenovo Yoga 720 Fingerprint Reader Replacement

What you need

    1. Lenovo Yoga 720 Fingerprint Reader Replacement, Bottom Cover: step 1, image 1 of 3 Lenovo Yoga 720 Fingerprint Reader Replacement, Bottom Cover: step 1, image 2 of 3 Lenovo Yoga 720 Fingerprint Reader Replacement, Bottom Cover: step 1, image 3 of 3
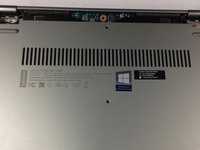
      • Before you begin, be sure to turn off your laptop and discharge the battery down to 25%.

      • Start by flipping the device over so that you see the screws.

      • Remove seven Torx T5 short screws.

      • Remove three Torx T5 long screws.

      Ask FixBot

      Add Comment

    2. Lenovo Yoga 720 Fingerprint Reader Replacement: step 2, image 1 of 3 Lenovo Yoga 720 Fingerprint Reader Replacement: step 2, image 2 of 3 Lenovo Yoga 720 Fingerprint Reader Replacement: step 2, image 3 of 3
      Tool used on this step:
      iFixit Opening Tool
      $1.99
      Buy
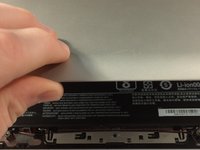
      • Starting from the USB port, use your opening tool to gently pry up the case.

      • Make sure you are prying on the cover itself, not the metal shield around the USB port.

      • Pry along the laptop in the order shown by the arrows.

      • Do NOT pry along the top side, or you risk damaging the casing. Stay with the arrows.

      Ask FixBot

      Add Comment

    3. Lenovo Yoga 720 Fingerprint Reader Replacement: step 3, image 1 of 3 Lenovo Yoga 720 Fingerprint Reader Replacement: step 3, image 2 of 3 Lenovo Yoga 720 Fingerprint Reader Replacement: step 3, image 3 of 3
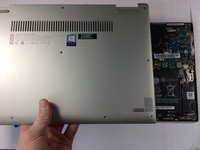
      • Lift the case from the bottom side. NOT the side with the hinges.

      • When you feel resistance, do NOT keep lifting or you will damage the housing.

      • Once you feel resistance, gently pull the case towards you. (away from the hinges.)

      • Remove the case.

      Ask FixBot

      Add Comment

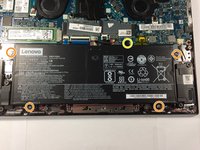
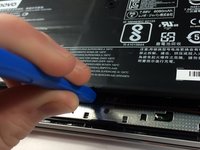
    1. Lenovo Yoga 720 Fingerprint Reader Replacement, Battery: step 4, image 1 of 3 Lenovo Yoga 720 Fingerprint Reader Replacement, Battery: step 4, image 2 of 3 Lenovo Yoga 720 Fingerprint Reader Replacement, Battery: step 4, image 3 of 3
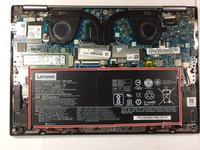
      • This is the battery. For guides that are for other parts, the battery is removed for the reason of it being a pain to connect or disconnect while screwed in.

      • Be careful not to short anything on the motherboard, as the battery cannot be disconnected before removal.

      • Remove four J1 Philips screws.

      • Remove one J1 philips screw.

      • Do not mix these screws up. If you put the longer screw where the shorter screw belongs, you will damage the shield around the keyboard.

      • Lift the battery slightly using your plastic opening tool.

      • Do not lift the battery out all the way, as it is still connected to the motherboard.

      • Do NOT puncture or deform the battery or it may catch fire or even explode.

      Ask FixBot

      Add Comment

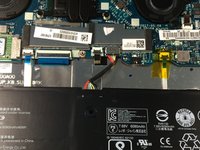
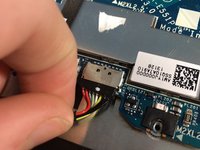
    2. Lenovo Yoga 720 Fingerprint Reader Replacement: step 5, image 1 of 3 Lenovo Yoga 720 Fingerprint Reader Replacement: step 5, image 2 of 3 Lenovo Yoga 720 Fingerprint Reader Replacement: step 5, image 3 of 3
      • Pull the battery towards you until the wire is accessible.

      • gently tug and wiggle on the wire until it pops out.

      • Remove the battery.

      Ask FixBot

      Add Comment

    1. Lenovo Yoga 720 Fingerprint Reader Replacement, Speaker: step 6, image 1 of 2 Lenovo Yoga 720 Fingerprint Reader Replacement, Speaker: step 6, image 2 of 2
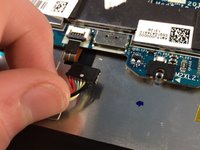
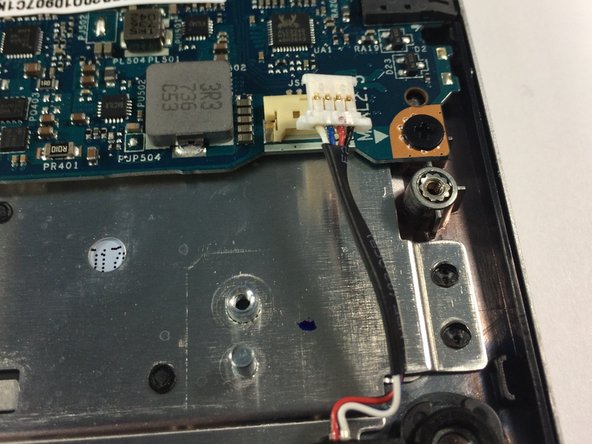
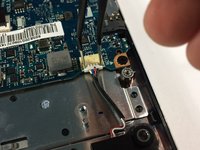
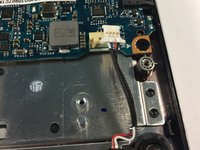
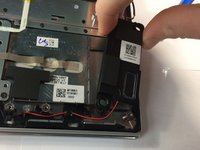
      • Disconnect the speakers.

      Ask FixBot

      Add Comment

    2. Lenovo Yoga 720 Fingerprint Reader Replacement: step 7, image 1 of 3 Lenovo Yoga 720 Fingerprint Reader Replacement: step 7, image 2 of 3 Lenovo Yoga 720 Fingerprint Reader Replacement: step 7, image 3 of 3
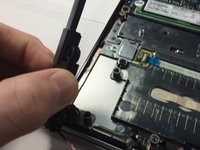
      • Remove the left speaker.

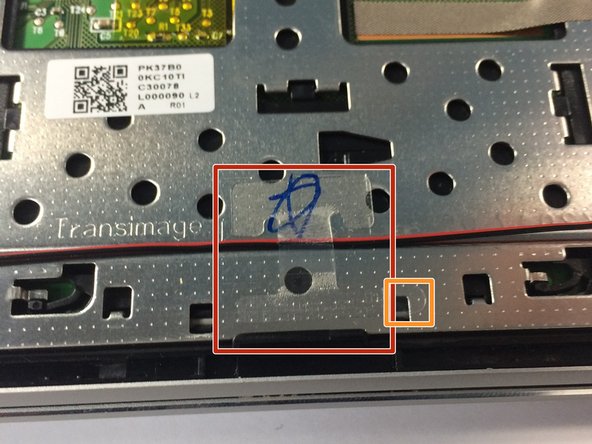
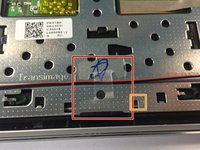
      • Remove the Adhesive.

      • Use this pull tab to remove it.

      • Remove the right speaker,

      Ask FixBot

      Add Comment

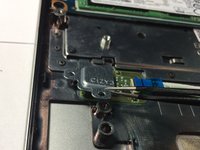
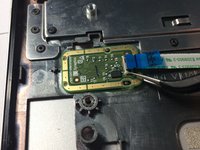
    1. Lenovo Yoga 720 Fingerprint Reader Replacement, Fingerprint Reader: step 8, image 1 of 3 Lenovo Yoga 720 Fingerprint Reader Replacement, Fingerprint Reader: step 8, image 2 of 3 Lenovo Yoga 720 Fingerprint Reader Replacement, Fingerprint Reader: step 8, image 3 of 3
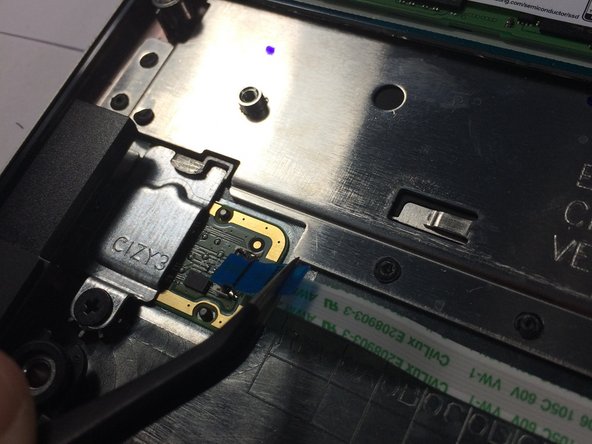
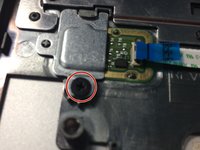
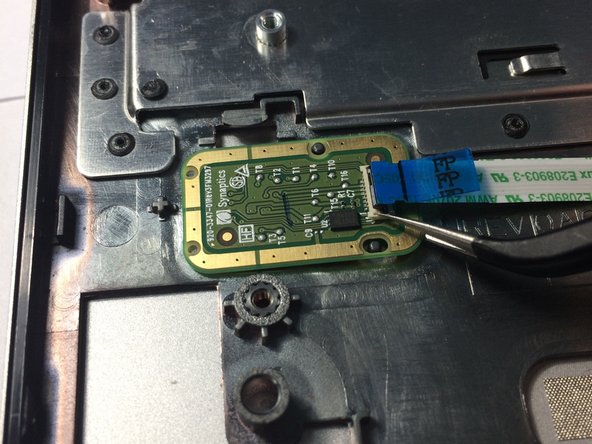
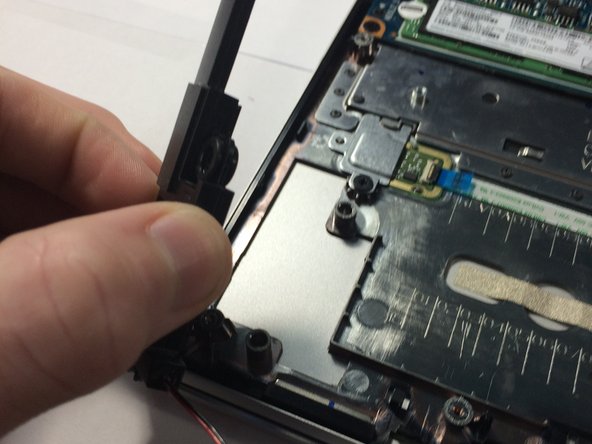
      • Using a spudger, lift up on the black connector of the ZIF socket on the end of the ribbon cable connecting to the fingerprint reader.

      • Be sure to make sure your pulling up the tab, not the socket! if you pull the socket you will damage the motherboard. You can check how to disconnect the cable using this guide.

      • Disconnect the cable from the socket.

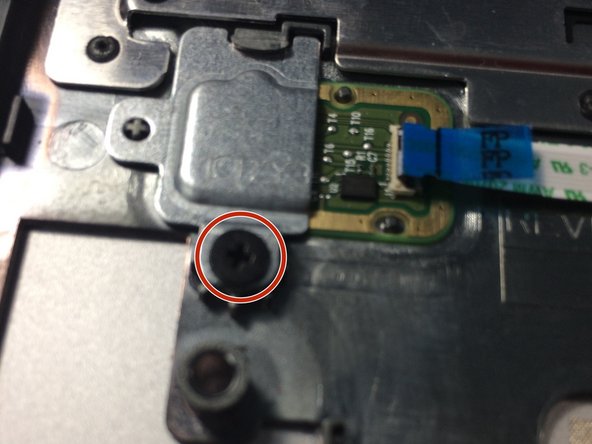
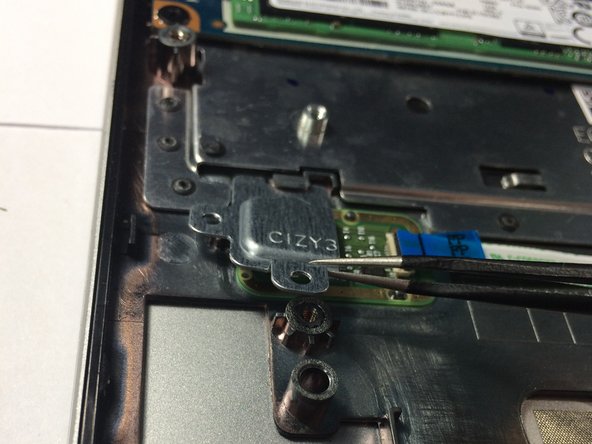
      • Remove 1 JIS1 screw securing the bracket in place.

      Ask FixBot

      Add Comment

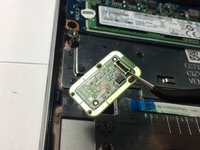
    2. Lenovo Yoga 720 Fingerprint Reader Replacement: step 9, image 1 of 3 Lenovo Yoga 720 Fingerprint Reader Replacement: step 9, image 2 of 3 Lenovo Yoga 720 Fingerprint Reader Replacement: step 9, image 3 of 3
      • Remove the bracket,

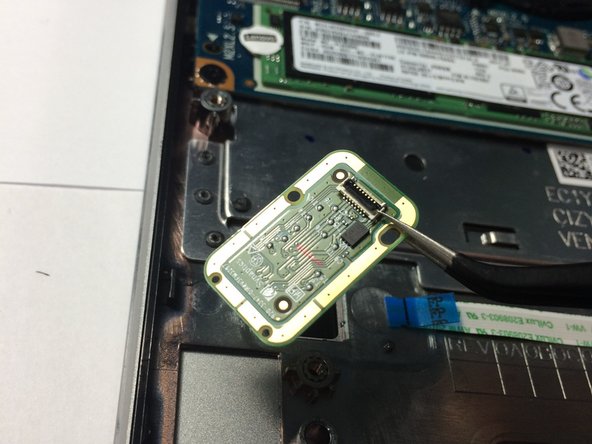
      • Remove the fingerprint reader.

      Ask FixBot

      Add Comment

Conclusion

To reassemble your device, follow these instructions in reverse order.

Cancel: I did not complete this guide.

7 other people completed this guide.

Aiden

Member since: 09/19/15

18,522 Reputation

21 Guides authored

1 Guide Comment

Aiden,

How do I repair the power button on this model? It no longer clicks and I have to use a paper clip on the opposite side. Looks like I need to remove the motherboard to gain access

Rob LaBanca - Reply Share
Add Comment

View Statistics:

Past 24 Hours: 2

Past 7 Days: 12

Past 30 Days: 50

All Time: 9,003