
Lenovo Y700-14ISK Upgrading/Replacing RAM Replacement

Corbin Schon and one other contributor
Last updated on Oct 19, 2016
Views: 5.7K
View statistics:
- Past 24 Hours:
- 6
- Past 7 Days:
- 31
- Past 30 Days:
- 117
- All Time:
- 5,675
Comments: 1
1 guide comment.
Go to guide commentsCompleted: 8 9
8 people have marked this guide "completed." Will you be next?
9 people have marked this guide "completed." Including you — great job!
Favorites: 1 2
1 person has favorited (and subscribed to) this guide. Will you be next?
2 people have favorited (and subscribed to) this guide — including you!
Community-Contributed Guide
An awesome member of our community made this guide. It was not created by iFixit staff.
Introduction
Go to step 1 ↓You will be removing the back panel, disconecting the
battery and upgrading/replacing the RAM.
What you need
Tools


-
-
-
Unscrew and take out 10, 1/5 cm screws.
-
Unscrew and take out 1, 1 inch screw.
 Ask FixBot
-
-
-
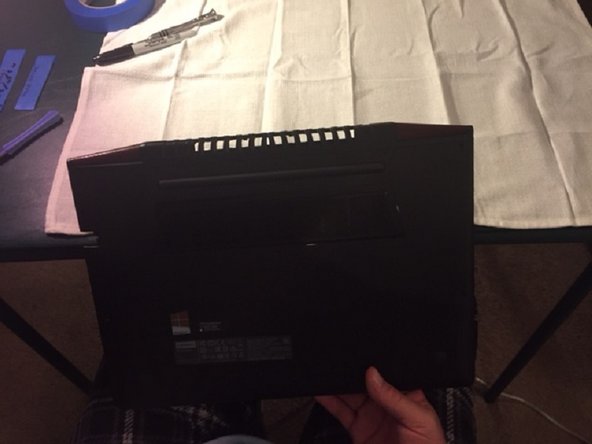
With the vents facing away from your body I find it easiest to start at the bottom right corner first and gently pry up the corner using a plastic tool.
-
Then slide and pry the plastic tool to the left corner.
-
Then work on the sides.
-
-
-
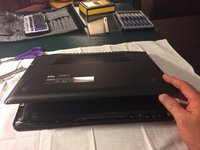
Carefully lift up on the back panel.
-
The back will snap out of place but be careful and don't force it to hard.
-
-
-
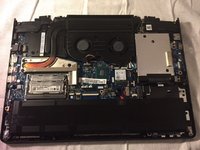
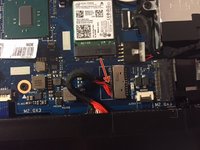
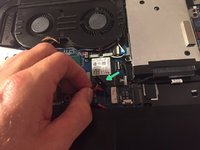
Pull the battery cable out of it's connector. Gripping the wires in the middle gently wiggling the wires back and forth while pulling.
-
With the battery connector out.
-
-
-
-
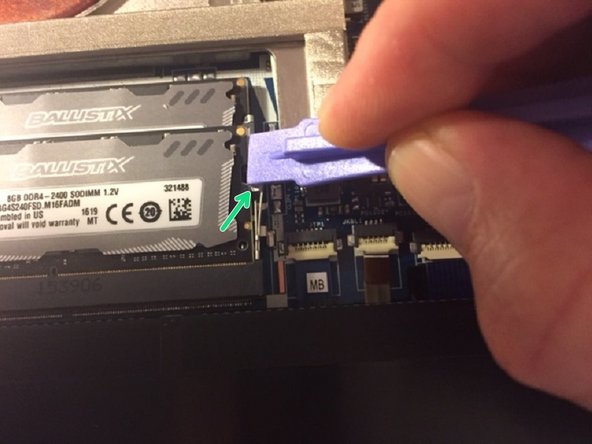
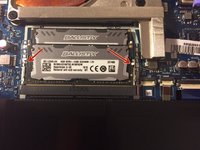
Note the tabs on each side of the RAM holder,
-
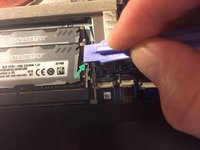
With your fingers or the plastic tool gently move the tabs away from the RAM, the RAM should pop up when both sides or moved.
-
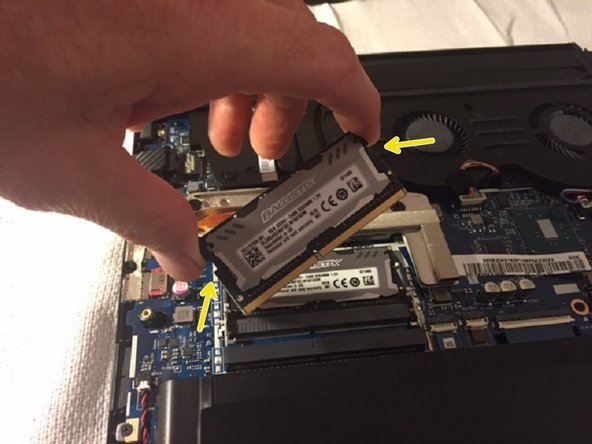
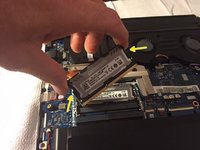
Grip the RAM by the sides and lift out.
-
-






To reassemble your device, follow these instructions in reverse order.
Cancel: I did not complete this guide.
8 other people completed this guide.

