Introduction
Is the screen bezel on your Lenovo V14-IIL damaged or broken and needs to be replaced? Use this guide to help you replace it.
A damaged screen bezel can pose a threat to your laptop. The bezel safeguards the screen and enhances the users' experience by providing a tactile edge to hold onto. It also helps prevent accidental screen touches and absorbs shock from impacts.
Without replacement, users risk the device's durability and potential damage during accidental drops or bumps.
Before starting, make sure the laptop is powered off and unplug all cables before beginning any repair.
What you need
-
-
-
Flip your laptop over and place on a flat surface so you can access the screws on the base cover.
-
Remove the six 7 mm screws from the back panel of the laptop using a Phillips #0 screwdriver.
-
Remove the four 4 mm screws from the bottom edge of the laptop using a Phillips #0 screwdriver.
 Ask FixBot
-
-
-
Use an iFixit opening tool to pry apart the case by sliding it along each side of the laptop.
-
-
-
-
-
-
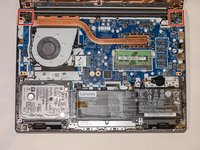
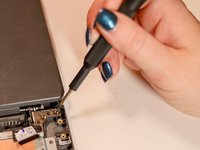
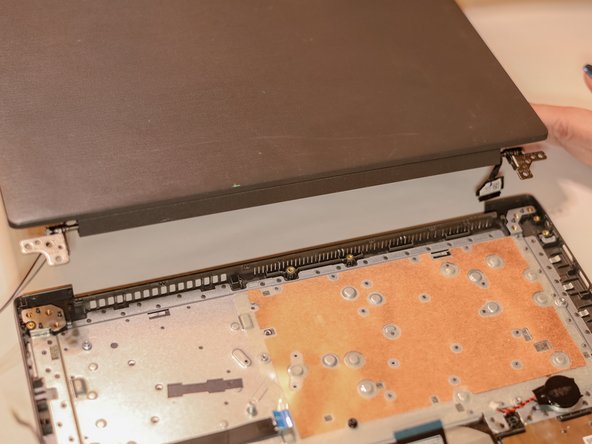
Using a Phillips #0 screwdriver, remove the four 5 mm screws from the hinges of the laptop.
-
-
-
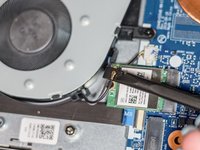
Using the spudger, disconnect the two wireless LAN cables (black and gray) from the wireless LAN card.
-
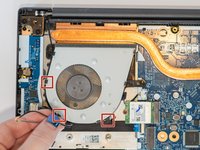
Remove the LAN cables from the three brackets on the fan.
-
-
-
-
-
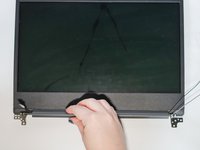
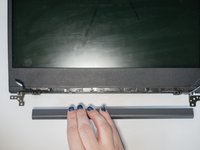
Slide the cable hinge cover to the right.
-
Pull the part away from the screen.
-
-
-
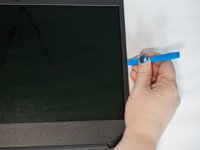
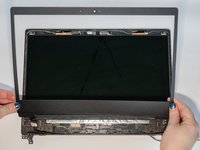
Use the iFixit opening tool to separate the bezel panel.
-
Slide the opening tool all the way around to loosen the bezels on all sides.
-
Lift away the bezel panel.
-
-








To reassemble your device, follow these instructions in reverse order.