Free Shipping on Domestic Orders $75+

Lenovo Thinkpad X201 Tablet LCD Replacement

What you need

    1. Lenovo Thinkpad X201 Tablet LCD Replacement, LCD: step 1, image 1 of 1
      • First you push the lock button on the back of the computer from lock to unlock

      Ask FixBot

      Add Comment

    2. Lenovo Thinkpad X201 Tablet LCD Replacement: step 2, image 1 of 1
      • Then you hold it on unlocked and slide the battery pack out

      Ask FixBot

      Add Comment

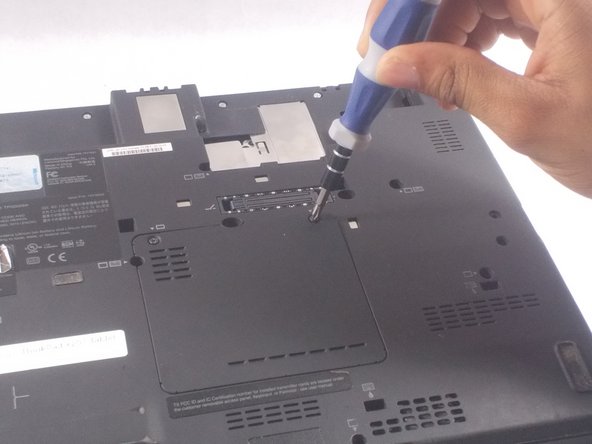
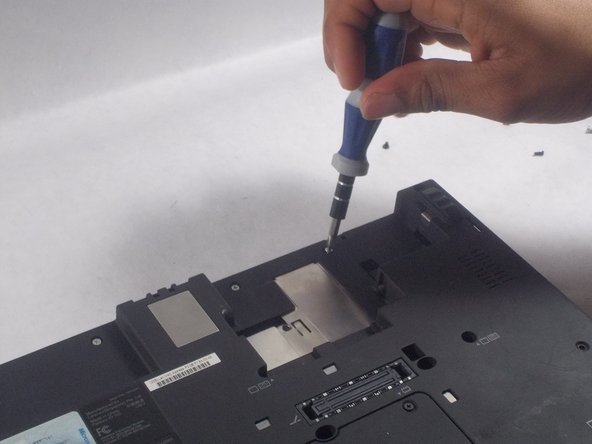
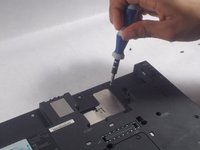
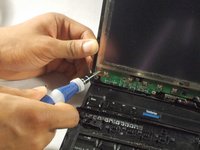
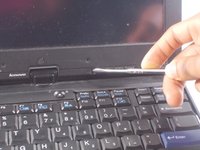
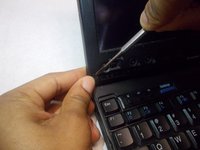
    3. Lenovo Thinkpad X201 Tablet LCD Replacement: step 3, image 1 of 3 Lenovo Thinkpad X201 Tablet LCD Replacement: step 3, image 2 of 3 Lenovo Thinkpad X201 Tablet LCD Replacement: step 3, image 3 of 3
      • remove all screw covers above hinges

      Ask FixBot

      Add Comment

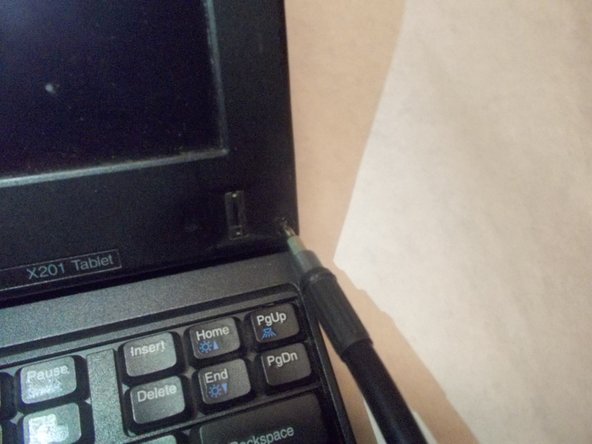
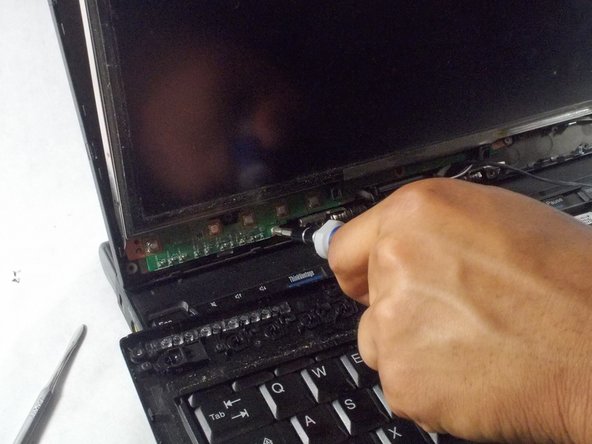
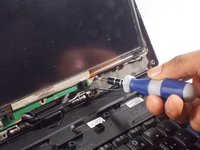
    4. Lenovo Thinkpad X201 Tablet LCD Replacement: step 4, image 1 of 2 Lenovo Thinkpad X201 Tablet LCD Replacement: step 4, image 2 of 2
      • Unscrew the screws on the front of the LCD screen

      Ask FixBot

      Add Comment

    5. Lenovo Thinkpad X201 Tablet LCD Replacement: step 5, image 1 of 2 Lenovo Thinkpad X201 Tablet LCD Replacement: step 5, image 2 of 2
      • Remove additional two screws near bezel screws plus the single logic board screw in the center

      Ask FixBot

      Add Comment

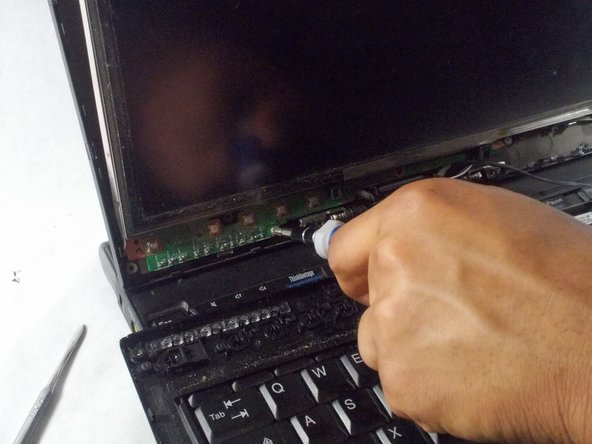
    6. Lenovo Thinkpad X201 Tablet LCD Replacement: step 6, image 1 of 3 Lenovo Thinkpad X201 Tablet LCD Replacement: step 6, image 2 of 3 Lenovo Thinkpad X201 Tablet LCD Replacement: step 6, image 3 of 3
      • Gently pry the LCD cover with a flat head screwdriver, and pivot it over the signal cable near the LCD hinges. Pivot over all four corners

      Ask FixBot

      Add Comment

    7. Lenovo Thinkpad X201 Tablet LCD Replacement: step 7, image 1 of 2 Lenovo Thinkpad X201 Tablet LCD Replacement: step 7, image 2 of 2
      • Continue to remove screens in front of the LCD cover, make sure all screws in the front are removed

      Ask FixBot

      Add Comment

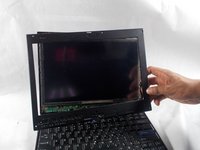
    8. Lenovo Thinkpad X201 Tablet LCD Replacement: step 8, image 1 of 1
      • Once all screws are removed, remove the LCD Display but gently peeling back line a sticker

      Ask FixBot

      Add Comment

Conclusion

To reassemble your device, follow these instructions in reverse order.

Cancel: I did not complete this guide.

3 other people completed this guide.

Peter Gachuki

Member since: 03/26/18

666 Reputation

4 Guides authored

Team

1 Guide Comment

Is there any other screen that can be used?

Darren Lewis - Reply Share

Add Comment

View Statistics:

Past 24 Hours: 4

Past 7 Days: 13

Past 30 Days: 65

All Time: 4,232