
Lenovo Thinkpad Tablet 1838 Camera Replacement

Juan Rojo and 5 other contributors
Last updated on Feb 19, 2020
Views: 551
View statistics:
- Past 24 Hours:
- 3
- Past 7 Days:
- 17
- Past 30 Days:
- 70
- All Time:
- 551
Comments: 0
No one has left comments on this guide. Will you be first?
Go to guide commentsCompleted: 0 1
No one has marked this guide "completed." Will you be the first?
1 person has marked this guide "completed." It's you — great job!
Favorites: 0 1
No one has favorited (and subscribed to) this guide. Will you be the first?
1 person has favorited (and subscribed to) this guide — and that's you!
Needs Better Images
Better photos will improve this guide. Help out by taking, editing, or uploading new ones!
Better Introduction
Improve this guide by completing or revising its introduction.
Introduction
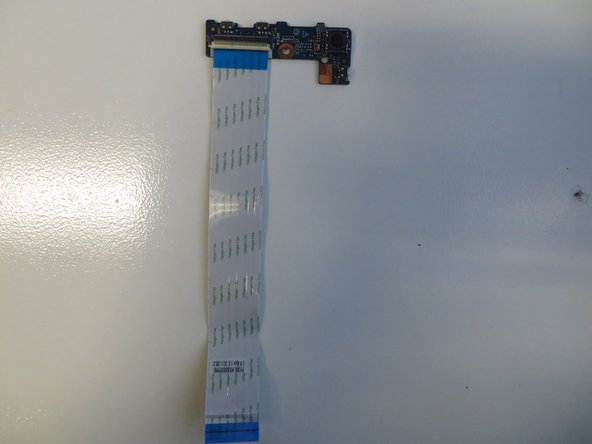
Go to step 1 ↓Follow this guide to successfully replace the ribbon cable and camera for the Lenovo ThinkPad Tablet 1838.
What you need
Tools

-
-
-
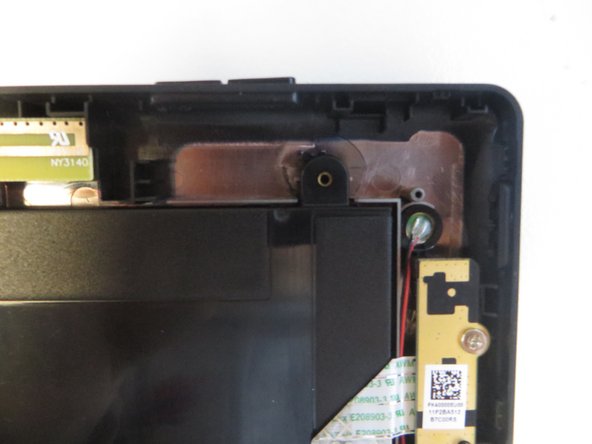
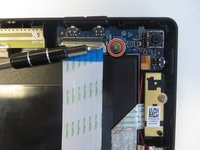
Carefully pry off the outer perimeter of the tablet using a plastic opening tool.
-
-
-
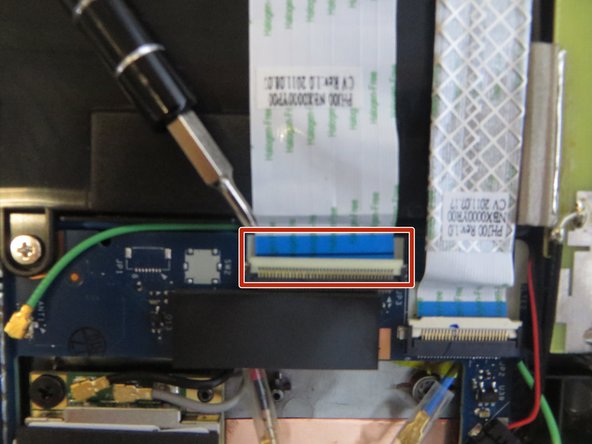
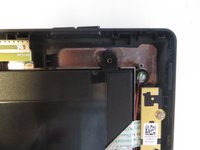
Lift the tab located on the back and slide it out to remove the ribbon cable.
-
-

 Ask FixBot



To reassemble your device, follow these instructions in reverse order.

Team

University of North Texas, Team S1-G2, Riccardelli Fall 2018 Member of University of North Texas, Team S1-G2, Riccardelli Fall 2018
UNT-RICCARDELLI-F18S1G2
4 Members
48 Guides authored
