
Lenovo Thinkpad Tablet 1838 Button Replacement

Dylan Coleman and 2 other contributors
Last updated on Jan 4, 2019
Views: 803
View statistics:
- Past 24 Hours:
- 1
- Past 7 Days:
- 15
- Past 30 Days:
- 77
- All Time:
- 803
Comments: 0
No one has left comments on this guide. Will you be first?
Go to guide commentsCompleted: 0 1
No one has marked this guide "completed." Will you be the first?
1 person has marked this guide "completed." It's you — great job!
Favorites: 0 1
No one has favorited (and subscribed to) this guide. Will you be the first?
1 person has favorited (and subscribed to) this guide — and that's you!
Incorrect Tools
Help make this guide better by using the correct tools in images and/or text.
Needs Better Images
Better photos will improve this guide. Help out by taking, editing, or uploading new ones!
Introduction
Go to step 1 ↓Use this guide if either your power or volume buttons have stopped working or if you just want to clean them.
What you need
Tools
-
Spudger4.9


-
-
-
Remove the button on the front of the tablet that has the arrow pointing to the left .
-
You can do this by putting your fingernail or a Spudger underneath the button and pulling up.
 Ask FixBot
-
-
-
Remove the 2 screws found under the button you just removed with a size #00 Philips Head Screwdriver.
-
-
-
-
Open the tablet screen to the left. (Like opening a book) Making sure not to disconnect any of the wires connecting the screen and tablet.
-
-
-
To peel back the ribbon connector, first gently open the white gates.
-
You can do this with a plastic Spudger or your fingernail.
-
-
-
Remove the screw that is highlighted.
-
Use a size #00 Philips head screwdriver.
-
-
-
Remove the blue motherboard the screw was attached to.
-
Make sure to remove it carefully, so you do not accidentally damage the surrounding parts.
-
-
-
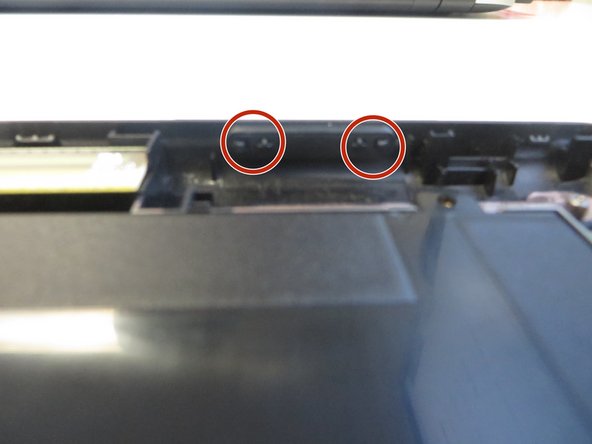
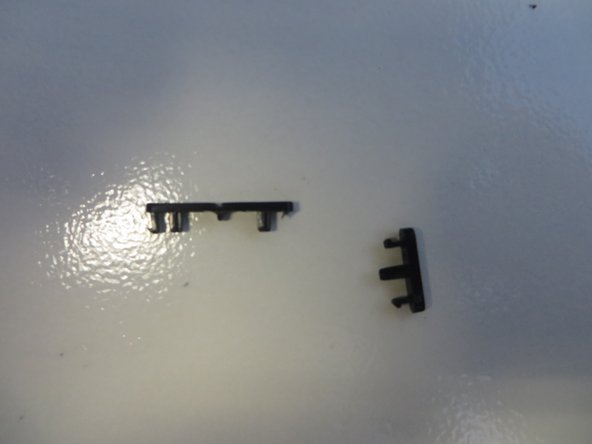
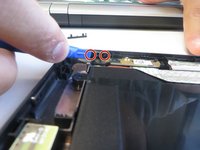
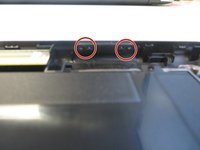
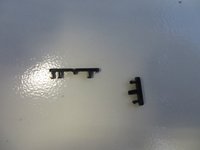
To remove the buttons, you need to push the little black tabs towards each other with either your fingernails or plastic spudger.
-
While the tabs are pushed in the buttons should pop out.
-
-


To reassemble your device, follow these instructions in reverse order.

Team

University of North Texas, Team S1-G2, Riccardelli Fall 2018 Member of University of North Texas, Team S1-G2, Riccardelli Fall 2018
UNT-RICCARDELLI-F18S1G2
4 Members
48 Guides authored
