
Lenovo Thinkpad T440s Keyboard Replacement

Terelle Montalvo and 2 other contributors
Last updated on Nov 29, 2023
Views: 7.1K
View statistics:
- Past 24 Hours:
- 3
- Past 7 Days:
- 22
- Past 30 Days:
- 114
- All Time:
- 7,079
Comments: 1
1 guide comment.
Go to guide commentsCompleted: 5 6
5 people have marked this guide "completed." Will you be next?
6 people have marked this guide "completed." Including you — great job!
Favorites: 0 1
No one has favorited (and subscribed to) this guide. Will you be the first?
1 person has favorited (and subscribed to) this guide — and that's you!
Introduction
Go to step 1 ↓Are some of your keys not working when you type? Consider using this guide to replace the keyboard of your device.
What you need


-
-
-
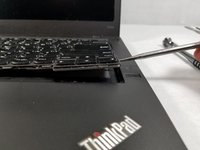
Use the metal spudger to press the keyboard plate forward towards the display
-
-
-
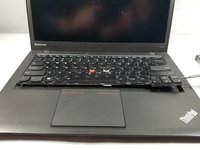
Use a Phillips #00 screwdrivers to remove the six screws holding in the keyboard.
-
-
-
Use the metal spudger to lift up the keyboard plate.
-
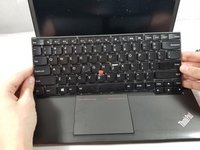
Run the metal spudger around the plate, applying light pressure until the keyboard pops out.
-
-
-
-
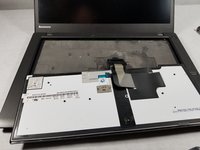
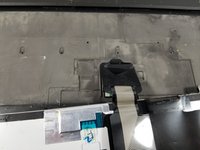
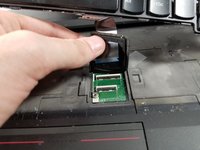
The keyboard can now be rested forward to expose the ribbon cable attaching it to the motherboard.
-
The ribbon cable will come out with a light pull in the opposite direction of its connection.
-
The keyboard is now removed and ready to be replaced.
-


 Ask FixBot




To reassemble your device, follow these instructions in reverse order.
Cancel: I did not complete this guide.
5 other people completed this guide.

Team

UMass Dartmouth, Team S1-G5, Simcock Fall 2018 Member of UMass Dartmouth, Team S1-G5, Simcock Fall 2018
UMASSD-SIMCOCK-F18S1G5
3 Members
96 Guides authored
