Free Shipping on Domestic Orders $75+

Lenovo ThinkPad x120e LCD Screen Replacement

What you need

    1. Lenovo ThinkPad x120e LCD Screen Replacement, Battery: step 1, image 1 of 2 Lenovo ThinkPad x120e LCD Screen Replacement, Battery: step 1, image 2 of 2
      • Flip the laptop upside down and locate the battery latches under the battery.

      • Place your thumbs on both latches and push the latch inwards.

      • With your thumbs still on the latches, slide the battery out of the laptop.

      • To install a new battery, simply slide the battery back in the slot. Then, check if both battery latches are locked

      Ask FixBot

      Add Comment

    1. Lenovo ThinkPad x120e LCD Screen Replacement, Back Cover: step 2, image 1 of 3 Lenovo ThinkPad x120e LCD Screen Replacement, Back Cover: step 2, image 2 of 3 Lenovo ThinkPad x120e LCD Screen Replacement, Back Cover: step 2, image 3 of 3
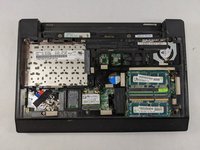
      • Using the Phillips #0 screwdriver, remove the three 4 mm screws that are securing the bottom cover.

      • Remove the backplate carefully, making sure not to bend the cover.

      Ask FixBot

      Add Comment

    1. Lenovo ThinkPad x120e LCD Screen Replacement, Keyboard: step 3, image 1 of 2 Lenovo ThinkPad x120e LCD Screen Replacement, Keyboard: step 3, image 2 of 2
      Ask FixBot

      Add Comment

    2. Lenovo ThinkPad x120e LCD Screen Replacement: step 4, image 1 of 3 Lenovo ThinkPad x120e LCD Screen Replacement: step 4, image 2 of 3 Lenovo ThinkPad x120e LCD Screen Replacement: step 4, image 3 of 3
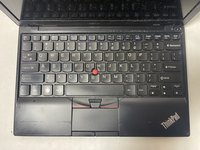
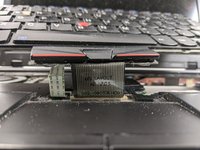
      • Flip the laptop back over, showing the keyboard.

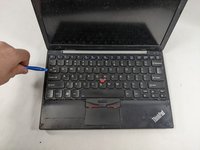
      • Using an opening tool, pry open the keyboard starting from the top left. Work your way around until you are able to loosely lift the keyboard.

      • You should see two ribbon wires located beneath the keyboard once you are done.

      Ask FixBot

      Add Comment

    3. Lenovo ThinkPad x120e LCD Screen Replacement: step 5, image 1 of 2 Lenovo ThinkPad x120e LCD Screen Replacement: step 5, image 2 of 2
      Tool used on this step:
      Tweezers
      $4.99
      Buy
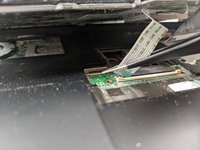
      • Pull on the black tabs above both ribbon wires using tweezers upwards.

      • For more information on Zero Insertion Force (ZIF) connectors, please visit this guide.

      • Remove both ribbon wires.

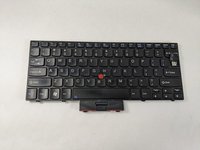
      • Remove the keyboard from the laptop.

      Ask FixBot

      Add Comment

    1. Lenovo ThinkPad x120e LCD Screen Replacement, LCD Screen: step 6, image 1 of 2 Lenovo ThinkPad x120e LCD Screen Replacement, LCD Screen: step 6, image 2 of 2
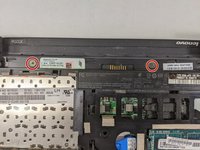
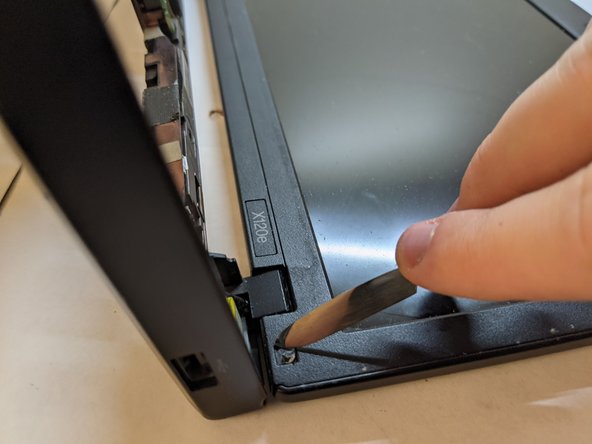
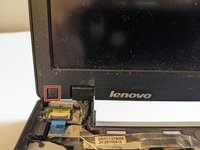
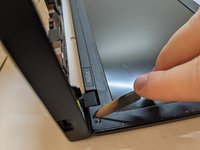
      • Remove the screw covers that are located on both sides of the display using a spudger.

      • Start from the corners of the screw covers to remove it more easily.

      Ask FixBot

      Add Comment

    2. Lenovo ThinkPad x120e LCD Screen Replacement: step 7, image 1 of 1
      • Using the Phillips #1 screwdriver, remove the two 4 mm screws.

      Ask FixBot

      Add Comment

    3. Lenovo ThinkPad x120e LCD Screen Replacement: step 8, image 1 of 1
      • Pry open the frame of the laptop screen using a spudger.

      • Do not try to pry it open from the inside edge of the frame. You may accidentaly damage the screen.

      Ask FixBot

      Add Comment

    4. Lenovo ThinkPad x120e LCD Screen Replacement: step 9, image 1 of 1
      • Using the Phillips #1 screwdriver, remove six screws securing the screen to the device.

      Ask FixBot

      Add Comment

    5. Lenovo ThinkPad x120e LCD Screen Replacement: step 10, image 1 of 2 Lenovo ThinkPad x120e LCD Screen Replacement: step 10, image 2 of 2
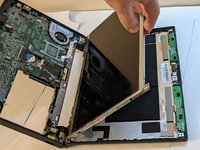
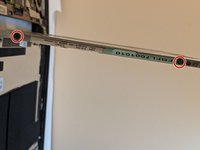
      • Lift up the screen from the top. You should now notice the metal frame.

      • Using the same Phillips #1 screwdriver, remove four screws, two on each edge of the metal frame.

      • The second picture is rotated 90 degrees.

      Ask FixBot

      Add Comment

    6. Lenovo ThinkPad x120e LCD Screen Replacement: step 11, image 1 of 1
      • Remove the connector on top of the webcam by simply pulling it out.

      Ask FixBot

      Add Comment

    7. Lenovo ThinkPad x120e LCD Screen Replacement: step 12, image 1 of 2 Lenovo ThinkPad x120e LCD Screen Replacement: step 12, image 2 of 2
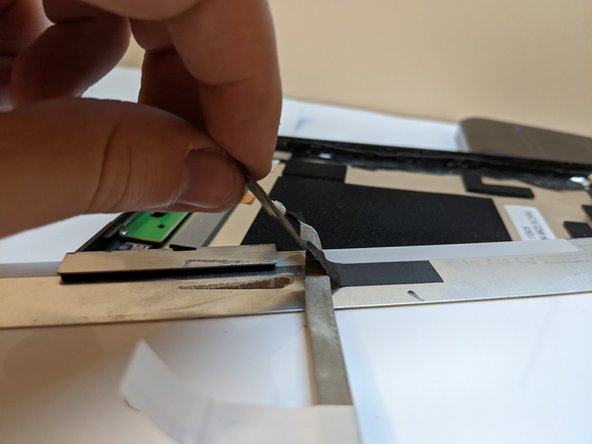
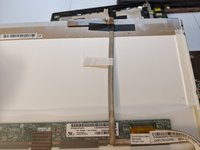
      • Flip the screen over.

      • Peel the black tape first, then peel the gray tape down to the base of the screen.

      Ask FixBot

      Add Comment

    8. Lenovo ThinkPad x120e LCD Screen Replacement: step 13, image 1 of 1
      • At the base of the screen, there is a transparent tape holding a connector. Peel the tape off.

      Ask FixBot

      Add Comment

    9. Lenovo ThinkPad x120e LCD Screen Replacement: step 14, image 1 of 1
      • Remove the connector underneath where the tape was using a spudger tool.

      • Pull out the connector.

      • Make sure to not damage any of the wires.

      Ask FixBot

      Add Comment

    10. Lenovo ThinkPad x120e LCD Screen Replacement: step 15, image 1 of 1
      • Remove the gray tape fully.

      • Flip over the device, and remove the LCD screen fully.

      Ask FixBot

      Add Comment

Conclusion

To reassemble your device, follow these instructions in reverse order.

Cancel: I did not complete this guide.

Jacob Fronzaglia

Member since: 10/25/21

787 Reputation

6 Guides authored

Team

UMass Dartmouth, Team 3-4, Sinclaire Fall 2021 Member of UMass Dartmouth, Team 3-4, Sinclaire Fall 2021

UMASSD-SINCLAIRE-F21S3G4

3 Members

72 Guides authored

0 Guide Comments

Add Comment

View Statistics:

Past 24 Hours: 1

Past 7 Days: 10

Past 30 Days: 36

All Time: 629