
Lenovo ThinkPad Yoga 370 RAM Replacement

Cassandra Shedden and 3 other contributors
Last updated on Mar 20, 2024
Views: 7.9K
View statistics:
- Past 24 Hours:
- 1
- Past 7 Days:
- 19
- Past 30 Days:
- 92
- All Time:
- 7,858
Comments: 0
No one has left comments on this guide. Will you be first?
Go to guide commentsCompleted: 4 5
4 people have marked this guide "completed." Will you be next?
5 people have marked this guide "completed." Including you — great job!
Favorites: 0 1
No one has favorited (and subscribed to) this guide. Will you be the first?
1 person has favorited (and subscribed to) this guide — and that's you!
Introduction
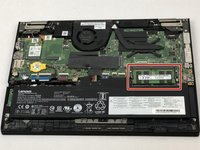
Go to step 1 ↓For the Lenovo ThinkPad Yoga 370 (Model Number: 20JH002AUS), the Random Access Memory (RAM) is the memory module in the device that stores information. The RAM temporarily stores data and is the working memory of a computer. Oftentimes, the RAM can get overloaded and your device may experience various symptoms. These symptoms include but are not limited to: blue screen of death (BSoD), random freezing, slow performance, applications not loading, etc.
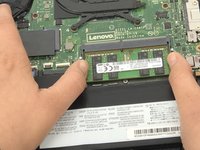
If you are looking to upgrade your RAM or replace faulty RAM sticks, this guide will show the process of replacing those components.
What you need
Parts

Tools


-
-
-
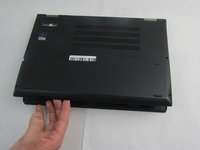
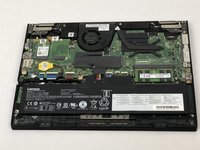
Using the Phillips #00 screwdriver, unscrew the eight circled 4mm screws until you hear a click.
-
-
-
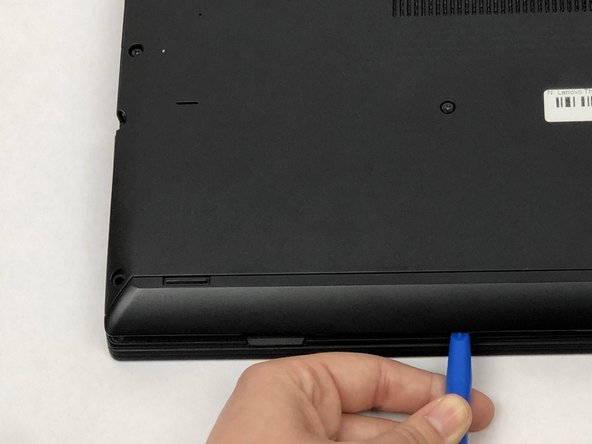
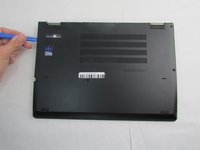
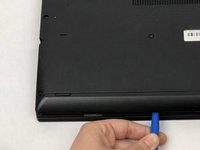
Using the plastic opening tool, work around the edges of the bottom cover to undo the plastic clips.
-
-

 Ask FixBot



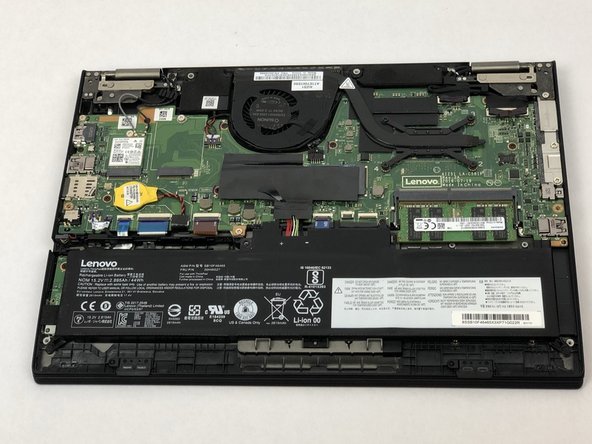



To reassemble your device, follow these instructions in reverse order.
Note: Due to the similarity of the devices, several of the pictures were used from the Lenovo ThinkPad Yoga 260 Battery Replacement Guide to show the specific components that were missing in the Yoga 370.
Cancel: I did not complete this guide.
4 other people completed this guide.

Team

Embry-Riddle Aeronautical University, Team S12-G6, Lamothe Fall 2019 Member of Embry-Riddle Aeronautical University, Team S12-G6, Lamothe Fall 2019
ERAU-LAMOTHE-F19S12G6
3 Members
60 Guides authored
