Introduction
This, guide will show you how to replace the power jack on the Lenovo Think Pad X280. This guide requires a screwdriver for 3.4mm screws and 5.4mm screws. You'll also need to disconnect various wires.
What you need
-
-
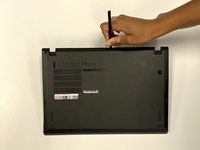
Use a Phillips #1 screwdriver to unscrew the five captive screws on the back panel until a small pop is heard.
-
-
-
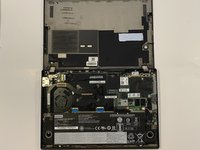
Gently wedge an opening tool or spudger under the back panel, and loosen the clips around the perimeter until the back panel comes off.
-
Remove the back cover.
-
-
-
-
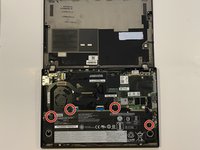
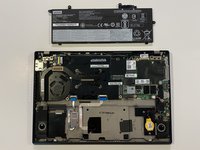
Using the Phillips #1 screwdriver, remove the four 5 mm screws that are holding the battery down.
-
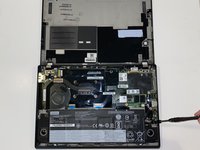
Remove the battery.
-
-
-
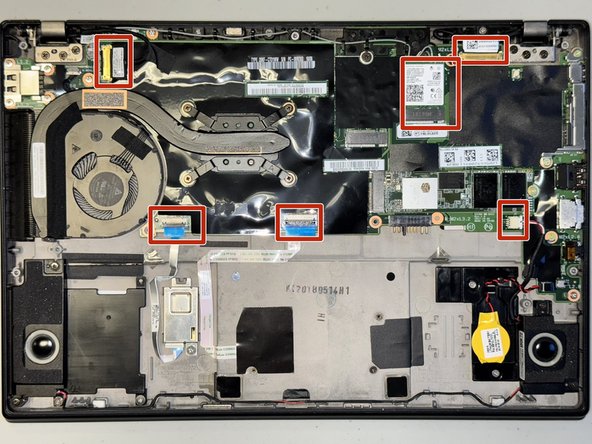
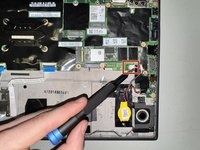
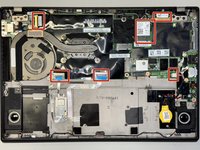
Disconnect all six ribbon cables connected to the motherboard by gently with a screwdriver or your fingers.
-
-
-
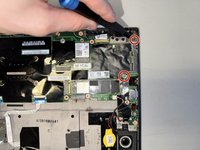
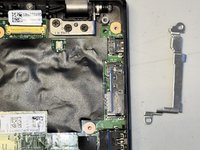
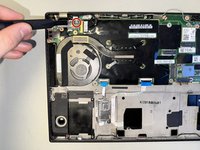
Remove the two 5.4 mm screws securing the metal bracket with a Phillips #1 screwdriver.
-
-
-
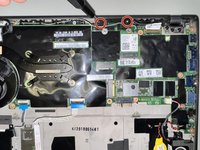
Remove the two 5.4 mm screws securing the plastic bracket with a Phillips #1 screwdriver.
-
-
-
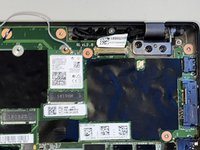
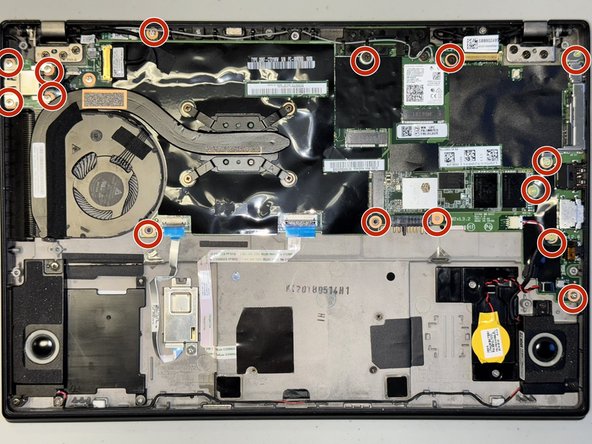
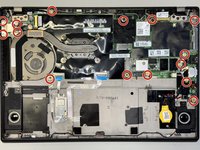
Remove all fifteen 3.4 mm screws securing the motherboard with a Phillips #1 screwdriver.
-
-
-
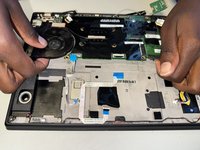
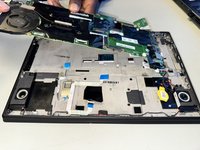
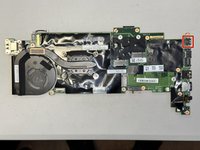
Lift out the mother board to access the power jack to replace it with a new one.
-
The power jack will have to be desoldered and then the replacement resoldered. Check out this handy guide to help guide you.
-

 Ask FixBot












To reassemble your device, follow the above steps in reverse order.
Take your e-waste to an R2 or e-Stewards certified recycler.
Repair didn’t go as planned? Try some basic troubleshooting or ask our Answers community for help.
Cancel: I did not complete this guide.
One other person completed this guide.

Team

University of North Texas, Team 3-7, Coppersmith Fall 2024 Member of University of North Texas, Team 3-7, Coppersmith Fall 2024
UNT-COPPERSMITH-F24S3G7
4 Members
4 Guides authored
