
Lenovo ThinkPad X260 Back Cover Replacement

Alexander Webb and 3 other contributors
Last updated on Mar 25, 2024
Views: 1.7K
View statistics:
- Past 24 Hours:
- 2
- Past 7 Days:
- 24
- Past 30 Days:
- 91
- All Time:
- 1,683
Comments: 0
No one has left comments on this guide. Will you be first?
Go to guide commentsCompleted: 1 2
1 person has marked this guide "completed." Will you be next?
2 people have marked this guide "completed." Including you — great job!
Favorites: 0 1
No one has favorited (and subscribed to) this guide. Will you be the first?
1 person has favorited (and subscribed to) this guide — and that's you!
Introduction
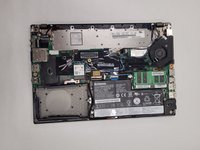
Go to step 1 ↓This guide is designed as a prerequisite guide to internal repairs of the Lenovo ThinkPad X260. Its simplicity will make the process of removing the bottom cover of the laptop easier.
The main reason that people will take off the back cover is to work on the internals of the laptop. Some examples of internal repairs are:
- Replacing internal battery
- Replacing cooling fan
- Replacing motherboard
- etc.
Make sure the computer is completely turned off before starting this guide.
What you need
Parts

Tools


-
-
-
Start by pinching the switches on either side of the battery outwards.
-
At the same time push the external battery, located in the back, upwards.
-
Remove the external battery from the laptop.
-
-
-
-
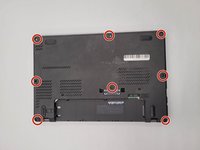
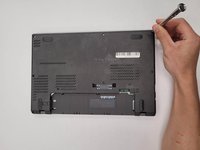
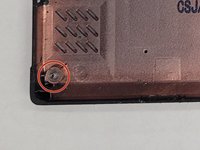
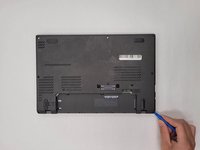
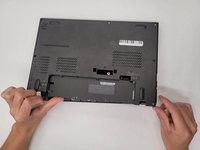
Loosen the eight 4.2 mm screws holding the back cover on using a Phillips #1 screwdriver.
-
-
-


 Ask FixBot




To reassemble your device, follow these instructions in reverse order.
Cancel: I did not complete this guide.
One other person completed this guide.

Team

IUPUI, Team 1-3, Harley Summer 2023 Member of IUPUI, Team 1-3, Harley Summer 2023
IUPUI-HARLEY-SU23S1G3
3 Members
48 Guides authored
