Free Shipping on Domestic Orders $75+

Lenovo ThinkPad X1 Yoga Keyboard Replacement

What you need

    1. Lenovo ThinkPad X1 Yoga Keyboard Replacement, Back Cover: step 1, image 1 of 3 Lenovo ThinkPad X1 Yoga Keyboard Replacement, Back Cover: step 1, image 2 of 3 Lenovo ThinkPad X1 Yoga Keyboard Replacement, Back Cover: step 1, image 3 of 3
      • Be sure to power off and unplug your device before you begin your repair.

      • Flip the computer over so the bottom is facing up.

      • Remove nine 4mm Phillips #1 screws from the bottom of the computer.

      • Use an iFixit opening tool to pry the back cover off of the laptop.

      Ask FixBot

      Add Comment

    1. Lenovo ThinkPad X1 Yoga Keyboard Replacement, Speakers: step 2, image 1 of 1
      • Remove the five 4.5mm Phillips #1 screws that secure the battery.

      Ask FixBot

      Add Comment

    2. Lenovo ThinkPad X1 Yoga Keyboard Replacement: step 3, image 1 of 1
      Tool used on this step:
      Tweezers
      $4.99
      Buy
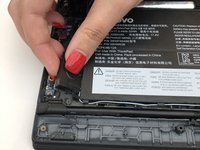
      • Using a pair of tweezers, push the sides of the white speaker wire toward the battery (where it says Lenovo) to unplug it.

      Ask FixBot

      Add Comment

    3. Lenovo ThinkPad X1 Yoga Keyboard Replacement: step 4, image 1 of 3 Lenovo ThinkPad X1 Yoga Keyboard Replacement: step 4, image 2 of 3 Lenovo ThinkPad X1 Yoga Keyboard Replacement: step 4, image 3 of 3
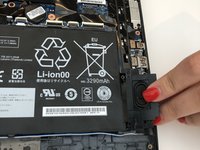
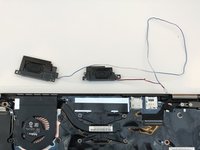
      • Remove the speakers from either side of the battery. The connecting wire will unthread from the sides of the battery.

      Ask FixBot

      Add Comment

    1. Lenovo ThinkPad X1 Yoga Keyboard Replacement, Battery: step 5, image 1 of 3 Lenovo ThinkPad X1 Yoga Keyboard Replacement, Battery: step 5, image 2 of 3 Lenovo ThinkPad X1 Yoga Keyboard Replacement, Battery: step 5, image 3 of 3
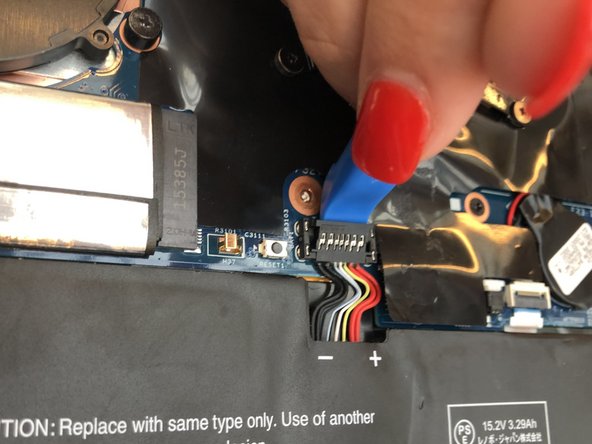
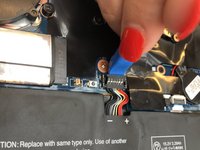
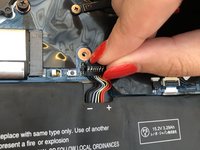
      • Lift the plastic black strip cover that's laying over the battery connector.

      • Use the iFixit opening tool to flip up and disconnect the black battery connector from its motherboard socket.

      • Gently pull the connector away from the battery to pull it out of the slot.

      Ask FixBot

      Add Comment

    2. Lenovo ThinkPad X1 Yoga Keyboard Replacement: step 6, image 1 of 1
      • Lift and remove the battery away from the computer.

      Ask FixBot

      Add Comment

    1. Lenovo ThinkPad X1 Yoga Keyboard Replacement, Cooling Fan: step 7, image 1 of 1
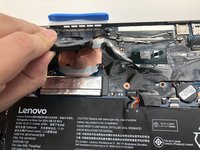
      • Remove four 4.5mm Phillips #1 screws from the corners of the heat sink.

      Ask FixBot

      Add Comment

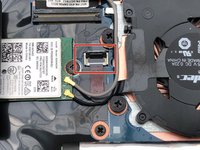
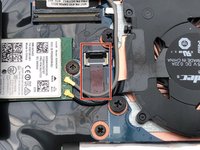
    2. Lenovo ThinkPad X1 Yoga Keyboard Replacement: step 8, image 1 of 3 Lenovo ThinkPad X1 Yoga Keyboard Replacement: step 8, image 2 of 3 Lenovo ThinkPad X1 Yoga Keyboard Replacement: step 8, image 3 of 3
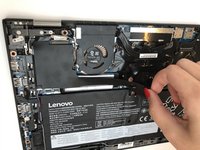
      • Gently peel back the black plastic covering around the fan.

      • You may hear or feel the adhesive pulling away here.

      • Using an iFixit opening tool, flip up the small black cover of the fan plug.

      Ask FixBot

      Add Comment

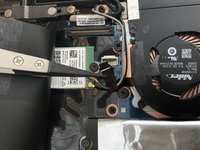
    3. Lenovo ThinkPad X1 Yoga Keyboard Replacement: step 9, image 1 of 2 Lenovo ThinkPad X1 Yoga Keyboard Replacement: step 9, image 2 of 2
      Tool used on this step:
      Tweezers
      $4.99
      Buy
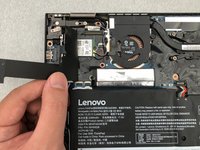
      • Using tweezers, pull the plastic strip out.

      Ask FixBot

      Add Comment

    4. Lenovo ThinkPad X1 Yoga Keyboard Replacement: step 10, image 1 of 2 Lenovo ThinkPad X1 Yoga Keyboard Replacement: step 10, image 2 of 2
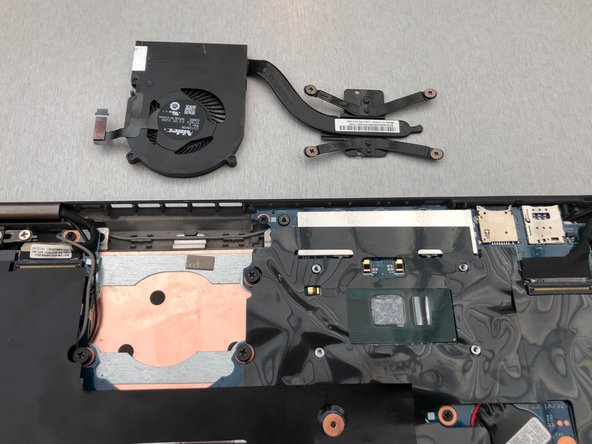
      • Remove the fan from the computer.

      Ask FixBot

      Add Comment

    1. Lenovo ThinkPad X1 Yoga Keyboard Replacement, Wireless chip: step 11, image 1 of 1
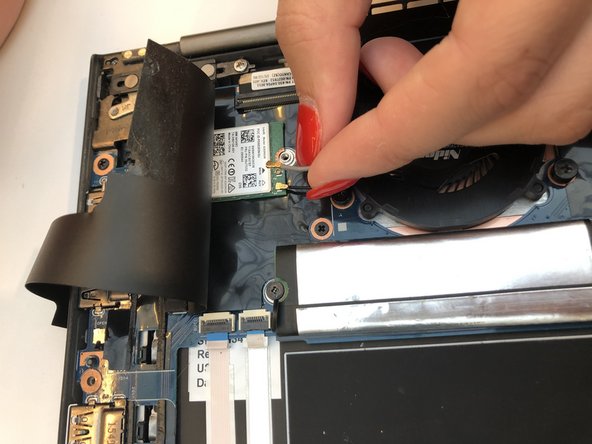
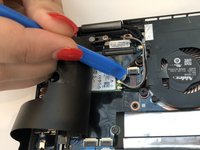
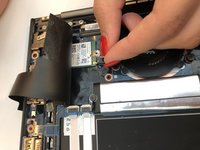
      • Gently peel back the black plastic covering.

      • Remove the single Phillips #1 screw securing the wireless chip in place.

      Ask FixBot

      Add Comment

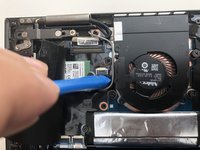
    2. Lenovo ThinkPad X1 Yoga Keyboard Replacement: step 12, image 1 of 2 Lenovo ThinkPad X1 Yoga Keyboard Replacement: step 12, image 2 of 2
      • Use an iFixit opening tool to gently pop the gold caps off their connections.

      • Move these wires out of the way.

      Ask FixBot

      Add Comment

    3. Lenovo ThinkPad X1 Yoga Keyboard Replacement: step 13, image 1 of 1
      • Slide the chip out.

      Ask FixBot

      Add Comment

    1. Lenovo ThinkPad X1 Yoga Keyboard Replacement, Hard Drive: step 14, image 1 of 2 Lenovo ThinkPad X1 Yoga Keyboard Replacement, Hard Drive: step 14, image 2 of 2
      • Gently peel back the black plastic covering.

      • Remove the single 2mm Phillips #1 screw from the hard drive's silver casing.

      Ask FixBot

      Add Comment

    2. Lenovo ThinkPad X1 Yoga Keyboard Replacement: step 15, image 1 of 1
      • Unplug the hard drive from the computer by pulling away from the computer.

      Ask FixBot

      Add Comment

    1. Lenovo ThinkPad X1 Yoga Keyboard Replacement, Motherboard: step 16, image 1 of 3 Lenovo ThinkPad X1 Yoga Keyboard Replacement, Motherboard: step 16, image 2 of 3 Lenovo ThinkPad X1 Yoga Keyboard Replacement, Motherboard: step 16, image 3 of 3
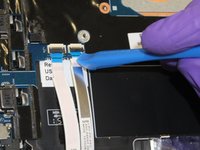
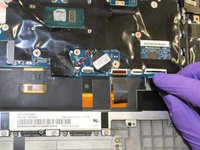
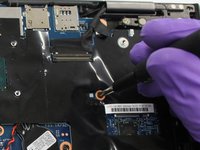
      • Using the iFixit opening tool, flip up the eight small covers from the cable connectors.

      • Gently pull the cables out of the slots.

      Ask FixBot

      Add Comment

    2. Lenovo ThinkPad X1 Yoga Keyboard Replacement: step 17, image 1 of 2 Lenovo ThinkPad X1 Yoga Keyboard Replacement: step 17, image 2 of 2
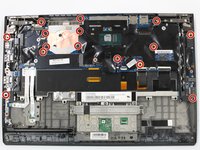
      • Using the Phillips #1 screwdriver, remove sixteen 4.5mm screws.

      Ask FixBot

      Add Comment

    3. Lenovo ThinkPad X1 Yoga Keyboard Replacement: step 18, image 1 of 1
      • Lift and remove the motherboard away from the computer.

      Ask FixBot

      Add Comment

    1. Lenovo ThinkPad X1 Yoga Keyboard Replacement, Keyboard: step 19, image 1 of 2 Lenovo ThinkPad X1 Yoga Keyboard Replacement, Keyboard: step 19, image 2 of 2
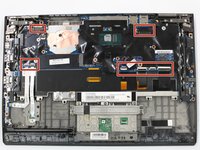
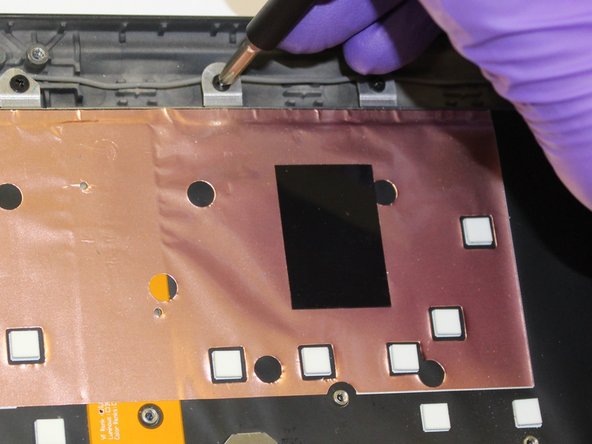
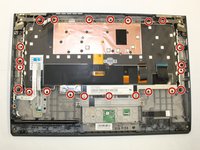
      • Using the Phillips #1 screwdriver, remove 23 (twenty three) 4.5mm screws.

      Ask FixBot

      Add Comment

    2. Lenovo ThinkPad X1 Yoga Keyboard Replacement: step 20, image 1 of 1
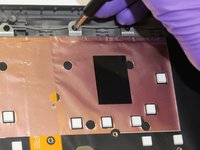
      • Using the iFixit opening tool, lift the metal frame away from the keyboard.

      Ask FixBot

      Add Comment

    3. Lenovo ThinkPad X1 Yoga Keyboard Replacement: step 21, image 1 of 1
      • Lift and remove the keyboard away from the computer.

      Ask FixBot

      Add Comment

Conclusion

To reassemble your device, follow these instructions in reverse order.

Cancel: I did not complete this guide.

9 other people completed this guide.

2 Guide Comments

Samw steps on gen 4, screws just in different places, thie guide worked great! Thanks :)

Ryan B - Reply Share

there's no need to remove the heat sink, SSD and wireless cards - you can just remove the motherboard in 1 piece with these still attached.

Slim - Reply Share

Add Comment

View Statistics:

Past 24 Hours: 5

Past 7 Days: 48

Past 30 Days: 195

All Time: 19,405