
Lenovo ThinkPad T580 Keyboard Replacement

Austin Blakely and 4 other contributors
Last updated on May 22, 2024
Views: 9.5K
View statistics:
- Past 24 Hours:
- 12
- Past 7 Days:
- 54
- Past 30 Days:
- 230
- All Time:
- 9,460
Comments: 9
4 comments on steps, 5 guide comments.
Go to guide commentsCompleted: 3 4
3 people have marked this guide "completed." Will you be next?
4 people have marked this guide "completed." Including you — great job!
Favorites: 0 1
No one has favorited (and subscribed to) this guide. Will you be the first?
1 person has favorited (and subscribed to) this guide — and that's you!
Introduction
Go to step 1 ↓If the keyboard on your ThinkPad T580 stops working, you can use this repair guide to fix it. The keyboard is responsible for relaying the physical input from the user to the motherboard, so if it isn’t functioning properly it can prevent the owner from using the computer completely.
If your keyboard has malfunctioning keys, such as certain keys registering multiple presses when only pressed once, keys not registering presses at all, key chattering, or if your keyboard stops registering keypresses completely, replacing the keyboard should alleviate your problems.
Luckily, the keyboard in the ThinkPad T580 is modular and can be replaced from the front of the device. You don’t even need to open the back cover!
What you need


-
-
-
Use a Phillips #00 screwdriver to unscrew the three 3.3 mm captive screws securing the keyboard.
 Ask FixBot
-
-
-
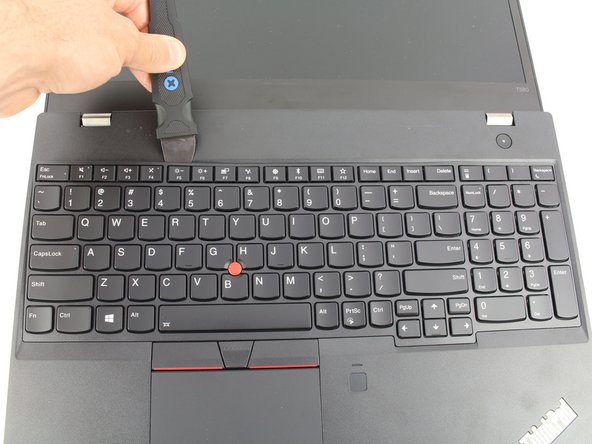
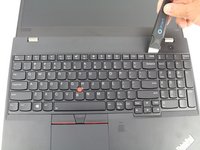
Continue prying along the top edge of the keyboard, releasing the clips as you go.
-
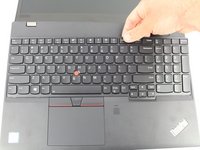
Once the top edge has been fully released, grab the top edge and hinge the keyboard upwards on the bottom edge.
-
-
-
-
Pull the keyboard away from you, releasing the tabs along the bottom edge.
-
Flip the keyboard over to rest face down over the trackpad.
-
-
-
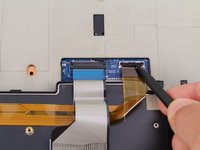
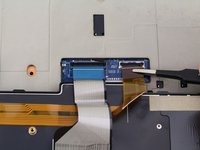
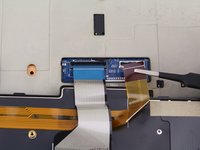
Use a spudger to lift up the two black, hinged locking flaps on the ZIF connectors on the motherboard.
-
-
Tool used on this step:Tweezers$4.99
-
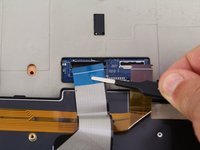
Use a pair of blunt nose tweezers to pull the two keyboard ribbon cables out from the ZIF connectors.
-
-











To reassemble your device, follow these instructions in reverse order.
Cancel: I did not complete this guide.
3 other people completed this guide.


5 Guide Comments
Aren't there screws on the bottom of the laptop that ought to be unscrewed as well? That's what the T580 service guide says, I think.
This guide is wrong. You need to remove three screws on the bottom. Then slide the keyboard forward (towards the screen) and lift it up at the front to remove it.
This guide is indeed incorrect. After just pulling the screws out of the back of the keyboard thinking they were "clips" as stated in the article, I can confirm that you DO need to unscrew the three center screws on the back of the laptop prior to removing the keyboard.
Hi Dave.
You and the other commenters are 100% right! I have updated the guide accordingly.
Is it possible to replace the non-backlit keyboard into backlit one?
