Free Shipping on Domestic Orders $75+

Lenovo ThinkPad T580 Hard Drive Replacement

What you need

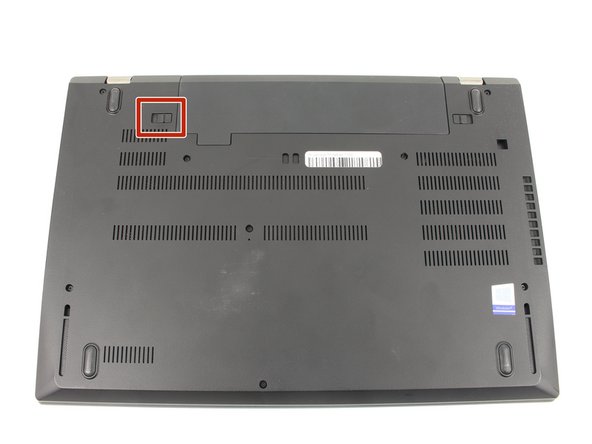
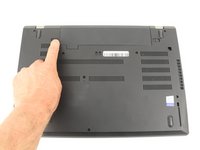
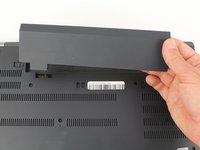
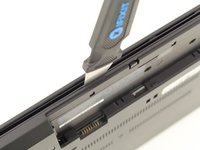
    1. Lenovo ThinkPad T580 Hard Drive Replacement, External Battery: step 1, image 1 of 3 Lenovo ThinkPad T580 Hard Drive Replacement, External Battery: step 1, image 2 of 3 Lenovo ThinkPad T580 Hard Drive Replacement, External Battery: step 1, image 3 of 3
      • Slide the switch on the left side of the battery to the left.

      Ask FixBot

      Add Comment

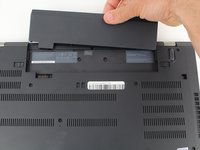
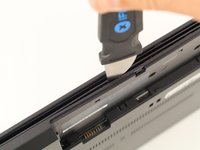
    2. Lenovo ThinkPad T580 Hard Drive Replacement: step 2, image 1 of 3 Lenovo ThinkPad T580 Hard Drive Replacement: step 2, image 2 of 3 Lenovo ThinkPad T580 Hard Drive Replacement: step 2, image 3 of 3
      • Slide the switch on the right side of the battery to the right while applying upward pressure on the battery.

      Ask FixBot

      Add Comment

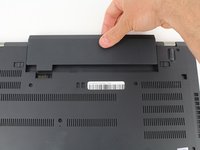
    3. Lenovo ThinkPad T580 Hard Drive Replacement: step 3, image 1 of 3 Lenovo ThinkPad T580 Hard Drive Replacement: step 3, image 2 of 3 Lenovo ThinkPad T580 Hard Drive Replacement: step 3, image 3 of 3
      • Pull the battery directly out of the socket

      Ask FixBot

      Add Comment

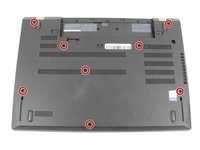
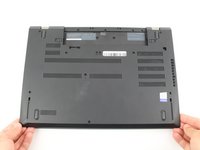
    1. Lenovo ThinkPad T580 Hard Drive Replacement, Bottom Case: step 4, image 1 of 2 Lenovo ThinkPad T580 Hard Drive Replacement, Bottom Case: step 4, image 2 of 2
      • Using a Phillips #00 screwdriver, unscrew the eight 3.3 mm captive screws on the bottom of the laptop.

      • The "captive" screws will not come out of the case.

      Ask FixBot

      Add Comment

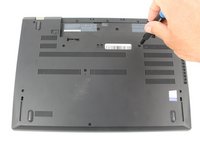
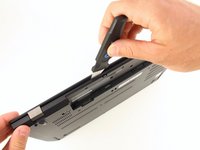
    2. Lenovo ThinkPad T580 Hard Drive Replacement: step 5, image 1 of 3 Lenovo ThinkPad T580 Hard Drive Replacement: step 5, image 2 of 3 Lenovo ThinkPad T580 Hard Drive Replacement: step 5, image 3 of 3
      • Run a Jimmy along the crease of the computer all the way around, twisting it periodically to disengage the clips.

      Ask FixBot

      Add Comment

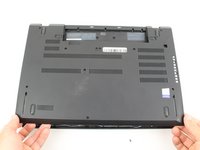
    3. Lenovo ThinkPad T580 Hard Drive Replacement: step 6, image 1 of 3 Lenovo ThinkPad T580 Hard Drive Replacement: step 6, image 2 of 3 Lenovo ThinkPad T580 Hard Drive Replacement: step 6, image 3 of 3
      • Once all the clips are released, remove the bottom cover.

      • You may need to jiggle the case slightly to release the clips around the external battery bay.

      Ask FixBot

      Add Comment

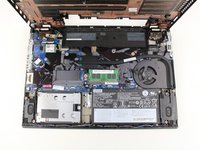
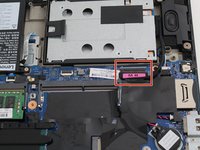
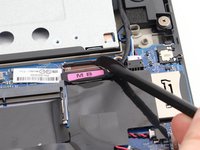
    1. Lenovo ThinkPad T580 Hard Drive Replacement, Hard Drive: step 7, image 1 of 2 Lenovo ThinkPad T580 Hard Drive Replacement, Hard Drive: step 7, image 2 of 2
      • Using a spudger, flip up the locking black tab of the hard drive ZIF connector.

      • Pull the hard drive cable out from the connector on the motherboard.

      Ask FixBot

      Add Comment

    2. Lenovo ThinkPad T580 Hard Drive Replacement: step 8, image 1 of 1
      • Pull the hard drive case out of the slot using the tab.

      Ask FixBot

      Add Comment

Conclusion

To reassemble your device, follow these instructions in reverse order.

Cancel: I did not complete this guide.

4 other people completed this guide.

Ben Elkayam

Member since: 01/23/20

1,105 Reputation

8 Guides authored

Team

Cal Poly, Team S18-G6, White Winter 2020 Member of Cal Poly, Team S18-G6, White Winter 2020

CPSU-WHITE-W20S18G6

4 Members

96 Guides authored

1 Guide Comment

Before any of this go into the bios setup and disable the internal battery.

Roger Elder - Reply Share
Add Comment

View Statistics:

Past 24 Hours: 1

Past 7 Days: 21

Past 30 Days: 130

All Time: 14,075