Free Shipping on Domestic Orders $75+

Lenovo ThinkPad T580 Fingerprint Sensor Replacement

Views: 2K

View statistics:

Past 24 Hours:
3
Past 7 Days:
20
Past 30 Days:
90
All Time:
1,986
Comments: 1

1 comment on steps.

Completed: 1

1 person has marked this guide "completed." Will you be next?

Favorites: 0

No one has favorited (and subscribed to) this guide. Will you be the first?

Time Required: No estimate
Difficulty: Moderate
Lenovo ThinkPad T580 Fingerprint Sensor Replacement

Introduction

Go to step 1 ↓

If the fingerprint sensor on your Lenovo ThinkPad T580 computer breaks, stops working, or sustains damage, you can use this step-by-step repair guide to fix it! The fingerprint sensor is used to secure the device with a physical key (your fingerprint) rather than a digital one like a password. If the fingerprint sensor breaks or stops registering your fingerprint, you may find yourself locked out of your computer, which can be a nuisance.

Replacing the fingerprint sensor should allow you to continue using your fingerprint to unlock your computer, although you may need to register your fingerprint with the new board after replacing it. If this is the case, you’ll need to remember your digital password to unlock the computer and re-register those fingerprints to the new sensor.

What you need

Parts

Tools

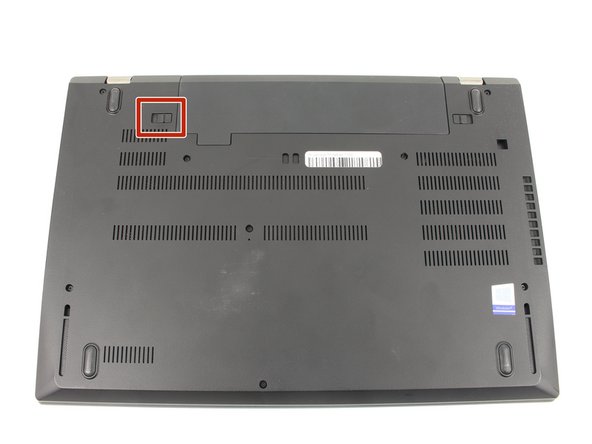
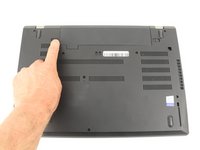
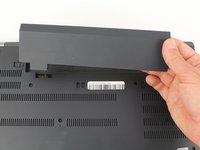
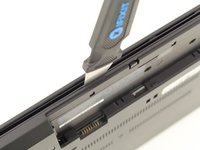
    1. Lenovo ThinkPad T580 Fingerprint Sensor Replacement, External Battery: step 1, image 1 of 3 Lenovo ThinkPad T580 Fingerprint Sensor Replacement, External Battery: step 1, image 2 of 3 Lenovo ThinkPad T580 Fingerprint Sensor Replacement, External Battery: step 1, image 3 of 3
      • Slide the switch on the left side of the battery to the left.

      Ask FixBot

      Add Comment

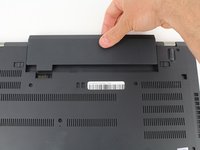
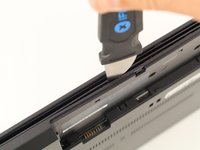
    2. Lenovo ThinkPad T580 Fingerprint Sensor Replacement: step 2, image 1 of 3 Lenovo ThinkPad T580 Fingerprint Sensor Replacement: step 2, image 2 of 3 Lenovo ThinkPad T580 Fingerprint Sensor Replacement: step 2, image 3 of 3
      • Slide the switch on the right side of the battery to the right while applying upward pressure on the battery.

      Ask FixBot

      Add Comment

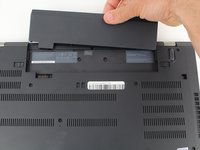
    3. Lenovo ThinkPad T580 Fingerprint Sensor Replacement: step 3, image 1 of 3 Lenovo ThinkPad T580 Fingerprint Sensor Replacement: step 3, image 2 of 3 Lenovo ThinkPad T580 Fingerprint Sensor Replacement: step 3, image 3 of 3
      • Pull the battery directly out of the socket

      Ask FixBot

      Add Comment

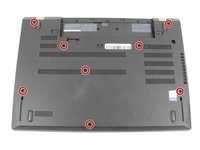
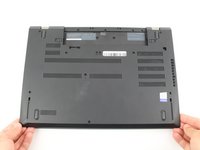
    1. Lenovo ThinkPad T580 Fingerprint Sensor Replacement, Bottom Case: step 4, image 1 of 2 Lenovo ThinkPad T580 Fingerprint Sensor Replacement, Bottom Case: step 4, image 2 of 2
      • Using a Phillips #00 screwdriver, unscrew the eight 3.3 mm captive screws on the bottom of the laptop.

      • The "captive" screws will not come out of the case.

      Ask FixBot

      Add Comment

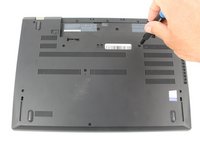
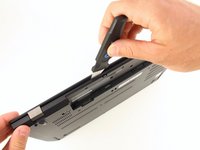
    2. Lenovo ThinkPad T580 Fingerprint Sensor Replacement: step 5, image 1 of 3 Lenovo ThinkPad T580 Fingerprint Sensor Replacement: step 5, image 2 of 3 Lenovo ThinkPad T580 Fingerprint Sensor Replacement: step 5, image 3 of 3
      • Run a Jimmy along the crease of the computer all the way around, twisting it periodically to disengage the clips.

      Ask FixBot

      Add Comment

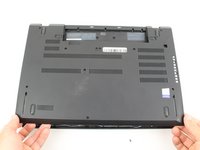
    3. Lenovo ThinkPad T580 Fingerprint Sensor Replacement: step 6, image 1 of 3 Lenovo ThinkPad T580 Fingerprint Sensor Replacement: step 6, image 2 of 3 Lenovo ThinkPad T580 Fingerprint Sensor Replacement: step 6, image 3 of 3
      • Once all the clips are released, remove the bottom cover.

      • You may need to jiggle the case slightly to release the clips around the external battery bay.

      Ask FixBot

      Add Comment

    1. Lenovo ThinkPad T580 Fingerprint Sensor Replacement, Internal Battery: step 7, image 1 of 1
      • Using a Phillips #00 screwdriver, remove five 3.7 mm screws holding down the battery.

      Ask FixBot

      Add Comment

    2. Lenovo ThinkPad T580 Fingerprint Sensor Replacement: step 8, image 1 of 3 Lenovo ThinkPad T580 Fingerprint Sensor Replacement: step 8, image 2 of 3 Lenovo ThinkPad T580 Fingerprint Sensor Replacement: step 8, image 3 of 3
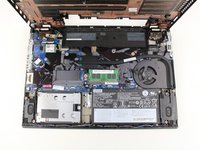
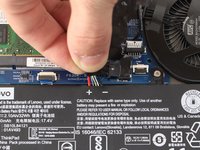
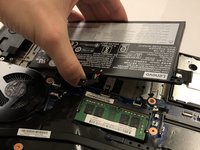
      • Unplug and remove the battery connector from the motherboard.

      • Remove the internal battery.

      Ask FixBot

      Add Comment

    1. Lenovo ThinkPad T580 Fingerprint Sensor Replacement, Fingerprint Sensor: step 9, image 1 of 3 Lenovo ThinkPad T580 Fingerprint Sensor Replacement, Fingerprint Sensor: step 9, image 2 of 3 Lenovo ThinkPad T580 Fingerprint Sensor Replacement, Fingerprint Sensor: step 9, image 3 of 3
      • Using a spudger, flip up the black tab of the fingerprint sensor's ZIF connector on the motherboard.

      Ask FixBot

      Add Comment

    2. Lenovo ThinkPad T580 Fingerprint Sensor Replacement: step 10, image 1 of 3 Lenovo ThinkPad T580 Fingerprint Sensor Replacement: step 10, image 2 of 3 Lenovo ThinkPad T580 Fingerprint Sensor Replacement: step 10, image 3 of 3
      Tool used on this step:
      Tweezers
      $4.99
      Buy
      • Pull out the fingerprint sensor ribbon cable from the ZIF connector using a pair of blunt nose tweezers.

      Ask FixBot

      Add Comment

    3. Lenovo ThinkPad T580 Fingerprint Sensor Replacement: step 11, image 1 of 2 Lenovo ThinkPad T580 Fingerprint Sensor Replacement: step 11, image 2 of 2
      • Using a Phillips #00 screwdriver, remove the 3.0 mm screw from the fingerprint sensor bracket.

      Ask FixBot

      Add Comment

    4. Lenovo ThinkPad T580 Fingerprint Sensor Replacement: step 12, image 1 of 3 Lenovo ThinkPad T580 Fingerprint Sensor Replacement: step 12, image 2 of 3 Lenovo ThinkPad T580 Fingerprint Sensor Replacement: step 12, image 3 of 3
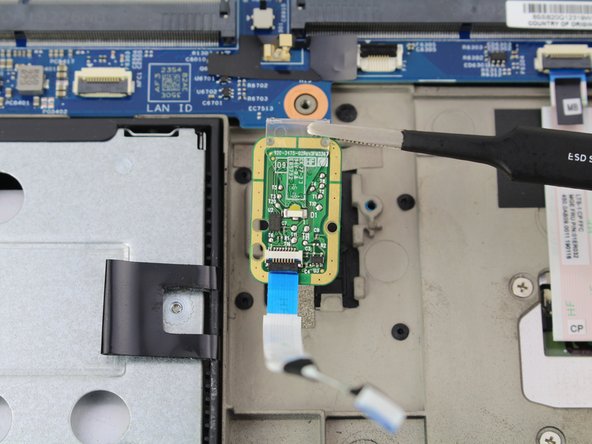
      • Lift the bracket off of the fingerprint sensor board with a set of blunt nose tweezers.

      Ask FixBot

      Add Comment

    5. Lenovo ThinkPad T580 Fingerprint Sensor Replacement: step 13, image 1 of 2 Lenovo ThinkPad T580 Fingerprint Sensor Replacement: step 13, image 2 of 2
      • Lift the fingerprint sensor out from the device with a pair of blunt nose tweezers.

      Ask FixBot

      Add Comment

Conclusion

To reassemble your device, follow these instructions in reverse order.

Cancel: I did not complete this guide.

One other person completed this guide.

Austin Blakely

Member since: 03/11/19

23,335 Reputation

53 Guides authored

Team

iFixit Member of iFixit

Staff

121 Members

72,885 Guides authored

0 Guide Comments

Add Comment

View Statistics:

Past 24 Hours: 3

Past 7 Days: 20

Past 30 Days: 90

All Time: 1,986