Free Shipping on Domestic Orders $75+

Lenovo ThinkPad T520 HDD/SSD Replacement

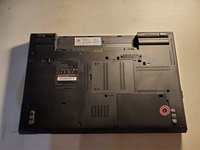
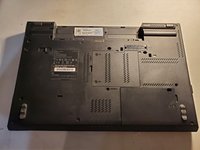
    1. Lenovo ThinkPad T520 HDD/SSD Replacement, Flip over laptop: step 1, image 1 of 2 Lenovo ThinkPad T520 HDD/SSD Replacement, Flip over laptop: step 1, image 2 of 2
      • Power down the laptop and unplug all cables.

      • Flip over laptop.

      Ask FixBot

      Add Comment

    2. Lenovo ThinkPad T520 HDD/SSD Replacement, Remove battery: step 2, image 1 of 2 Lenovo ThinkPad T520 HDD/SSD Replacement, Remove battery: step 2, image 2 of 2
      • Using your fingers, slide the lock to the unlocked position.

      • Then remove the battery from the slot.

      Ask FixBot

      Add Comment

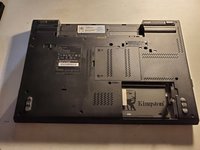
    3. Lenovo ThinkPad T520 HDD/SSD Replacement, Remove HDD/SSD plastic cover: step 3, image 1 of 3 Lenovo ThinkPad T520 HDD/SSD Replacement, Remove HDD/SSD plastic cover: step 3, image 2 of 3 Lenovo ThinkPad T520 HDD/SSD Replacement, Remove HDD/SSD plastic cover: step 3, image 3 of 3
      • Remove the single screw holding in the plastic cover.

      • Remove the plastic cover from the laptop.

      Ask FixBot

      Add Comment

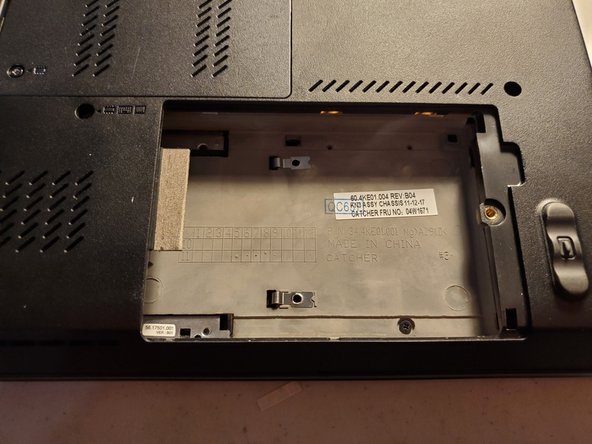
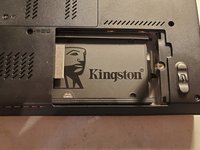
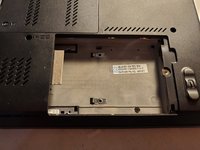
    4. Lenovo ThinkPad T520 HDD/SSD Replacement, Removing the HDD/SSD: step 4, image 1 of 2 Lenovo ThinkPad T520 HDD/SSD Replacement, Removing the HDD/SSD: step 4, image 2 of 2
      • Using your fingers pull on the black plastic tab.

      • Remove the HDD/SSD from the laptop.

      Ask FixBot

      Add Comment

Conclusion

To reassemble your device, follow these instructions in reverse order.

Cancel: I did not complete this guide.

One other person completed this guide.

Jeremiah C.

Member since: 03/28/22

847 Reputation

6 Guides authored

0 Guide Comments

Add Comment

View Statistics:

Past 24 Hours: 3

Past 7 Days: 9

Past 30 Days: 44

All Time: 466