Free Shipping on Domestic Orders $75+

Lenovo ThinkPad T480s Power Button Board Replacement

What you need

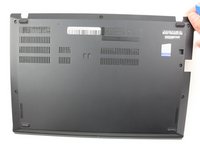
    1. Lenovo ThinkPad T480s Power Button Board Replacement, Bottom Cover: step 1, image 1 of 2 Lenovo ThinkPad T480s Power Button Board Replacement, Bottom Cover: step 1, image 2 of 2
      • Disable the battery, power down the device, and unplug the power adapter from your device before proceeding/beginning the guide.

      • Loosen the six captive screws with a Phillips #1 screwdriver.

      Ask FixBot

      Add Comment

    2. Lenovo ThinkPad T480s Power Button Board Replacement: step 2, image 1 of 3 Lenovo ThinkPad T480s Power Button Board Replacement: step 2, image 2 of 3 Lenovo ThinkPad T480s Power Button Board Replacement: step 2, image 3 of 3
      • Remove the bottom cover with an opening tool.

      • Start from the top edge near the hinge and work your way along the edge until all of the clips are unsnapped.

      Ask FixBot

      Add Comment

    3. Lenovo ThinkPad T480s Power Button Board Replacement: step 3, image 1 of 2 Lenovo ThinkPad T480s Power Button Board Replacement: step 3, image 2 of 2
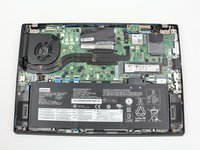
      • Lift the bottom cover off.

      Ask FixBot

      Add Comment

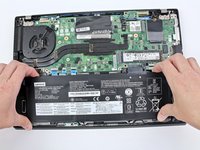
    1. Lenovo ThinkPad T480s Power Button Board Replacement, Battery: step 4, image 1 of 2 Lenovo ThinkPad T480s Power Button Board Replacement, Battery: step 4, image 2 of 2
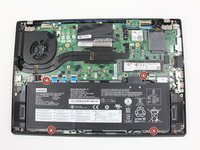
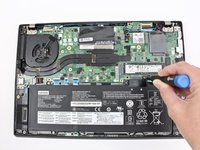
      • Use the Phillips #1 screwdriver to remove four 4.5mm screws that hold the battery down to the mid frame.

      Ask FixBot
      Add Comment

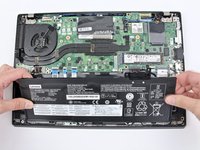
    2. Lenovo ThinkPad T480s Power Button Board Replacement: step 5, image 1 of 3 Lenovo ThinkPad T480s Power Button Board Replacement: step 5, image 2 of 3 Lenovo ThinkPad T480s Power Button Board Replacement: step 5, image 3 of 3
      • Lift the battery near the connector and remove it from the system.

      Ask FixBot

      Add Comment

    1. Lenovo ThinkPad T480s Power Button Board Replacement, Keyboard: step 6, image 1 of 3 Lenovo ThinkPad T480s Power Button Board Replacement, Keyboard: step 6, image 2 of 3 Lenovo ThinkPad T480s Power Button Board Replacement, Keyboard: step 6, image 3 of 3
      • Disable the battery, power down, and unplug your device before you begin.

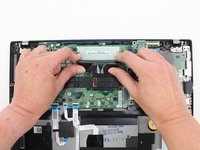
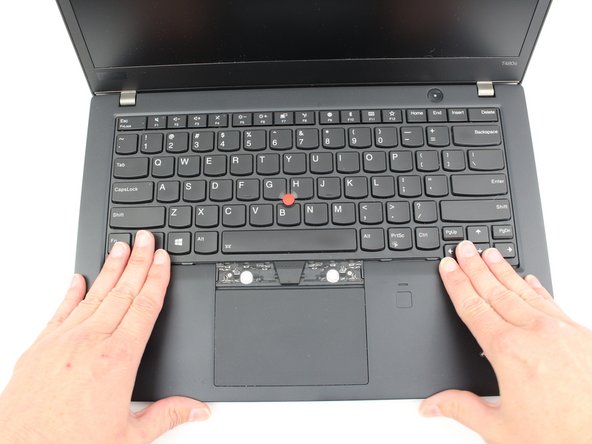
      • Pry the left and right trackpad buttons up with a spudger.

      Ask FixBot

      Add Comment

    2. Lenovo ThinkPad T480s Power Button Board Replacement: step 7, image 1 of 2 Lenovo ThinkPad T480s Power Button Board Replacement: step 7, image 2 of 2
      • With a Phillips #0 screwdriver, loosen the two captive screws underneath the left and right trackpad buttons.

      Ask FixBot
      Add Comment

    3. Lenovo ThinkPad T480s Power Button Board Replacement: step 8, image 1 of 3 Lenovo ThinkPad T480s Power Button Board Replacement: step 8, image 2 of 3 Lenovo ThinkPad T480s Power Button Board Replacement: step 8, image 3 of 3
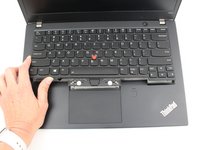
      • Wedge the spudger under the front edge of the keyboard to push the keyboard toward the back of the system.

      • Lift the front edge of the keyboard up by a few millimeters.

      Ask FixBot
      Add Comment

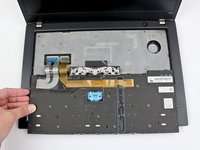
    4. Lenovo ThinkPad T480s Power Button Board Replacement: step 9, image 1 of 2 Lenovo ThinkPad T480s Power Button Board Replacement: step 9, image 2 of 2
      • Gently, pull the keyboard out from the bezel and flip it over.

      • It is connected to the keyboard and trackpad cables so be sure not to yank it over to avoid tearing them.

      Ask FixBot

      Add Comment

    5. Lenovo ThinkPad T480s Power Button Board Replacement: step 10, image 1 of 3 Lenovo ThinkPad T480s Power Button Board Replacement: step 10, image 2 of 3 Lenovo ThinkPad T480s Power Button Board Replacement: step 10, image 3 of 3
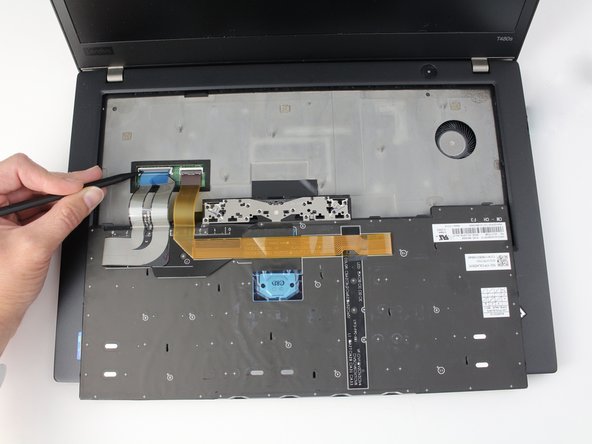
      • Use the spudger to disconnect the trackpad cable from the system.

      • For more information on types of connectors, check out this guide.

      Ask FixBot

      Add Comment
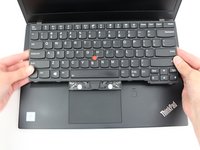
    6. Lenovo ThinkPad T480s Power Button Board Replacement: step 11, image 1 of 3 Lenovo ThinkPad T480s Power Button Board Replacement: step 11, image 2 of 3 Lenovo ThinkPad T480s Power Button Board Replacement: step 11, image 3 of 3
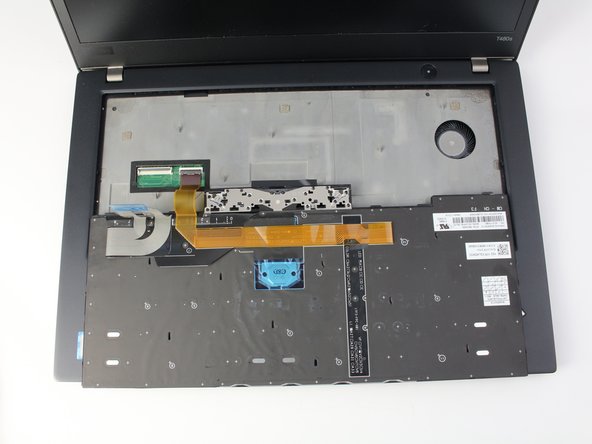
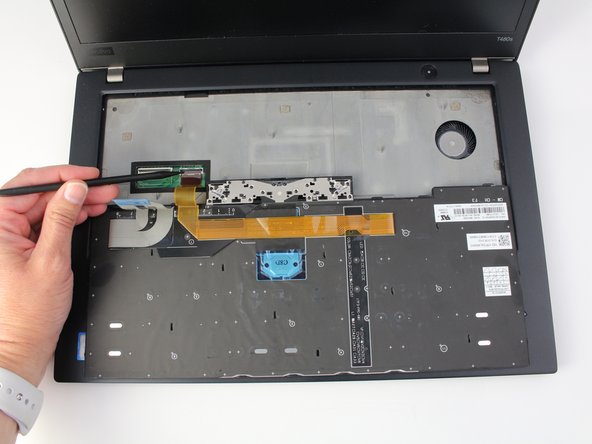
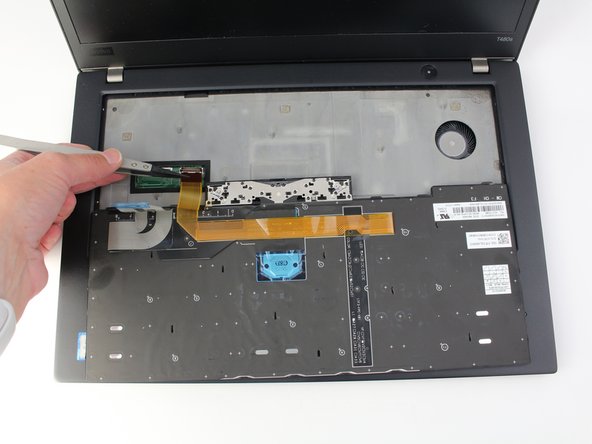
      • Use the spudger to disconnect the keyboard cable from the system.

      Ask FixBot

      Add Comment

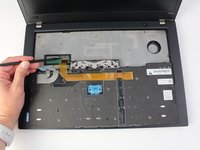
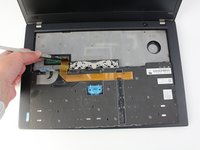
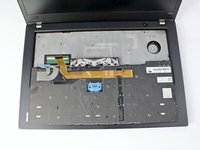
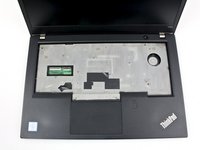
    7. Lenovo ThinkPad T480s Power Button Board Replacement: step 12, image 1 of 2 Lenovo ThinkPad T480s Power Button Board Replacement: step 12, image 2 of 2
      • Lift the keyboard off of the palm rest.

      Ask FixBot

      Add Comment

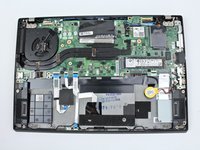
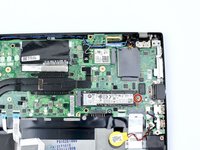
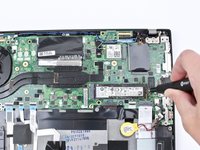
    1. Lenovo ThinkPad T480s Power Button Board Replacement, SSD: step 13, image 1 of 2 Lenovo ThinkPad T480s Power Button Board Replacement, SSD: step 13, image 2 of 2
      • Use the Phillips #1 screwdriver to remove one 2.8 mm screw securing the SSD.

      Ask FixBot

      Add Comment

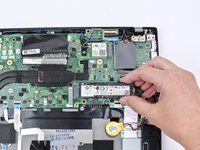
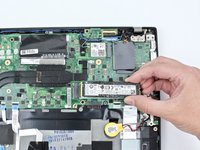
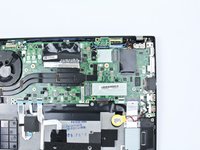
    2. Lenovo ThinkPad T480s Power Button Board Replacement: step 14, image 1 of 3 Lenovo ThinkPad T480s Power Button Board Replacement: step 14, image 2 of 3 Lenovo ThinkPad T480s Power Button Board Replacement: step 14, image 3 of 3
      • Pull the SSD out of the socket.

      Ask FixBot
      Add Comment

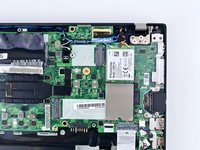
    1. Lenovo ThinkPad T480s Power Button Board Replacement, RAM: step 15, image 1 of 3 Lenovo ThinkPad T480s Power Button Board Replacement, RAM: step 15, image 2 of 3 Lenovo ThinkPad T480s Power Button Board Replacement, RAM: step 15, image 3 of 3
      • Pull the plastic film back.

      • Push the clips outward to release the RAM stick.

      • My device doesn't have RAM so you don't see it.

      • The RAM stick will pop out at an angle. Pull the RAM stick out at the same angle.

      Ask FixBot
      Add Comment

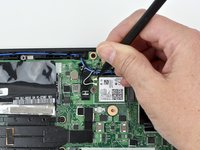
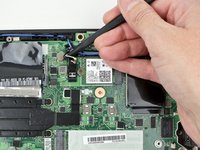
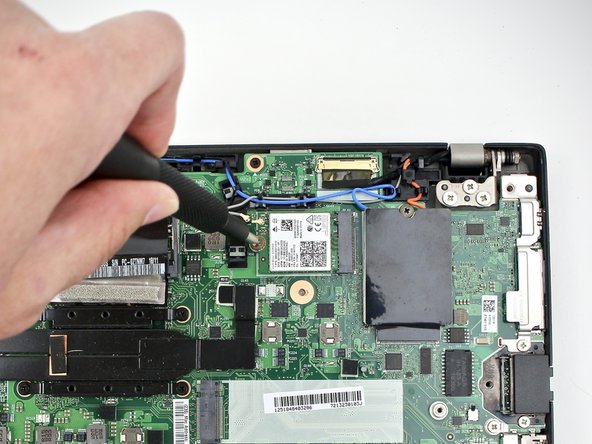
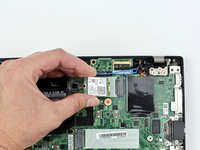
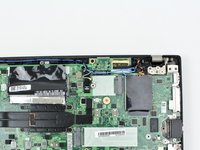
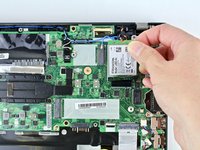
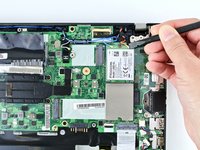
    1. Lenovo ThinkPad T480s Power Button Board Replacement, Wi-Fi Card: step 16, image 1 of 3 Lenovo ThinkPad T480s Power Button Board Replacement, Wi-Fi Card: step 16, image 2 of 3 Lenovo ThinkPad T480s Power Button Board Replacement, Wi-Fi Card: step 16, image 3 of 3
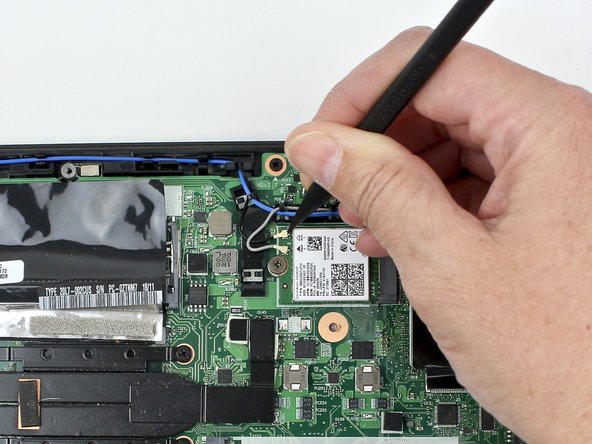
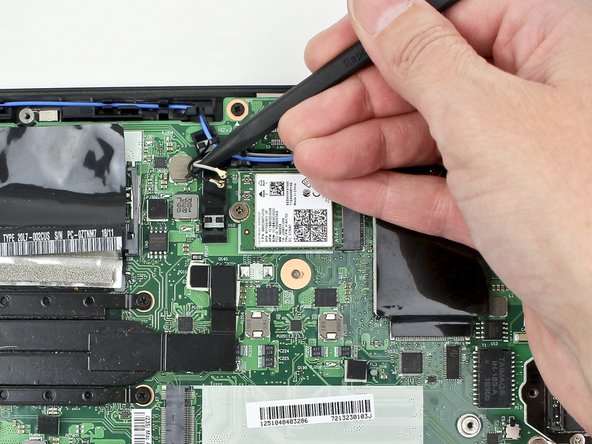
      • Using the nylon spudger, pop the coaxial antenna wires off the Wi-Fi card.

      • When reassembling, reattach the gray wire closest to the screw and the black wire on the other side of the gray wire.

      Ask FixBot
      Add Comment

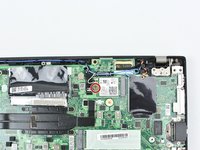
    2. Lenovo ThinkPad T480s Power Button Board Replacement: step 17, image 1 of 2 Lenovo ThinkPad T480s Power Button Board Replacement: step 17, image 2 of 2
      • Use the Phillips #1 screwdriver to remove one 2.8mm screw holding the Wi-Fi card down to the motherboard.

      Ask FixBot

      Add Comment

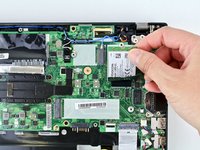
    3. Lenovo ThinkPad T480s Power Button Board Replacement: step 18, image 1 of 3 Lenovo ThinkPad T480s Power Button Board Replacement: step 18, image 2 of 3 Lenovo ThinkPad T480s Power Button Board Replacement: step 18, image 3 of 3
      • Slide the Wi-Fi card out from the slot.

      Ask FixBot

      Add Comment

    1. Lenovo ThinkPad T480s Power Button Board Replacement, WWAN Card: step 19, image 1 of 3 Lenovo ThinkPad T480s Power Button Board Replacement, WWAN Card: step 19, image 2 of 3 Lenovo ThinkPad T480s Power Button Board Replacement, WWAN Card: step 19, image 3 of 3
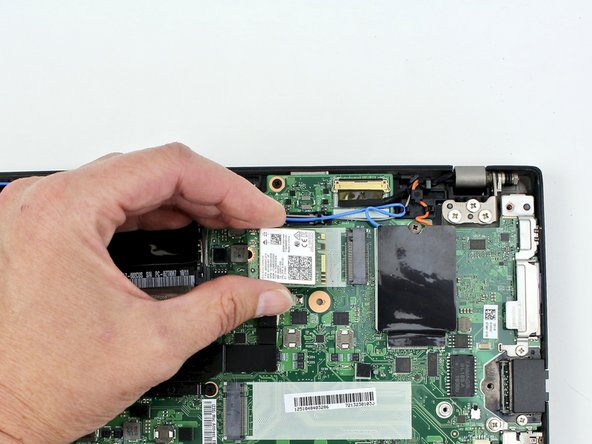
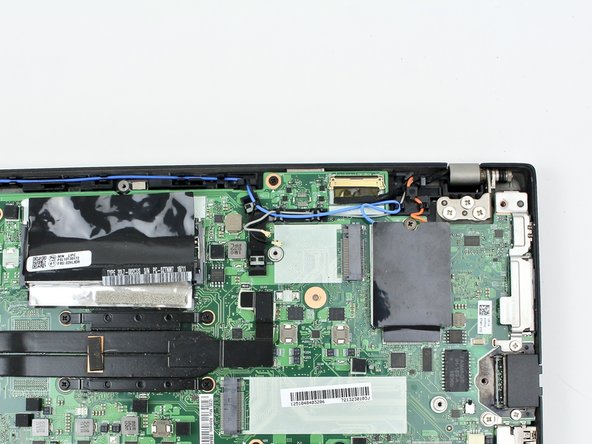
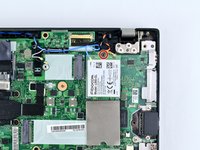
      • Flip the cardboard cover off of the WWAN card.

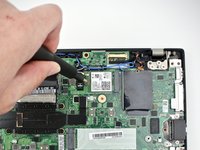
      • Using the spudger, release the coaxial antenna wires from the WWAN card.

      • When reassembling, reattach the blue wire on the left and the orange wire on the right.

      Ask FixBot
      Add Comment

    2. Lenovo ThinkPad T480s Power Button Board Replacement: step 20, image 1 of 2 Lenovo ThinkPad T480s Power Button Board Replacement: step 20, image 2 of 2
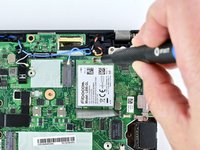
      • Use a Phillips #1 screwdriver to remove one 2.8mm screw.

      Ask FixBot
      Add Comment

    3. Lenovo ThinkPad T480s Power Button Board Replacement: step 21, image 1 of 3 Lenovo ThinkPad T480s Power Button Board Replacement: step 21, image 2 of 3 Lenovo ThinkPad T480s Power Button Board Replacement: step 21, image 3 of 3
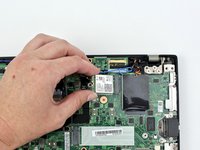
      • Slide the WWAN card out from the slot.

      Ask FixBot

      Add Comment

    1. Lenovo ThinkPad T480s Power Button Board Replacement, Fan Assembly: step 22, image 1 of 2 Lenovo ThinkPad T480s Power Button Board Replacement, Fan Assembly: step 22, image 2 of 2
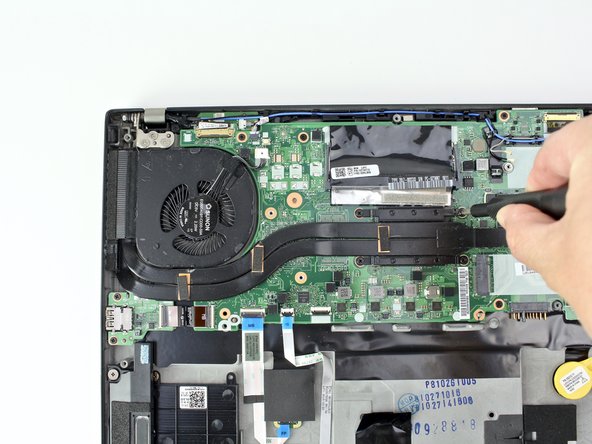
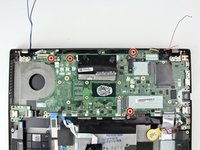
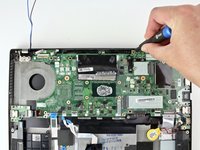
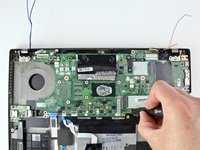
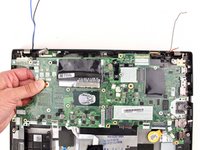
      • Use the spudger to disconnect the fan cable from the motherboard.

      Ask FixBot

      Add Comment

    2. Lenovo ThinkPad T480s Power Button Board Replacement: step 23, image 1 of 2 Lenovo ThinkPad T480s Power Button Board Replacement: step 23, image 2 of 2
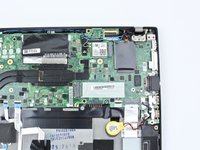
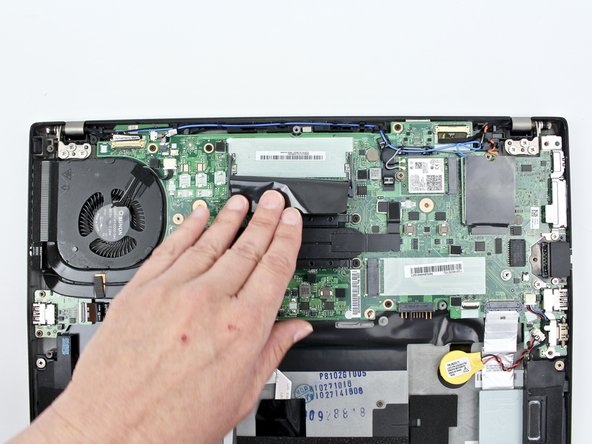
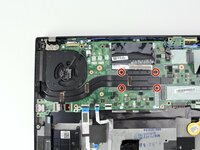
      • Loosen the four captive screws attaching the fan assembly to the motherboard.

      • Do not attempt to remove the captive screws, as forcing them out may strip or damage them.

      Ask FixBot

      Add Comment

    3. Lenovo ThinkPad T480s Power Button Board Replacement: step 24, image 1 of 3 Lenovo ThinkPad T480s Power Button Board Replacement: step 24, image 2 of 3 Lenovo ThinkPad T480s Power Button Board Replacement: step 24, image 3 of 3
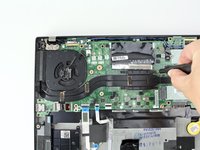
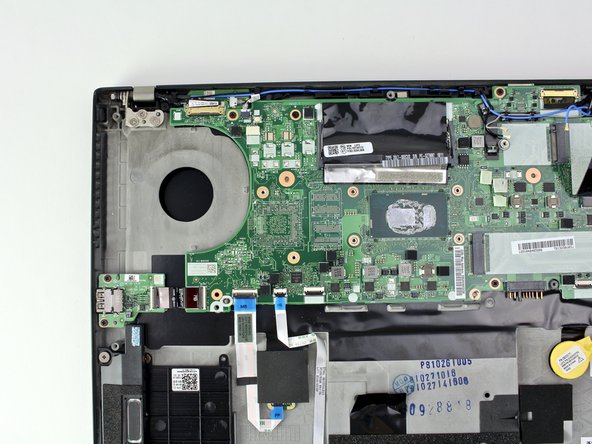
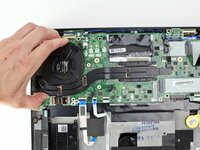
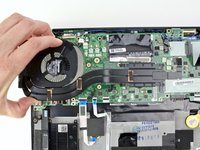
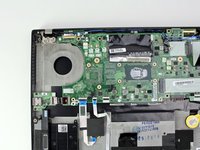
      • Lift the fan assembly from the system and remove it.

      • Follow our thermal paste application guide before you replace the fan assembly and are ready to reassemble your device.

      Ask FixBot

      Add Comment

    1. Lenovo ThinkPad T480s Power Button Board Replacement, SIM Card Tray: step 25, image 1 of 2 Lenovo ThinkPad T480s Power Button Board Replacement, SIM Card Tray: step 25, image 2 of 2
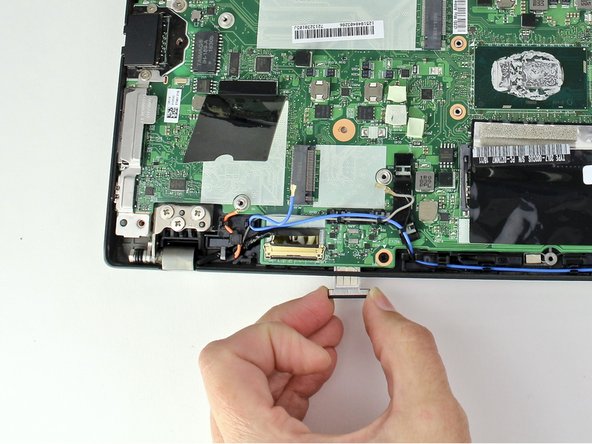
      • Insert the SIM eject bit or a paper clip in the hole of the SIM tray to eject it.

      • Remove the SIM tray.

      Ask FixBot

      Add Comment

    1. Lenovo ThinkPad T480s Power Button Board Replacement, Motherboard: step 26, image 1 of 3 Lenovo ThinkPad T480s Power Button Board Replacement, Motherboard: step 26, image 2 of 3 Lenovo ThinkPad T480s Power Button Board Replacement, Motherboard: step 26, image 3 of 3
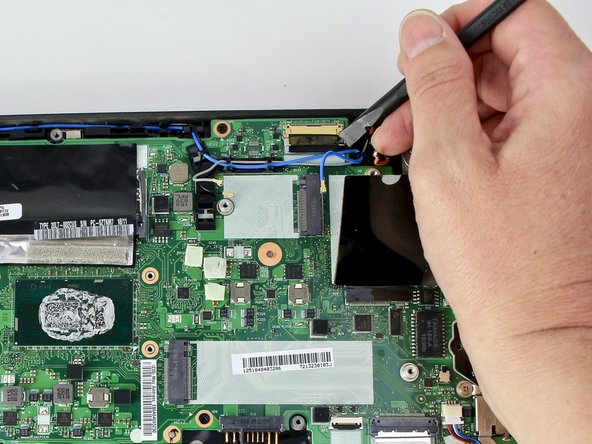
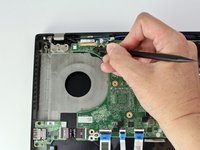
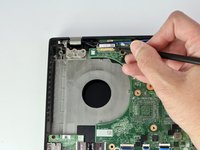
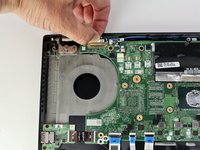
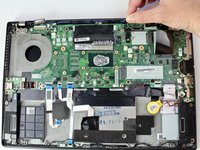
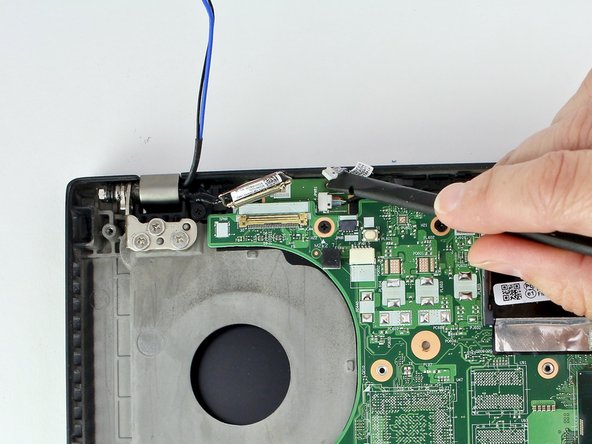
      • Use the spudger to disconnect the LCD cable from the motherboard.

      Ask FixBot

      Add Comment

    2. Lenovo ThinkPad T480s Power Button Board Replacement: step 27, image 1 of 3 Lenovo ThinkPad T480s Power Button Board Replacement: step 27, image 2 of 3 Lenovo ThinkPad T480s Power Button Board Replacement: step 27, image 3 of 3
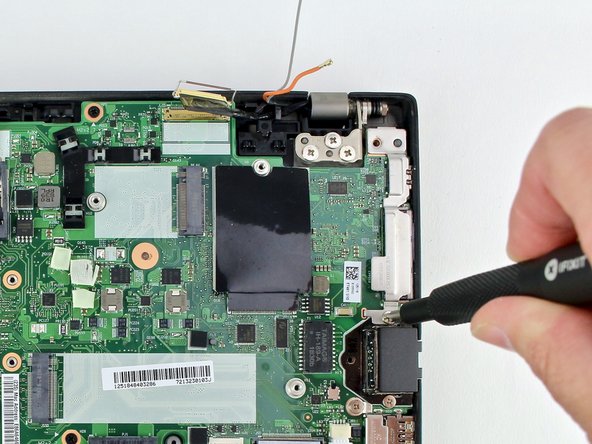
      • Use the spudger to disconnect the camera cable from the motherboard.

      Ask FixBot

      Add Comment

    3. Lenovo ThinkPad T480s Power Button Board Replacement: step 28, image 1 of 3 Lenovo ThinkPad T480s Power Button Board Replacement: step 28, image 2 of 3 Lenovo ThinkPad T480s Power Button Board Replacement: step 28, image 3 of 3
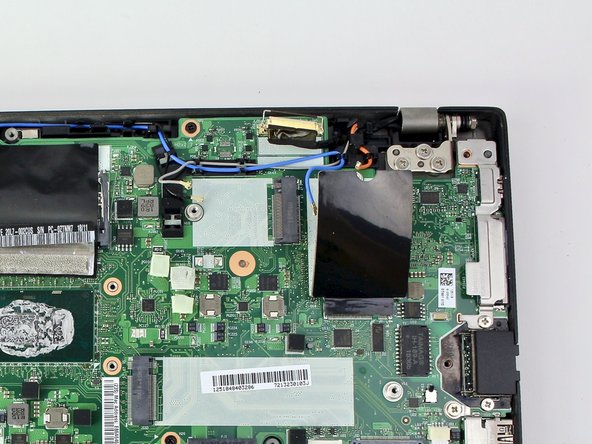
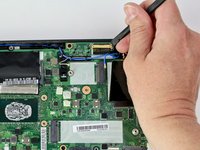
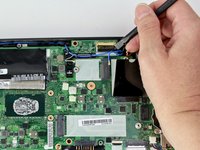
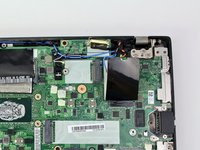
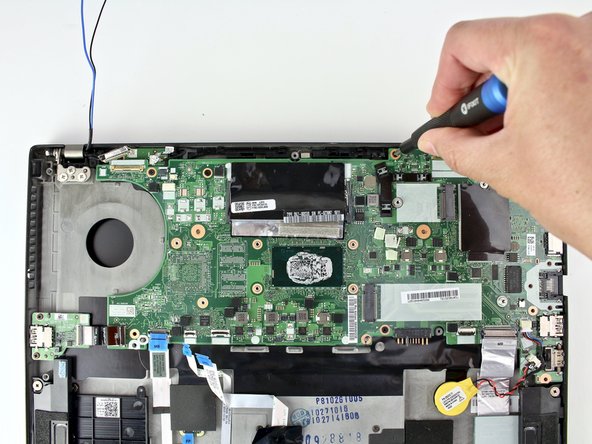
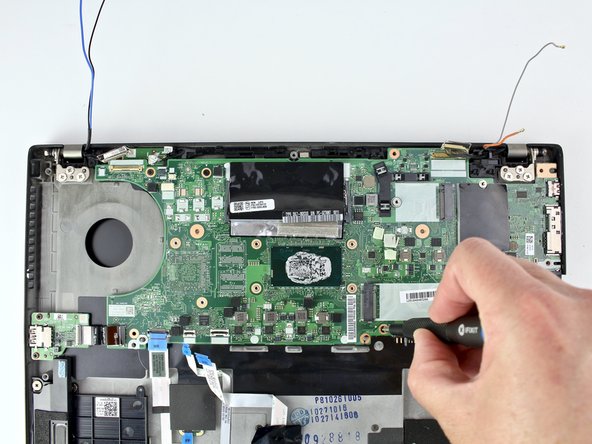
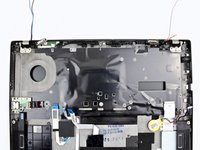
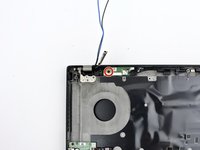
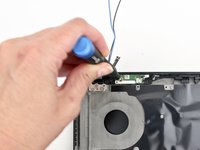
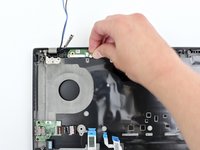
      • Remove all antenna cables from their routing.

      Ask FixBot

      Add Comment

    4. Lenovo ThinkPad T480s Power Button Board Replacement: step 29, image 1 of 3 Lenovo ThinkPad T480s Power Button Board Replacement: step 29, image 2 of 3 Lenovo ThinkPad T480s Power Button Board Replacement: step 29, image 3 of 3
      • Use the spudger to disconnect the SD card reader/audio card cable from the board.

      • The cable is attached to the board with adhesive so you will need to peel the cable up.

      Ask FixBot

      Add Comment

    5. Lenovo ThinkPad T480s Power Button Board Replacement: step 30, image 1 of 3 Lenovo ThinkPad T480s Power Button Board Replacement: step 30, image 2 of 3 Lenovo ThinkPad T480s Power Button Board Replacement: step 30, image 3 of 3
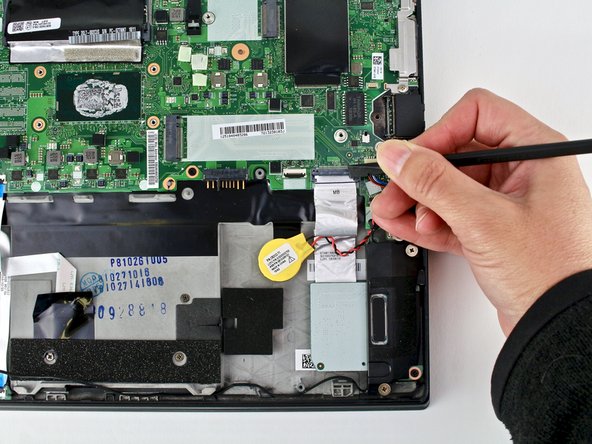
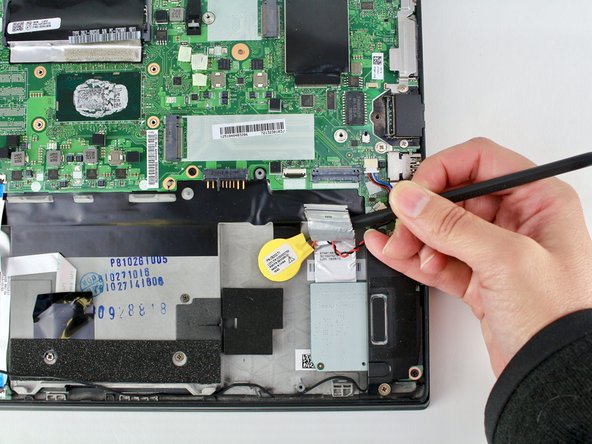
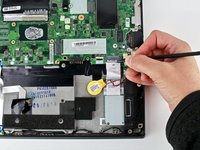
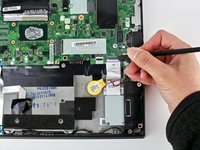
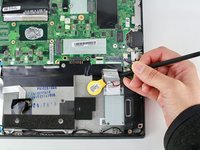
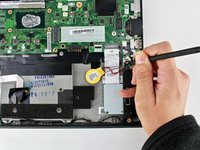
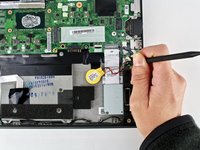
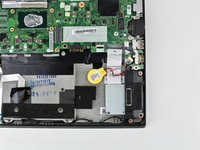
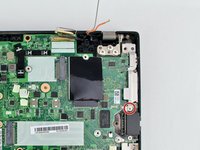
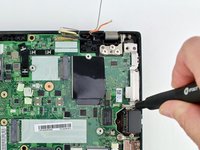
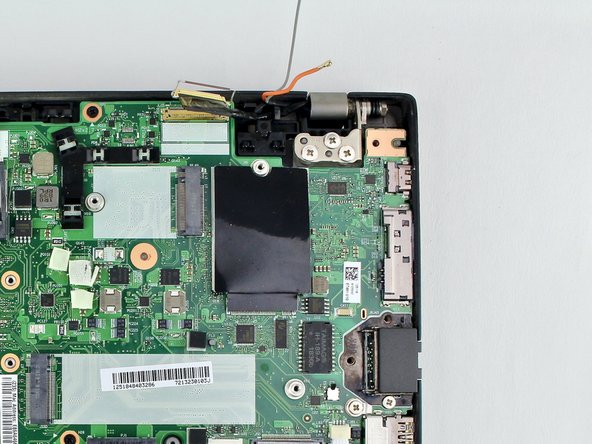
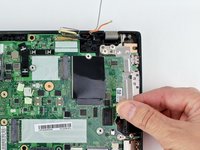
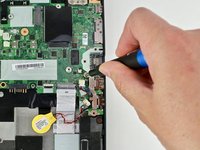
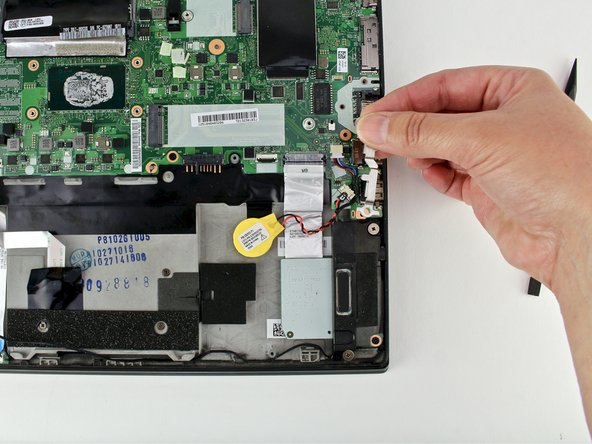
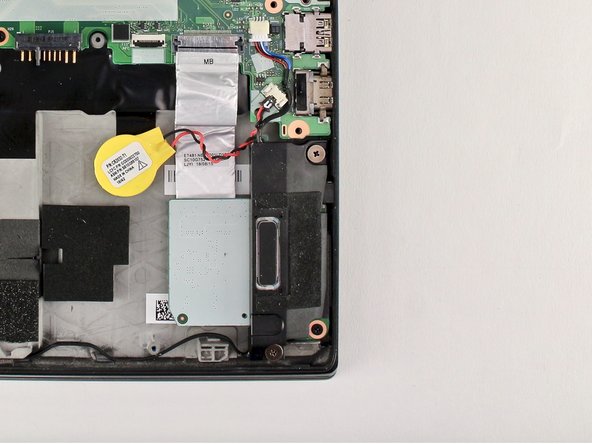
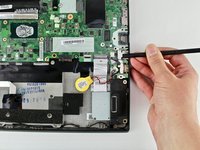
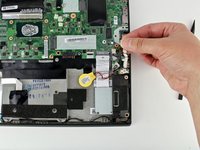
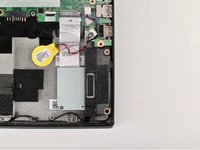
      • Use a connector puller or spudger to disconnect the coin cell battery from the board and pull the cable from the notch.

      Ask FixBot

      Add Comment

    6. Lenovo ThinkPad T480s Power Button Board Replacement: step 31, image 1 of 3 Lenovo ThinkPad T480s Power Button Board Replacement: step 31, image 2 of 3 Lenovo ThinkPad T480s Power Button Board Replacement: step 31, image 3 of 3
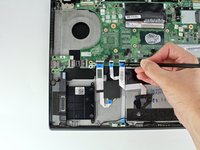
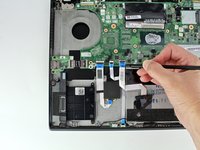
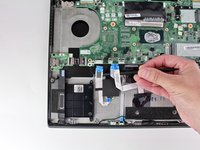
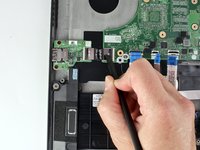
      • Use the spudger to disconnect the trackpad cable, the Hall sensor cable, and the smart card reader cable from the motherboard.

      Ask FixBot

      Add Comment

    7. Lenovo ThinkPad T480s Power Button Board Replacement: step 32, image 1 of 3 Lenovo ThinkPad T480s Power Button Board Replacement: step 32, image 2 of 3 Lenovo ThinkPad T480s Power Button Board Replacement: step 32, image 3 of 3
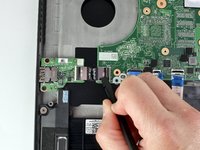
      • Disconnect the USB Card cable from the motherboard using the spudger.

      Ask FixBot

      Add Comment

    8. Lenovo ThinkPad T480s Power Button Board Replacement: step 33, image 1 of 2 Lenovo ThinkPad T480s Power Button Board Replacement: step 33, image 2 of 2
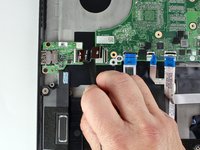
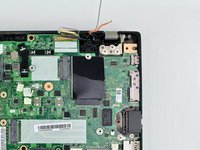
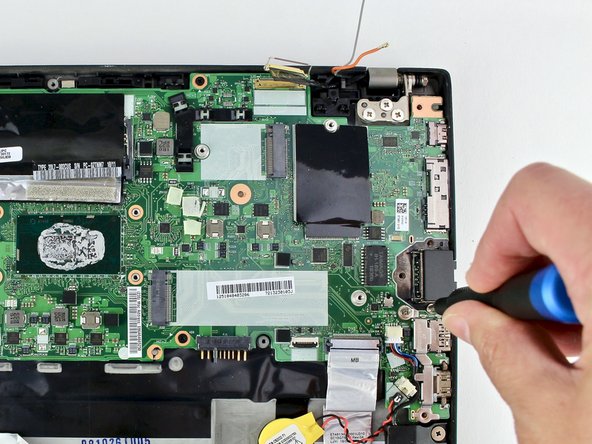
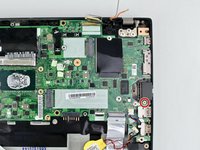
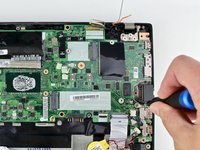
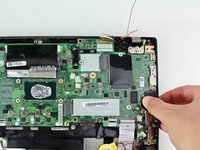
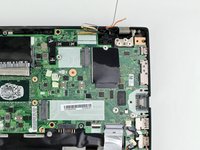
      • Use the spudger to disconnect the power button cable from the motherboard.

      Ask FixBot

      Add Comment

    9. Lenovo ThinkPad T480s Power Button Board Replacement: step 34, image 1 of 2 Lenovo ThinkPad T480s Power Button Board Replacement: step 34, image 2 of 2
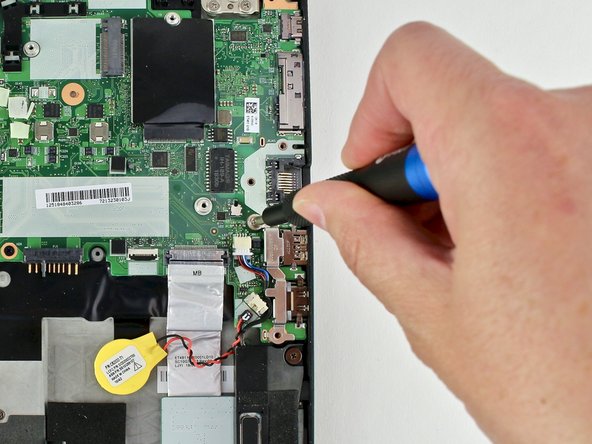
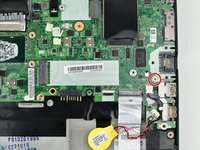
      • Use the Phillips #1 screwdriver to remove the 4.6 mm screw from the USB-C bracket.

      Ask FixBot

      Add Comment

    10. Lenovo ThinkPad T480s Power Button Board Replacement: step 35, image 1 of 2 Lenovo ThinkPad T480s Power Button Board Replacement: step 35, image 2 of 2
      • Lift the USB-C bracket from the system.

      Ask FixBot

      Add Comment

    11. Lenovo ThinkPad T480s Power Button Board Replacement: step 36, image 1 of 2 Lenovo ThinkPad T480s Power Button Board Replacement: step 36, image 2 of 2
      • Use the Phillips #1 screwdriver to remove the 4.7 mm screw from the trap door.

      Ask FixBot

      Add Comment

    12. Lenovo ThinkPad T480s Power Button Board Replacement: step 37, image 1 of 2 Lenovo ThinkPad T480s Power Button Board Replacement: step 37, image 2 of 2
      • Lift the trap door out.

      Ask FixBot

      Add Comment

    13. Lenovo ThinkPad T480s Power Button Board Replacement: step 38, image 1 of 2 Lenovo ThinkPad T480s Power Button Board Replacement: step 38, image 2 of 2
      • Remove the 4.4 mm screw from the HDMI bracket using the Phillips #1 screwdriver.

      Ask FixBot

      Add Comment

    14. Lenovo ThinkPad T480s Power Button Board Replacement: step 39, image 1 of 3 Lenovo ThinkPad T480s Power Button Board Replacement: step 39, image 2 of 3 Lenovo ThinkPad T480s Power Button Board Replacement: step 39, image 3 of 3
      • Remove the HDMI bracket from the motherboard using your fingers.

      Ask FixBot

      Add Comment

    15. Lenovo ThinkPad T480s Power Button Board Replacement: step 40, image 1 of 3 Lenovo ThinkPad T480s Power Button Board Replacement: step 40, image 2 of 3 Lenovo ThinkPad T480s Power Button Board Replacement: step 40, image 3 of 3
      • Using the Phillips #1 screwdriver, remove four 3.1 mm screws from the motherboard.

      Ask FixBot

      Add Comment

    16. Lenovo ThinkPad T480s Power Button Board Replacement: step 41, image 1 of 2 Lenovo ThinkPad T480s Power Button Board Replacement: step 41, image 2 of 2
      • Lift the motherboard from the chassis to remove it from the device.

      Ask FixBot

      Add Comment

    1. Lenovo ThinkPad T480s Power Button Board Replacement, Power Button Board: step 42, image 1 of 2 Lenovo ThinkPad T480s Power Button Board Replacement, Power Button Board: step 42, image 2 of 2
      • Use the Phillips #1 screwdriver to remove a 3 mm screw from the board.

      Ask FixBot

      Add Comment

    2. Lenovo ThinkPad T480s Power Button Board Replacement: step 43, image 1 of 2 Lenovo ThinkPad T480s Power Button Board Replacement: step 43, image 2 of 2
      • Remove the power button board from the system with your fingers.

      Ask FixBot

      Add Comment

Conclusion

To reassemble your device, follow these instructions in reverse order.

Take your e-waste to an R2 or e-Stewards certified recycler.

Repair didn’t go as planned? Try some basic troubleshooting, or ask our Answers community for help.

Cancel: I did not complete this guide.

Sarah Westberg

Member since: 03/11/19

41,824 Reputation

72 Guides authored

Team

iFixit Member of iFixit

Staff

123 Members

77,102 Guides authored

0 Guide Comments

Add Comment

View Statistics:

Past 24 Hours: 0

Past 7 Days: 10

Past 30 Days: 49

All Time: 2,437