
Lenovo ThinkPad T480s Fan Assembly Replacement

Sarah Westberg and one other contributor
Last updated on Jun 24, 2025
Views: 7.5K
View statistics:
- Past 24 Hours:
- 5
- Past 7 Days:
- 50
- Past 30 Days:
- 182
- All Time:
- 7,526
Comments: 7
5 comments on steps, 2 guide comments.
Go to guide commentsCompleted: 4 5
4 people have marked this guide "completed." Will you be next?
5 people have marked this guide "completed." Including you — great job!
Favorites: 0 1
No one has favorited (and subscribed to) this guide. Will you be the first?
1 person has favorited (and subscribed to) this guide — and that's you!
Introduction
Go to step 1 ↓Follow these instructions to remove and replace the fan and heatsink assembly in your Lenovo ThinkPad T480s laptop.
The heatsink (or heat sink) is a passive heat exchanger that transfers heat in a device. The heat sink transfers heat from the laptop’s CPU to the fan, which redirects the heat away from the laptop’s internal components. The fan and heat sink work together to prevent the laptop from overheating, which can cause damage to the device.
If you find that your laptop is experiencing the following symptoms, it may be time to replace the fan and heatsink assembly:
- Easily overheats
- Running at higher temperatures than normal
- Loud whirring noises
- Laptop is getting louder
Don’t forget to follow our thermal paste application guide after you have removed your heat sink and are ready to reassemble your device.
Make sure to disable the internal battery, power down your device, and disconnect from any external power sources before you begin. You should also let it cool for 20 minutes before proceeding with the guide if you’ve been using the laptop extensively.
What you need


-
-
-
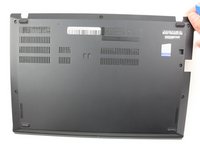
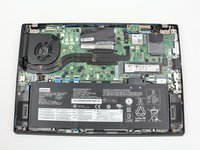
Remove the bottom cover with an opening tool.
-
Start from the top edge near the hinge and work your way along the edge until all of the clips are unsnapped.
-
-
-
-
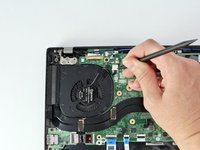
Use the spudger to disconnect the fan cable from the motherboard.
-
-
-
-
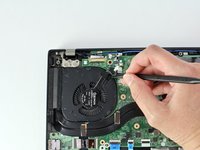
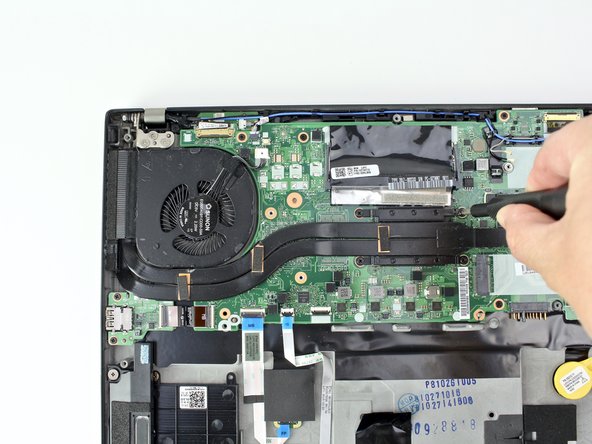
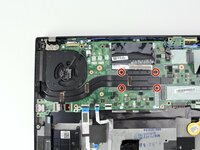
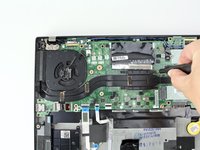
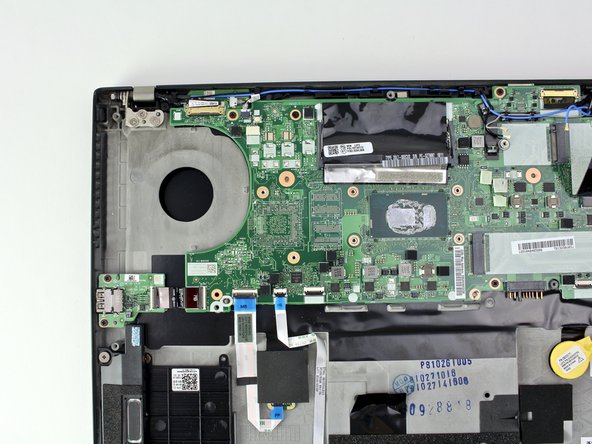
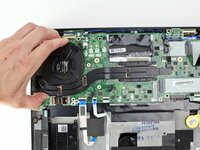
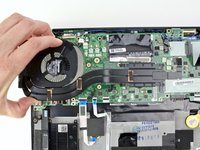
Loosen the four captive screws attaching the fan assembly to the motherboard.
-
-


 Ask FixBot







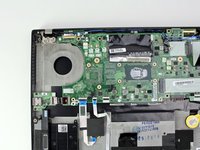
To reassemble your device, follow these instructions in reverse order.
Take your e-waste to an R2 or e-Stewards certified recycler.
Repair didn’t go as planned? Try some basic troubleshooting, or ask our Answers community for help.
Cancel: I did not complete this guide.
4 other people completed this guide.


2 Guide Comments
Danke. Perfekte Anweisung.
Thank you, @hansrteterra! I'm glad you found it helpful.
