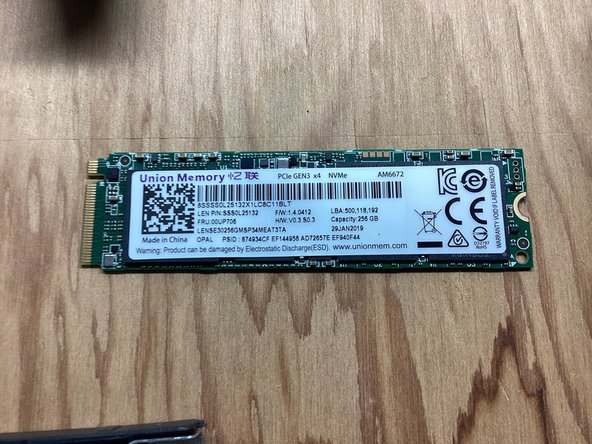
Free Shipping on Domestic Orders $75+

Lenovo ThinkPad T480 SSD Replacement

What you need

  1. Lenovo ThinkPad T480 SSD Replacement, SSD: step 1, image 1 of 1
    Ask FixBot

    Add Comment

  2. Lenovo ThinkPad T480 SSD Replacement: step 2, image 1 of 2 Lenovo ThinkPad T480 SSD Replacement: step 2, image 2 of 2
    • Push Clip 1 to the side. While holding Clip 2 to the side, push the battery out of the laptop.

    Ask FixBot

    Add Comment

  3. Lenovo ThinkPad T480 SSD Replacement: step 3, image 1 of 1
    • Remove all Phillip-head screws shown.

    • The screws will not come out of the casing, so unscrew them all the way until they don’t go any higher.

    Ask FixBot

    Add Comment

  4. Lenovo ThinkPad T480 SSD Replacement: step 4, image 1 of 1
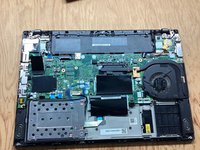
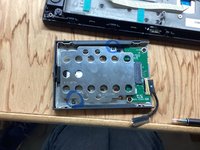
    • Pry up on the casing using a spudger or a flat-head screwdriver and remove the back.

    Ask FixBot

    Add Comment

  5. Lenovo ThinkPad T480 SSD Replacement: step 5, image 1 of 3 Lenovo ThinkPad T480 SSD Replacement: step 5, image 2 of 3 Lenovo ThinkPad T480 SSD Replacement: step 5, image 3 of 3
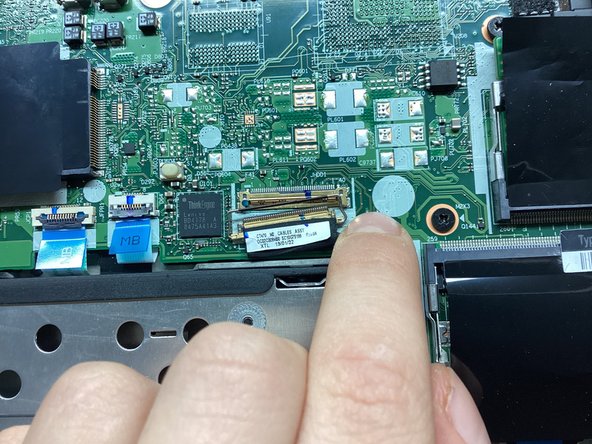
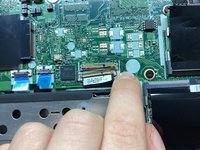
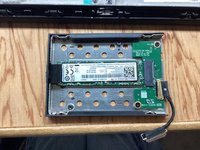
    • Pry up on the little metal bar on the connector and pull the connector out of its socket.

    Ask FixBot

    Add Comment

  6. Lenovo ThinkPad T480 SSD Replacement: step 6, image 1 of 3 Lenovo ThinkPad T480 SSD Replacement: step 6, image 2 of 3 Lenovo ThinkPad T480 SSD Replacement: step 6, image 3 of 3
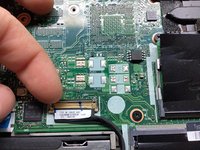
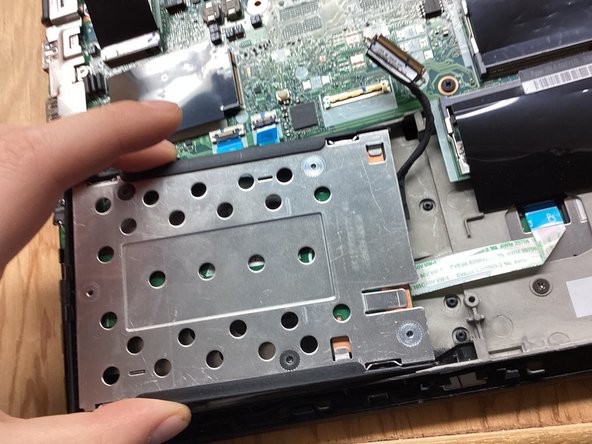
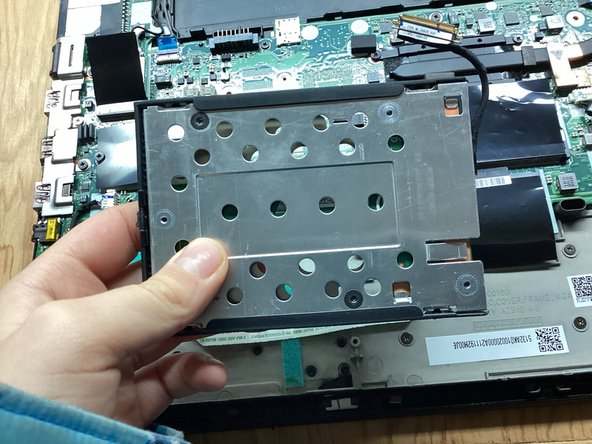
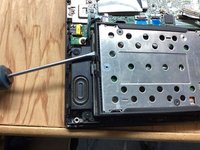
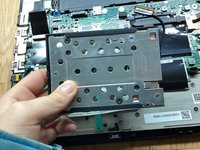
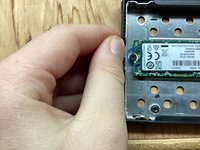
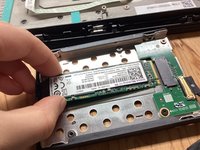
    • Pry up on the left side of the SSD casing. Pull the casing to the left, and remove.

    Ask FixBot

    Add Comment

  7. Lenovo ThinkPad T480 SSD Replacement: step 7, image 1 of 2 Lenovo ThinkPad T480 SSD Replacement: step 7, image 2 of 2
    • Remove the following 4mm Phillip-head screws and remove the plate.

    Ask FixBot

    Add Comment

  8. Lenovo ThinkPad T480 SSD Replacement: step 8, image 1 of 3 Lenovo ThinkPad T480 SSD Replacement: step 8, image 2 of 3 Lenovo ThinkPad T480 SSD Replacement: step 8, image 3 of 3
    • Remove the 4mm Phillip-head screw and pull the SSD out of its socket.

    Ask FixBot

    Add Comment

Conclusion

To reassemble your device, follow these instructions in reverse order.

Cancel: I did not complete this guide.

5 other people completed this guide.

Dane Elliott-Dyson

Member since: 11/06/23

670 Reputation

2 Guides authored

3 Guide Comments

Super useful

Patrick Webster - Reply Share

There's a slightly safer (as in, less likely to leave little plastic tabs all over your desk) approach to getting the base off. It's documented very well in the official T480 Hardware Maintenance Manual.

https://download.lenovo.com/pccbbs/mobil...

If that link breaks, search online for "T480 hmm".

Find the "Base cover assembly" section and note where they tell you to push down with your thumb, and pull up with your fingers. The numbered arrows show you the order in which to approach things.

Graham - Reply Share

Is this ssd working just on SATA speed? My bios see my 2280 like ATA and there is two nvme in bios but i see just one 2242 on the motherboard. The speed of my 2280 in the 2,5" bracket is 550MB\s.

Rastafari Dandelion - Reply Share

Add Comment

View Statistics:

Past 24 Hours: 8

Past 7 Days: 157

Past 30 Days: 560

All Time: 14,198