Free Shipping on Domestic Orders $75+

Lenovo ThinkPad T480 LCD Screen Replacement

Views: 28K

View statistics:

Past 24 Hours:
15
Past 7 Days:
97
Past 30 Days:
407
All Time:
28,266
Comments: 19

8 comments on steps, 11 guide comments.

Go to guide comments
Completed: 4

4 people have marked this guide "completed." Will you be next?

Favorites: 0

No one has favorited (and subscribed to) this guide. Will you be the first?

Time Required: 30 minutes - 1 hour
Difficulty: Difficult
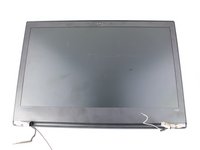
Lenovo ThinkPad T480 LCD Screen Replacement

Introduction

Go to step 1 ↓

If you need to replace the LCD screen of your Lenovo ThinkPad T480, follow this guide. The LCD screen or liquid crystal display is a type of flat-panel display. It uses liquid crystal film between glass plates that when voltage is applied its optical properties change and images are displayed or hidden.

If damage or failure occurs you may notice missing pixels, the color could be off, or the screen could crack if it is dropped or sustains a fall.

Prior to starting this repair, be sure to disable the internal battery, turn off the device, and unplug it from the charging cable.

What you need

Parts

Tools

    1. Lenovo ThinkPad T480 LCD Screen Replacement, External Battery: step 1, image 1 of 2 Lenovo ThinkPad T480 LCD Screen Replacement, External Battery: step 1, image 2 of 2
      • Disable the battery, power down, and unplug your device before you begin.

      • Flip the laptop over so the bottom of the device is showing.

      Ask FixBot

      Add Comment

    2. Lenovo ThinkPad T480 LCD Screen Replacement: step 2, image 1 of 3 Lenovo ThinkPad T480 LCD Screen Replacement: step 2, image 2 of 3 Lenovo ThinkPad T480 LCD Screen Replacement: step 2, image 3 of 3
      • Using your fingers, slide the lock on each side of the battery to the unlocked position.

      • Remove the battery from the slot.

      Ask FixBot

      Add Comment

    1. Lenovo ThinkPad T480 LCD Screen Replacement, Back Cover: step 3, image 1 of 2 Lenovo ThinkPad T480 LCD Screen Replacement, Back Cover: step 3, image 2 of 2
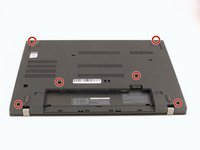
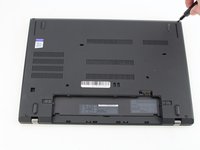
      • Using the Phillips #1 screwdriver, loosen the six captive screws.

      Ask FixBot

      Add Comment

    2. Lenovo ThinkPad T480 LCD Screen Replacement: step 4, image 1 of 3 Lenovo ThinkPad T480 LCD Screen Replacement: step 4, image 2 of 3 Lenovo ThinkPad T480 LCD Screen Replacement: step 4, image 3 of 3
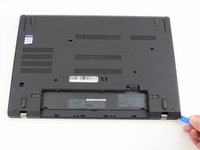
      • Insert the blue plastic opening tool into the space between the lower case and the chassis.

      • Slide the opening tool around the perimeter of the case to release the clips holding the case and the chassis together.

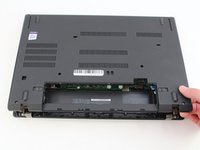
      • If it feels like the battery well portion of the back cover isn't loose, these clips may be holding the cover to the laptop. Use your opening tool to pry the clips loose and try removing the cover again.

      • Remove the back case.

      Ask FixBot

      Add Comment

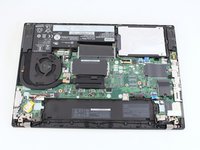
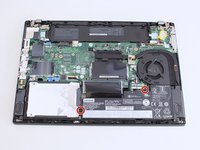
    1. Lenovo ThinkPad T480 LCD Screen Replacement, Remove the battery: step 5, image 1 of 2 Lenovo ThinkPad T480 LCD Screen Replacement, Remove the battery: step 5, image 2 of 2
      • Use a Phillips #1 screwdriver to remove the two 4.6 mm screws that secure the internal battery to the frame.

      • Not All T480 laptops come with an internal battery. If there is a spacer or nothing here, skip the next two steps.

      Ask FixBot

      Add Comment

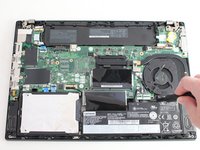
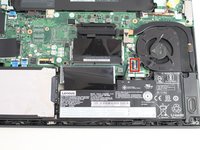
    2. Lenovo ThinkPad T480 LCD Screen Replacement: step 6, image 1 of 3 Lenovo ThinkPad T480 LCD Screen Replacement: step 6, image 2 of 3 Lenovo ThinkPad T480 LCD Screen Replacement: step 6, image 3 of 3
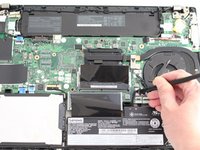
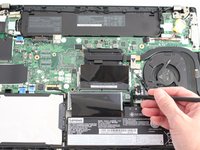
      • Use the spudger to slide the battery socket connector parallel to the motherboard and out of its socket on the motherboard.

      Ask FixBot

      Add Comment

    3. Lenovo ThinkPad T480 LCD Screen Replacement: step 7, image 1 of 2 Lenovo ThinkPad T480 LCD Screen Replacement: step 7, image 2 of 2
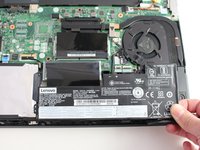
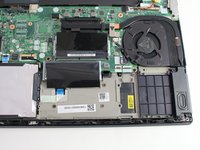
      • Lift the battery straight out of its recess and remove it.

      • If the battery is difficult to remove from the recess, use a nylon spudger to gently lift it on one edge, making it easier to grasp and remove by hand.

      • To prevent damage or potential fire, do not bend or flex the battery. Only use a plastic spudger and avoid any sharp tools that could puncture the battery.

      Ask FixBot

      Add Comment

    1. Lenovo ThinkPad T480 LCD Screen Replacement, LCD Bezel: step 8, image 1 of 2 Lenovo ThinkPad T480 LCD Screen Replacement, LCD Bezel: step 8, image 2 of 2
      • Flip the laptop over

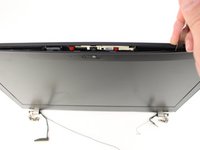
      • Use the metal spudger to create a space between the bezel and lid and carefully undo the clips around the perimeter of the bezel.

      • In this image, the assembly is seperated from the bottom case for clarity.

      Ask FixBot

      Add Comment

    2. Lenovo ThinkPad T480 LCD Screen Replacement: step 9, image 1 of 2 Lenovo ThinkPad T480 LCD Screen Replacement: step 9, image 2 of 2
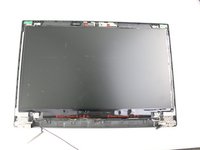
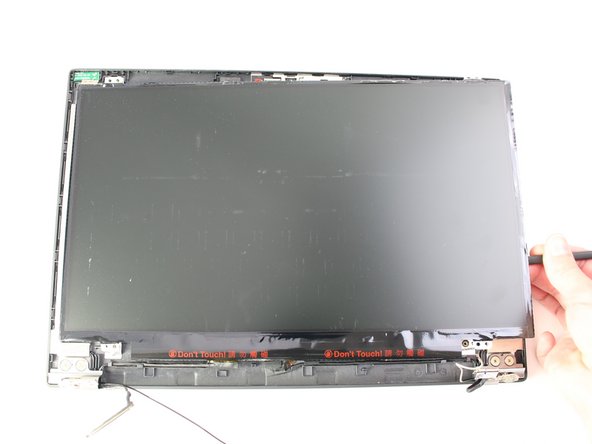
      • Finish removing the bezel from the screen using the metal spudger and your hands.

      • The bottom edge of the bezel is not connected with clips but with adhesive. Take care as you remove it so you don't bend or break the bezel.

      Ask FixBot

      Add Comment

    1. Lenovo ThinkPad T480 LCD Screen Replacement, LCD Screen: step 10, image 1 of 3 Lenovo ThinkPad T480 LCD Screen Replacement, LCD Screen: step 10, image 2 of 3 Lenovo ThinkPad T480 LCD Screen Replacement, LCD Screen: step 10, image 3 of 3
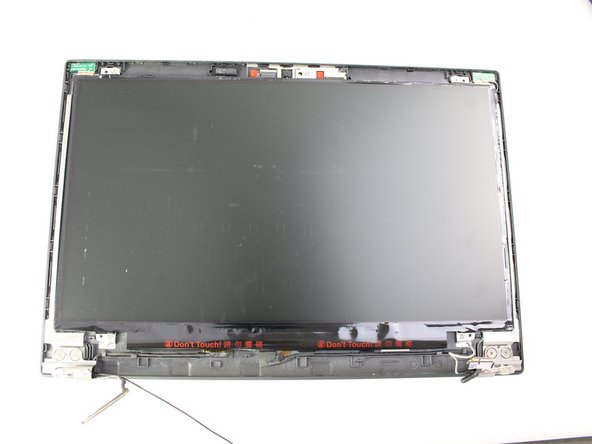
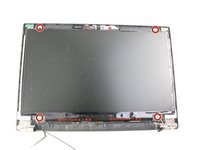
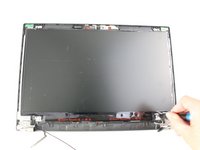
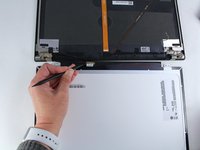
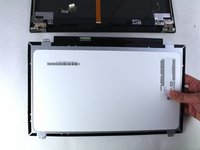
      • Remove the four 3.0 mm Phillips #1 screws from the four corners of the LCD screen.

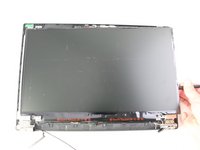
      • Lift it up using the spudger and flip it over gently towards you.

      • The LCD screen is still connected by a connector cable so be sure not to yank or pull on the screen.

      Ask FixBot

      Add Comment

    2. Lenovo ThinkPad T480 LCD Screen Replacement: step 11, image 1 of 2 Lenovo ThinkPad T480 LCD Screen Replacement: step 11, image 2 of 2
      • Using the black nylon spudger, disconnect the display connector cable and remove the LCD screen.

      Ask FixBot

      Add Comment

Conclusion

To reassemble your device, follow the above steps in reverse order.

Take your e-waste to an R2 or e-Stewards certified recycler.

Repair didn’t go as planned? Try some basic troubleshooting, or ask our Answers community for help.

Cancel: I did not complete this guide.

4 other people completed this guide.

Sarah Westberg

Member since: 03/11/19

43,295 Reputation

72 Guides authored

Team

iFixit Member of iFixit

Staff

121 Members

72,885 Guides authored

11 Guide Comments

For the screen replacement you really only need like 11 steps.

Step 1,2,9,10,12,35-40. All other steps are optional and it only took me 15 mins.

Batnert - Reply Share
Hello i was wondering how much did the screen cost you to buy?

wau bruh - Reply Share

If the internal battery is disabled why do you need to remove it?

Dan Matiesanu - Reply Share

Hi Dan, if you disconnect the internal battery from the motherboard, (Step 12), you should be fine. We just want to make sure that there is no power to the system and the step to remove the battery is included as a precaution. Thanks!

Sarah Westberg - Reply Share

@sarahw thank you but my question was more about why do you need to physically disconnect the battery if it is already disabled in BIOS?

Dan Matiesanu - Reply Share

Add Comment

View Statistics:

Past 24 Hours: 15

Past 7 Days: 97

Past 30 Days: 407

All Time: 28,266