Free Shipping on Domestic Orders $75+

Lenovo ThinkPad T16 Gen 3 Smart Card Reader Replacement

What you need

    1. Lenovo ThinkPad T16 Gen 3 Smart Card Reader Replacement, Prepare your laptop for disassembly: step 1, image 1 of 3 Lenovo ThinkPad T16 Gen 3 Smart Card Reader Replacement, Prepare your laptop for disassembly: step 1, image 2 of 3 Lenovo ThinkPad T16 Gen 3 Smart Card Reader Replacement, Prepare your laptop for disassembly: step 1, image 3 of 3
      • For your safety, discharge your battery below 25% before disassembling your laptop. A charged battery may catch fire if damaged. If your battery is swollen, take appropriate precautions.

      • Completely shut down your laptop (don't just put it in sleep mode) and disconnect all cables.

      • Flip the laptop upside-down, and rotate it so the screen hinge faces towards you.

      Ask FixBot

      Add Comment

    2. Lenovo ThinkPad T16 Gen 3 Smart Card Reader Replacement, Loosen the base cover screws: step 2, image 1 of 2 Lenovo ThinkPad T16 Gen 3 Smart Card Reader Replacement, Loosen the base cover screws: step 2, image 2 of 2
      • Use a Phillips screwdriver to fully loosen the seven captive screws securing the base cover.

      Ask FixBot

      Add Comment

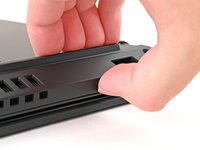
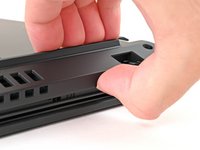
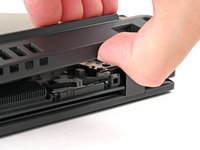
    3. Lenovo ThinkPad T16 Gen 3 Smart Card Reader Replacement, Pry up the base cover: step 3, image 1 of 3 Lenovo ThinkPad T16 Gen 3 Smart Card Reader Replacement, Pry up the base cover: step 3, image 2 of 3 Lenovo ThinkPad T16 Gen 3 Smart Card Reader Replacement, Pry up the base cover: step 3, image 3 of 3
      • Insert your fingernail or an opening pick into the gap between the base cover and keyboard deck, next to one of the screen hinges.

      • Pry up the base cover until the clips unfasten.

      Ask FixBot

      Add Comment

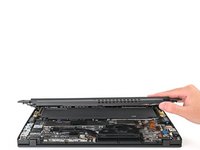
    4. Lenovo ThinkPad T16 Gen 3 Smart Card Reader Replacement, Remove the base cover: step 4, image 1 of 2 Lenovo ThinkPad T16 Gen 3 Smart Card Reader Replacement, Remove the base cover: step 4, image 2 of 2
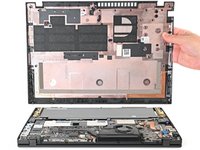
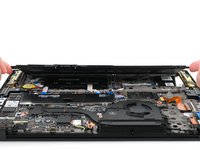
      • Grasp the base cover along the screen hinge edge and lift slowly to unfasten the remaining clips.

      • Lift and remove the base cover.

      • During reassembly, lay the base cover into the frame, inserting it into the tabs along the battery edge. Press down firmly around the perimeter to reengage all the clips.

      Ask FixBot

      Add Comment

    1. Lenovo ThinkPad T16 Gen 3 Smart Card Reader Replacement, Loosen the battery screws: step 5, image 1 of 2 Lenovo ThinkPad T16 Gen 3 Smart Card Reader Replacement, Loosen the battery screws: step 5, image 2 of 2
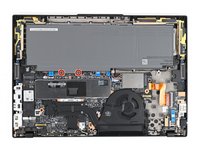
      • Because of the battery connector's design, the only way to disconnect the battery is by physically removing it.

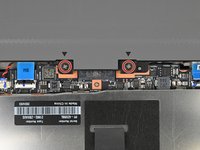
      • Use a Phillips screwdriver to fully loosen the two captive screws securing the battery connector.

      Ask FixBot

      Add Comment

    2. Lenovo ThinkPad T16 Gen 3 Smart Card Reader Replacement, Remove the battery: step 6, image 1 of 3 Lenovo ThinkPad T16 Gen 3 Smart Card Reader Replacement, Remove the battery: step 6, image 2 of 3 Lenovo ThinkPad T16 Gen 3 Smart Card Reader Replacement, Remove the battery: step 6, image 3 of 3
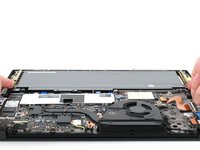
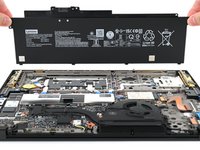
      • Lift the edge of the battery with the connector to disconnect it.

      • You may feel a little resistance from the battery connector as it disconnects—that's normal.

      • Remove the battery

      • During reassembly:

      • Slide the plastic tabs on the long edge of the battery into their recesses in the frame.

      • Lower the battery into place so the connector goes over its socket.

      Ask FixBot

      Add Comment

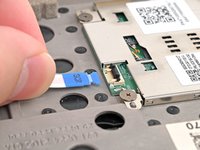
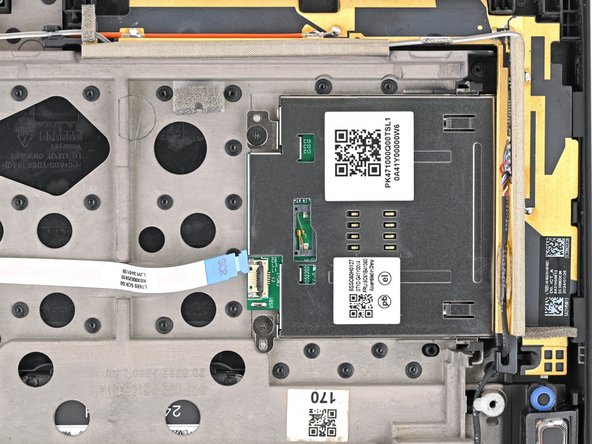
    1. Lenovo ThinkPad T16 Gen 3 Smart Card Reader Replacement, Disconnect the smart card reader cable: step 7, image 1 of 3 Lenovo ThinkPad T16 Gen 3 Smart Card Reader Replacement, Disconnect the smart card reader cable: step 7, image 2 of 3 Lenovo ThinkPad T16 Gen 3 Smart Card Reader Replacement, Disconnect the smart card reader cable: step 7, image 3 of 3
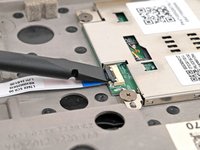
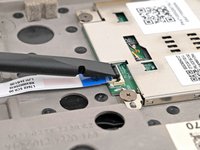
      • Use the flat end of a spudger or your fingernail to flip up the locking flap on the smart card cable ZIF connector.

      • Use your fingers or tweezers to pull the cable straight out of its socket.

      Ask FixBot

      Add Comment

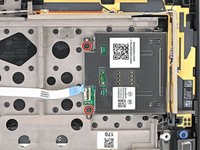
    2. Lenovo ThinkPad T16 Gen 3 Smart Card Reader Replacement, Remove the smart card reader screws: step 8, image 1 of 2 Lenovo ThinkPad T16 Gen 3 Smart Card Reader Replacement, Remove the smart card reader screws: step 8, image 2 of 2
      • Use a Phillips screwdriver to remove the two 2.5 mm‑long screws securing the smart card reader to the frame.

      Ask FixBot

      Add Comment

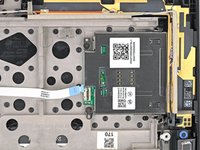
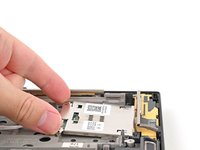
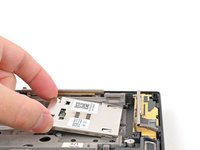
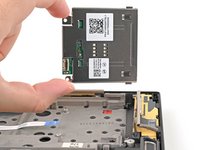
    3. Lenovo ThinkPad T16 Gen 3 Smart Card Reader Replacement, Remove the smart card reader: step 9, image 1 of 3 Lenovo ThinkPad T16 Gen 3 Smart Card Reader Replacement, Remove the smart card reader: step 9, image 2 of 3 Lenovo ThinkPad T16 Gen 3 Smart Card Reader Replacement, Remove the smart card reader: step 9, image 3 of 3
      • Slide the smart card reader straight back towards its disconnected ribbon cable, and then pull it straight up to remove it.

      Ask FixBot

      Add Comment

Conclusion

Compare your new replacement part to the original part—you may need to transfer remaining components from the new part before you install it.

To reassemble your device, follow these instructions in reverse order.

Take your e-waste to an R2 or e-Stewards certified recycler.

Repair didn’t go as planned? Try some basic troubleshooting, or ask our Answers community for help.

Cancel: I did not complete this guide.

One other person completed this guide.

Nick Schultz

Member since: 03/24/24

60,512 Reputation

318 Guides authored

Team

iFixit Member of iFixit

Staff

123 Members

82,057 Guides authored

0 Guide Comments

Add Comment

View Statistics:

Past 24 Hours: 0

Past 7 Days: 11

Past 30 Days: 60

All Time: 1,221