Free Shipping on Domestic Orders $75+

Lenovo ThinkPad T14 Gen 3 Screen Replacement

What you need

    1. Lenovo ThinkPad T14 Gen 3 Screen Replacement, Back Panel: step 1, image 1 of 1
      • Use a Phillips #1 screwdriver to loosen the seven captive screws securing the back panel.

      • The screws are captive and will not come out of the panel.

      Ask FixBot

      Add Comment

    2. Lenovo ThinkPad T14 Gen 3 Screen Replacement: step 2, image 1 of 3 Lenovo ThinkPad T14 Gen 3 Screen Replacement: step 2, image 2 of 3 Lenovo ThinkPad T14 Gen 3 Screen Replacement: step 2, image 3 of 3
      • Insert an opening pick into the seam between the back panel and chassis.

      • Slide the opening pick around the perimeter of the device to release the clips that hold the back panel to the device.

      • Remove the back panel.

      Ask FixBot

      Add Comment

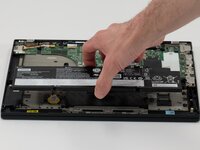
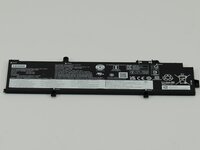
    1. Lenovo ThinkPad T14 Gen 3 Screen Replacement, Battery: step 3, image 1 of 2 Lenovo ThinkPad T14 Gen 3 Screen Replacement, Battery: step 3, image 2 of 2
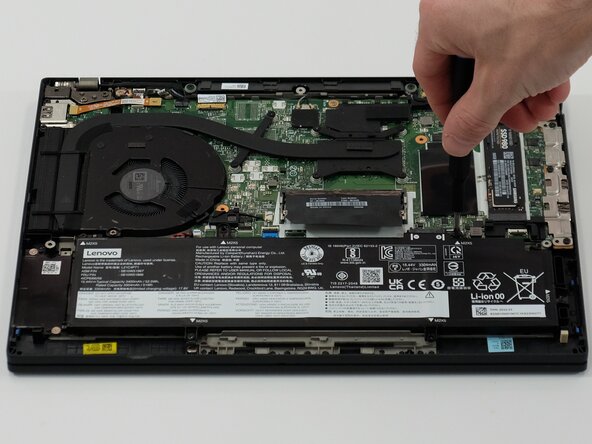
      • Use a JIS #1 screwdriver to remove six M2 x 5 mm screws that hold the battery in place.

      • There is a risk to your laptop if the battery is not discharged properly.

      Ask FixBot

      Add Comment

    2. Lenovo ThinkPad T14 Gen 3 Screen Replacement: step 4, image 1 of 3 Lenovo ThinkPad T14 Gen 3 Screen Replacement: step 4, image 2 of 3 Lenovo ThinkPad T14 Gen 3 Screen Replacement: step 4, image 3 of 3
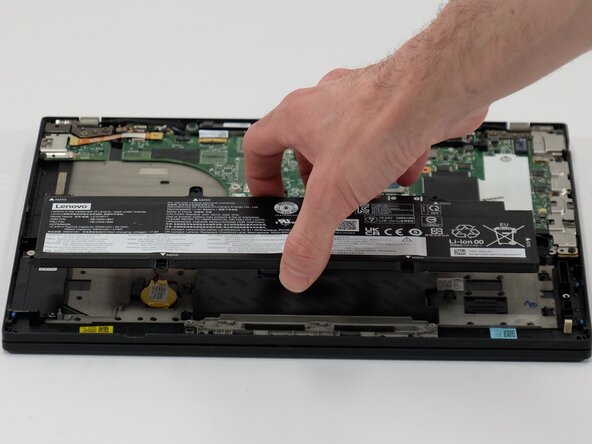
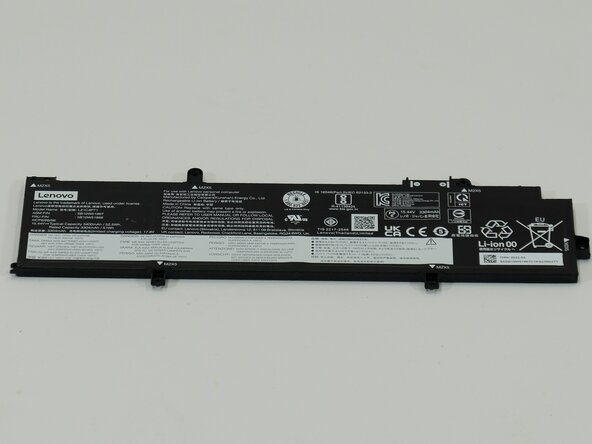
      • Slide the battery from the battery connector and remove it.

      Ask FixBot

      Add Comment

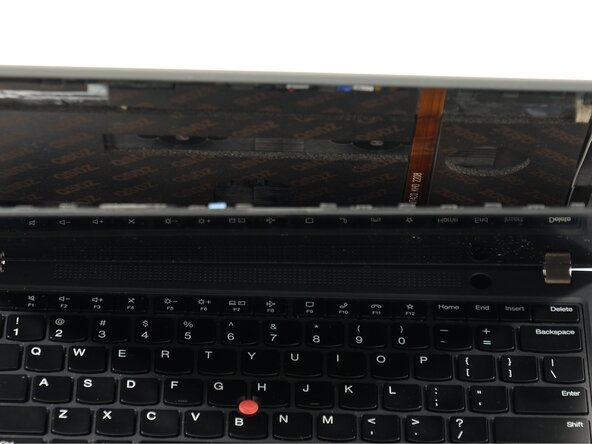
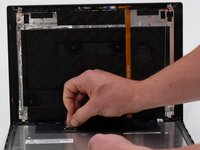
    1. Lenovo ThinkPad T14 Gen 3 Screen Replacement, Screen: step 5, image 1 of 3 Lenovo ThinkPad T14 Gen 3 Screen Replacement, Screen: step 5, image 2 of 3 Lenovo ThinkPad T14 Gen 3 Screen Replacement, Screen: step 5, image 3 of 3
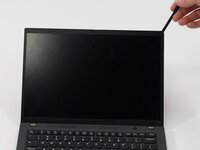
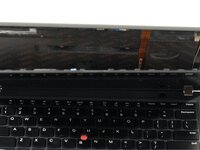
      • Use the spudger to gently pry the edges of the bezel, carefully removing it. Then, gently remove it and set it aside.

      • Be careful not to damage the bezel as it will be reused.

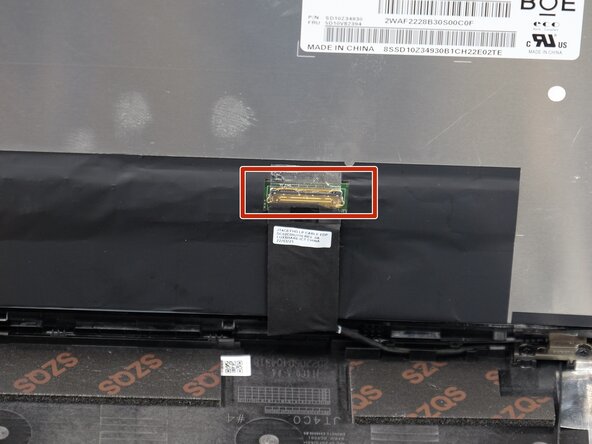
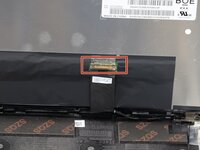
      • Flip the screen over to reveal the display connector.

      Ask FixBot

      Add Comment

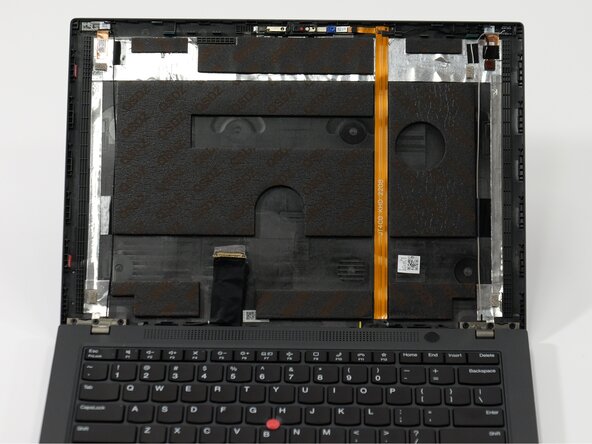
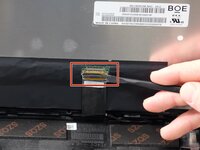
    2. Lenovo ThinkPad T14 Gen 3 Screen Replacement: step 6, image 1 of 3 Lenovo ThinkPad T14 Gen 3 Screen Replacement: step 6, image 2 of 3 Lenovo ThinkPad T14 Gen 3 Screen Replacement: step 6, image 3 of 3
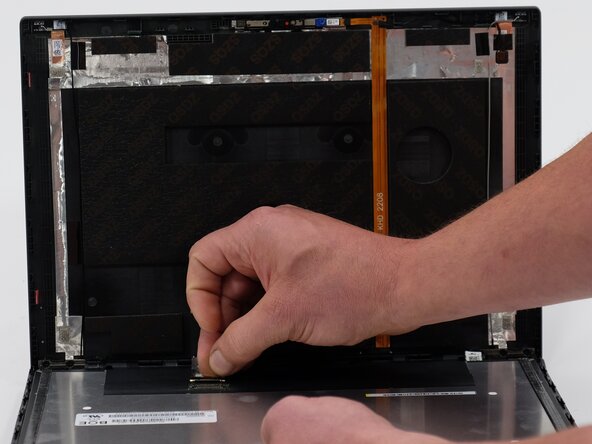
      • With a spudger, disconnect the screen from the connector.

      • Gently push the tip of a spudger under the metal buckle to unclip it, then swing it over the socket.

      • Lift screen up and away from device to remove fully

      • There are 2 lines of tape on either the back of the LCD or on the case. These strips of tape help secure the LCD to the case. The new tape included with your screen should be applied to the same location, if possible.

      Ask FixBot

      Add Comment

Conclusion

To reassemble your device, follow these instructions in reverse order. Take your e-waste to an R2 or e-Stewards certified recycler.

Cancel: I did not complete this guide.

3 other people completed this guide.

0 Guide Comments

Add Comment

View Statistics:

Past 24 Hours: 13

Past 7 Days: 84

Past 30 Days: 382

All Time: 4,045