Introduction
In this guide, we outline the steps to replace the SSD in the Lenovo ThinkPad T14 Gen 3. This will also apply to the ThinkPad T14 Gen 4, P14 Gen 3, and P14 Gen 4 models of devices. Sometimes our devices do not have enough storage for our needs, or we just want to add more room to our devices. In these cases replacing or expanding the hard drive of our devices.
Before replacing the hard drive:
- Make sure to back up your device's memory and files.
- Power the device off completely
- Make sure it is not connected to any power sources.
To see just how much space is left on your hard drive, follow this guide.
What you need
-
-
-
Use a Phillips #1 screwdriver to loosen the seven captive screws securing the back panel.
 Ask FixBot
-
-
-
Insert an opening pick into the seam between the back panel and chassis.
-
Slide the opening pick around the perimeter of the device to release the clips that hold the back panel to the device.
-
Remove the back panel.
-
-
-
-
-
-
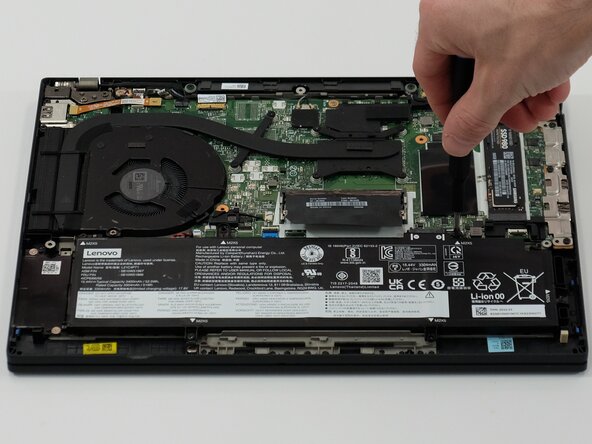
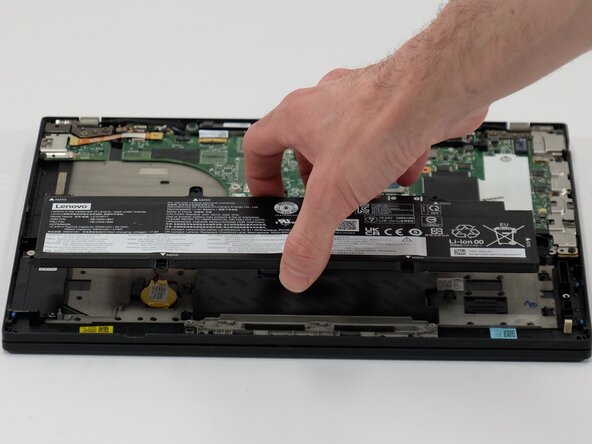
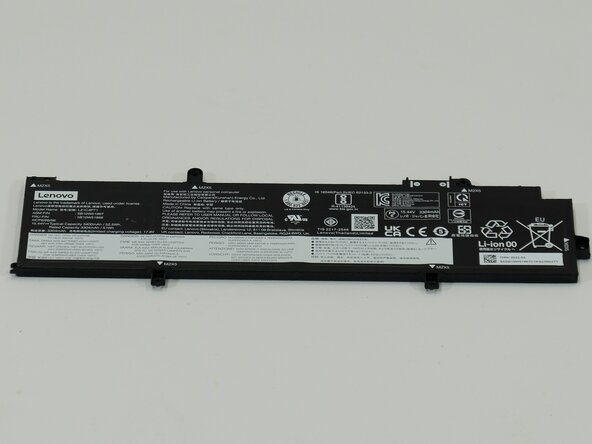
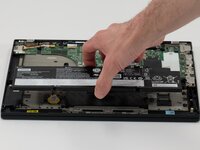
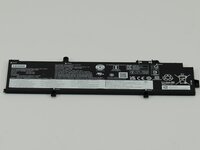
Use a JIS #1 screwdriver to remove six M2 x 5 mm screws that hold the battery in place.
-
-
-
-
-
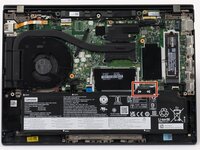
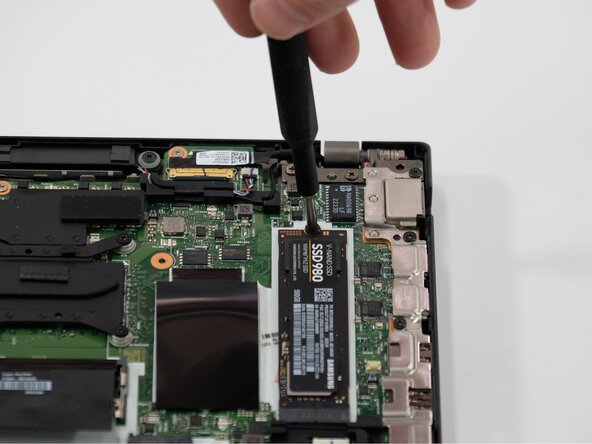
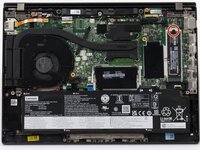
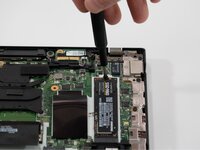
Use a JIS #1 screwdriver to remove the single screw securing the SSD. As seen circled here opposite of the connector.
-
-
-
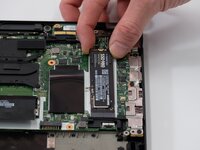
Place your fingers on either side of the card near the port, and gently pull it straight out.
-
-






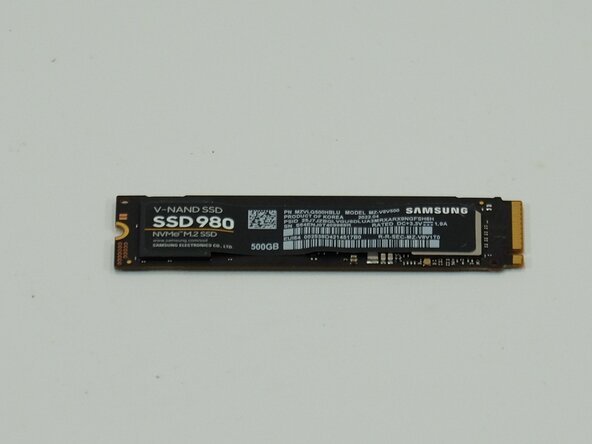
To reassemble your device, follow these instructions in reverse order. Take your e-waste to an R2 or e-Stewards certified recycler.
Cancel: I did not complete this guide.
2 other people completed this guide.

Team

Linn Benton Community College, Team 1-2, Karnes Spring 2025 Member of Linn Benton Community College, Team 1-2, Karnes Spring 2025
LBCC-KARNES-S25S1G2
3 Members
72 Guides authored
