Introduction
This guide shows how to replace the screen on a Lenovo ThinkPad T14 Gen 1. A functional screen is essential for productive use. You may need to replace it if the screen is cracked, unresponsive, or completely broken.
The Lenovo ThinkPad T14 Gen 1 uses a variety of screens. When looking for a replacement, ensure it is compatible and has a 30- or 40-pin connector.
Before you begin, completely power off the laptop and work on a clean, uncluttered surface. A clear workspace helps prevent damage to internal components and reduces the risk of injury.
What you need
-
-
-
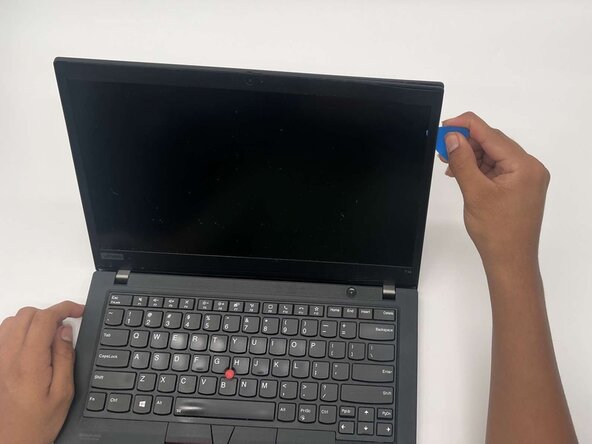
Insert a plastic opening pick between the screen and the plastic bezel on the side.
-
Slide the opening pick along the edge of the screen to release clips that secure the bezel.
 Ask FixBot
-
-
-
Lift along the edges of the trim to remove fully.
-
Remove the bottom portion by gently tugging to remove the trim where it meets the hinges.
-
-
-
-
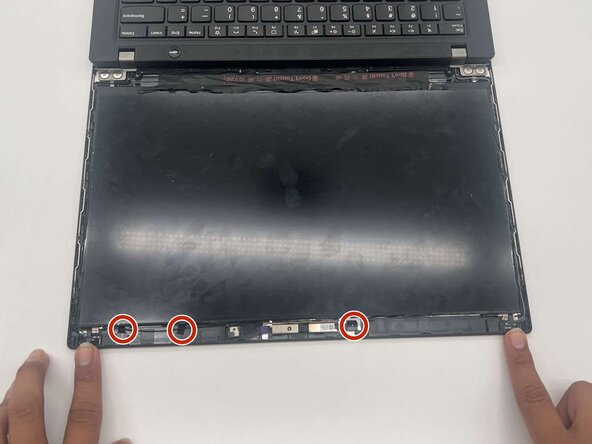
Remove the clear tape covering the connector.
-
Using a plastic tool or your nail, lift the tension clip that is holding it in place.
-
Tug gently on the ribbon until it comes out.
-
-






To reassemble your device, follow these instructions in reverse order. Take your e-waste to an R2 or e-Stewards certified recycler.

Team

University of North Texas, Team 5-1, Kilpatrick Fall 2025 Member of University of North Texas, Team 5-1, Kilpatrick Fall 2025
UNT-KILPATRICK-F25S5G1
4 Members
72 Guides authored
2 Guide Comments
Hi, i've replace the screen, i see the logo, but no backlight.. On the new and old one (who work but want to change for better light, i've only 250nits on the old and the new as 400 nits)
I've already replace the cable video too with new one... problem stay
@the_man3 The motherboard's backlight fuse has blown. Due to compatibility and power Issues. When plugging in a display cable while the motherboard is still receiving power, a small short circuit can occur. that's the extent of my knowledge.
