Free Shipping on Domestic Orders $75+

Lenovo ThinkPad P1 Gen 7 Screen Replacement

What you need

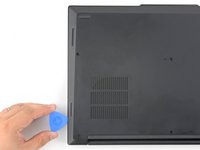
  1. Lenovo ThinkPad P1 Gen 7 Screen Replacement, Turn off your laptop: step 1, image 1 of 3 Lenovo ThinkPad P1 Gen 7 Screen Replacement, Turn off your laptop: step 1, image 2 of 3 Lenovo ThinkPad P1 Gen 7 Screen Replacement, Turn off your laptop: step 1, image 3 of 3
    • Shut down your laptop (don't just put it in sleep mode) and disconnect all cables.

    • Flip the laptop upside-down, and rotate it so the screen hinge faces towards you.

    Ask FixBot

    Add Comment

  2. Lenovo ThinkPad P1 Gen 7 Screen Replacement, Loosen the base cover screws: step 2, image 1 of 1
    • Use a Phillips screwdriver to loosen the six captive screws securing the base cover.

    Ask FixBot

    Add Comment

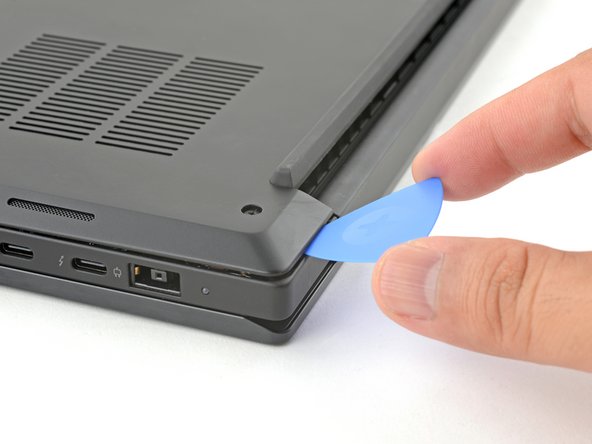
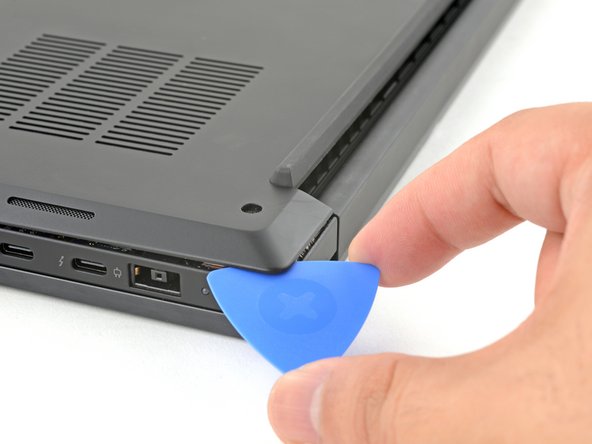
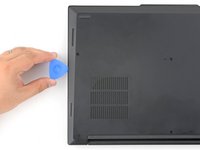
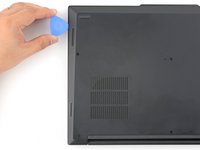
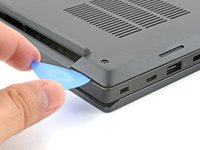
  3. Lenovo ThinkPad P1 Gen 7 Screen Replacement, Loosen the base cover's left side: step 3, image 1 of 3 Lenovo ThinkPad P1 Gen 7 Screen Replacement, Loosen the base cover's left side: step 3, image 2 of 3 Lenovo ThinkPad P1 Gen 7 Screen Replacement, Loosen the base cover's left side: step 3, image 3 of 3
    • Press the tip of an opening pick into the seam between the base cover and the bottom-left corner of the frame (near the screen hinge).

    • It can be tricky to get the pick into the seam for the first time. Angle the pick vertically and press down with firm pressure.

    • Pivot the pick down and slide it around the corner to release the clips.

    Ask FixBot

    Add Comment

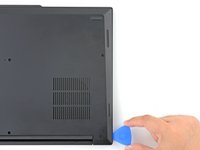
  4. Lenovo ThinkPad P1 Gen 7 Screen Replacement: step 4, image 1 of 3 Lenovo ThinkPad P1 Gen 7 Screen Replacement: step 4, image 2 of 3 Lenovo ThinkPad P1 Gen 7 Screen Replacement: step 4, image 3 of 3
    • Slide the opening pick along the left edge to release the clips securing the cover.

    Ask FixBot

    Add Comment

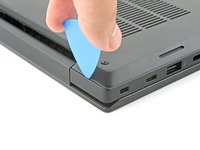
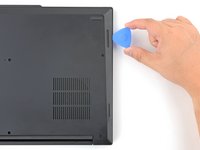
  5. Lenovo ThinkPad P1 Gen 7 Screen Replacement, Loosen the base cover's right side: step 5, image 1 of 3 Lenovo ThinkPad P1 Gen 7 Screen Replacement, Loosen the base cover's right side: step 5, image 2 of 3 Lenovo ThinkPad P1 Gen 7 Screen Replacement, Loosen the base cover's right side: step 5, image 3 of 3
    • Press the tip of an opening pick into the seam between the base cover and the bottom-right corner of the frame (near the screen hinge).

    • Pivot the pick down and slide it around the corner to release the clips.

    Ask FixBot

    Add Comment

  6. Lenovo ThinkPad P1 Gen 7 Screen Replacement: step 6, image 1 of 2 Lenovo ThinkPad P1 Gen 7 Screen Replacement: step 6, image 2 of 2
    • Slide the opening pick along the right edge to release the clips securing the cover.

    Ask FixBot

    Add Comment

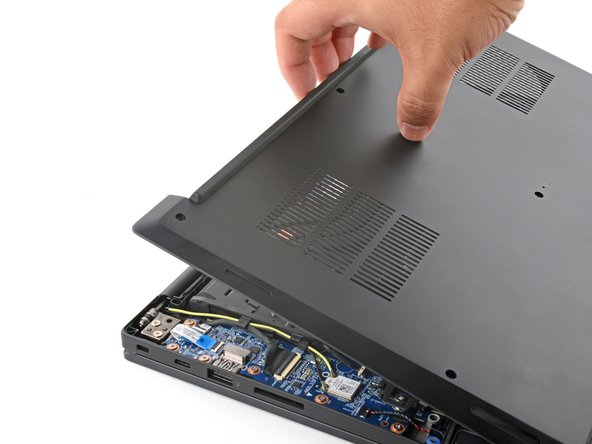
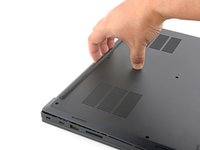
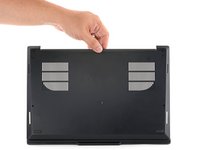
  7. Lenovo ThinkPad P1 Gen 7 Screen Replacement, Remove the base cover: step 7, image 1 of 2 Lenovo ThinkPad P1 Gen 7 Screen Replacement, Remove the base cover: step 7, image 2 of 2
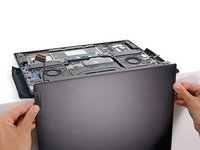
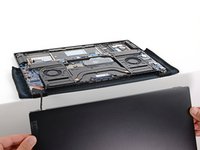
    • Grasp the base cover along the screen hinge edge and pull up to loosen the cover.

    Ask FixBot

    Add Comment

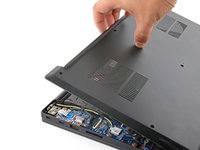
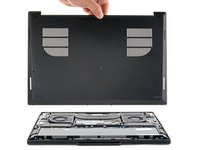
  8. Lenovo ThinkPad P1 Gen 7 Screen Replacement: step 8, image 1 of 2 Lenovo ThinkPad P1 Gen 7 Screen Replacement: step 8, image 2 of 2
    • Lift and remove the base cover.

    Ask FixBot

    Add Comment

  9. Lenovo ThinkPad P1 Gen 7 Screen Replacement, Loosen the battery screws: step 9, image 1 of 1
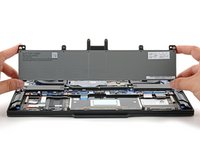
    • Because of the battery connector's design, the only way to disconnect the battery is by physically removing it.

    • Use a Phillips screwdriver to loosen the six captive screws securing the battery.

    Ask FixBot

    Add Comment

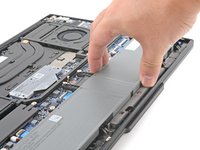
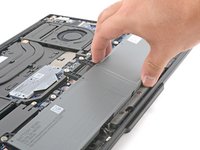
  10. Lenovo ThinkPad P1 Gen 7 Screen Replacement, Remove the battery: step 10, image 1 of 2 Lenovo ThinkPad P1 Gen 7 Screen Replacement, Remove the battery: step 10, image 2 of 2
    • Grasp the top edge of the battery and lift to disconnect it.

    • You may feel a little resistance from the battery connector as it disconnects—that's normal.

    Ask FixBot

    Add Comment

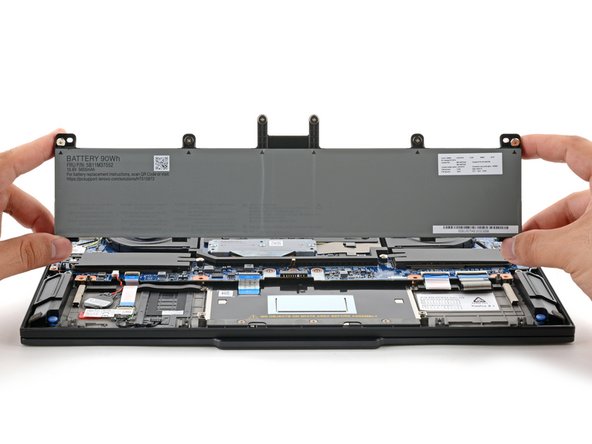
  11. Lenovo ThinkPad P1 Gen 7 Screen Replacement: step 11, image 1 of 2 Lenovo ThinkPad P1 Gen 7 Screen Replacement: step 11, image 2 of 2
    • Lift and remove the battery.

    Ask FixBot

    Add Comment

  12. Lenovo ThinkPad P1 Gen 7 Screen Replacement, Disconnect the screen: step 12, image 1 of 3 Lenovo ThinkPad P1 Gen 7 Screen Replacement, Disconnect the screen: step 12, image 2 of 3 Lenovo ThinkPad P1 Gen 7 Screen Replacement, Disconnect the screen: step 12, image 3 of 3
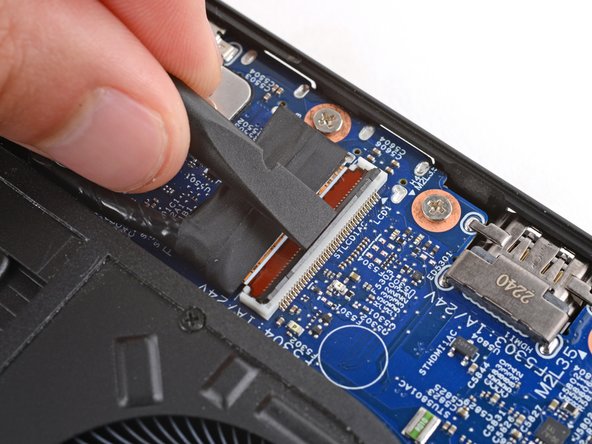
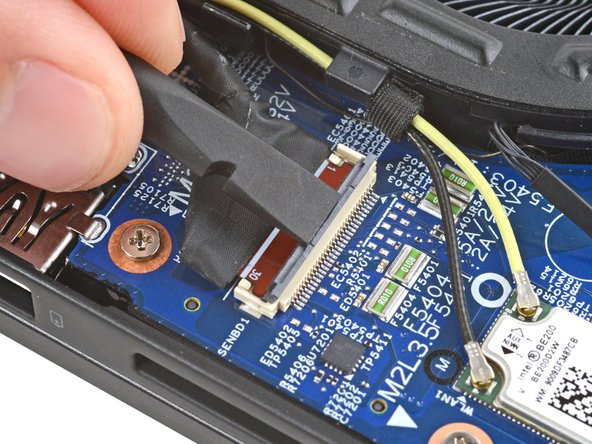
    • Use the flat end of a spudger to lift the locking flap on the screen cable ZIF connector near the right edge of your laptop.

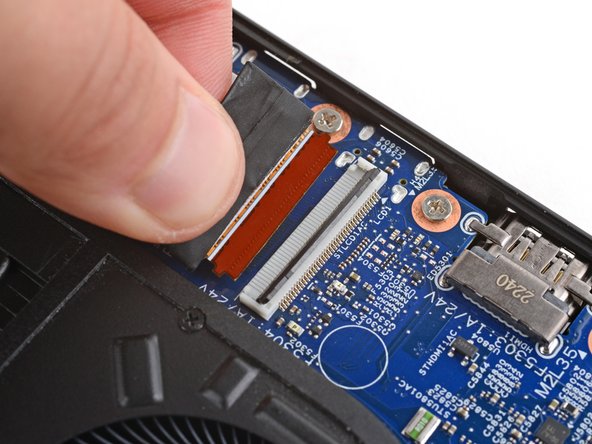
    • Use your fingers to grip the screen cable and gently pull the connector out of its socket.

    Ask FixBot

    Add Comment

  13. Lenovo ThinkPad P1 Gen 7 Screen Replacement: step 13, image 1 of 3 Lenovo ThinkPad P1 Gen 7 Screen Replacement: step 13, image 2 of 3 Lenovo ThinkPad P1 Gen 7 Screen Replacement: step 13, image 3 of 3
    • Carefully guide the right screen-cable out from under its cutout in the motherboard, near the right hinge.

    Ask FixBot

    Add Comment

  14. Lenovo ThinkPad P1 Gen 7 Screen Replacement: step 14, image 1 of 3 Lenovo ThinkPad P1 Gen 7 Screen Replacement: step 14, image 2 of 3 Lenovo ThinkPad P1 Gen 7 Screen Replacement: step 14, image 3 of 3
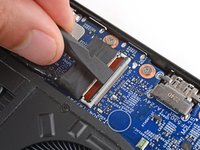
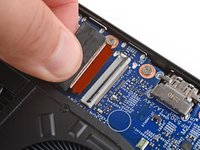
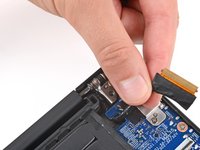
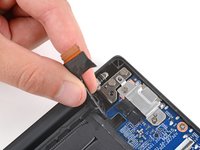
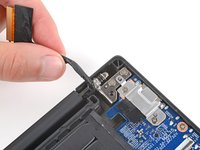
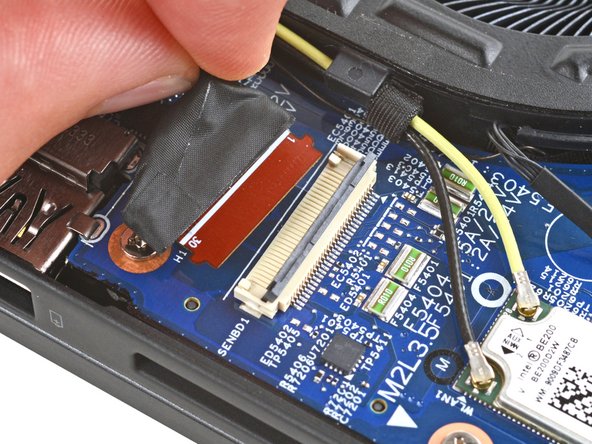
    • Use the flat end of a spudger to lift the locking flap on the screen cable ZIF connector near the left edge of your laptop.

    • Use your fingers to grip the screen cable and gently pull the connector out of its socket.

    Ask FixBot

    Add Comment

  15. Lenovo ThinkPad P1 Gen 7 Screen Replacement: step 15, image 1 of 3 Lenovo ThinkPad P1 Gen 7 Screen Replacement: step 15, image 2 of 3 Lenovo ThinkPad P1 Gen 7 Screen Replacement: step 15, image 3 of 3
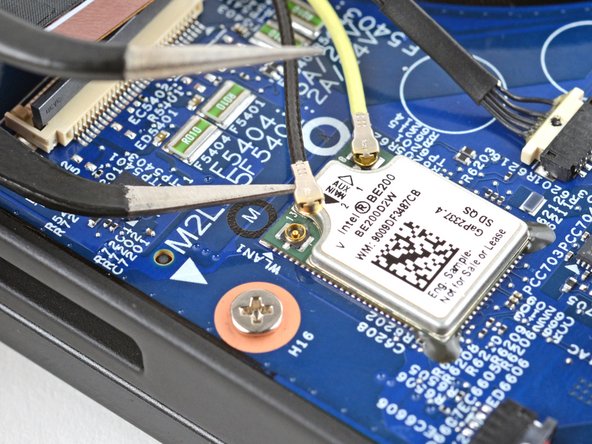
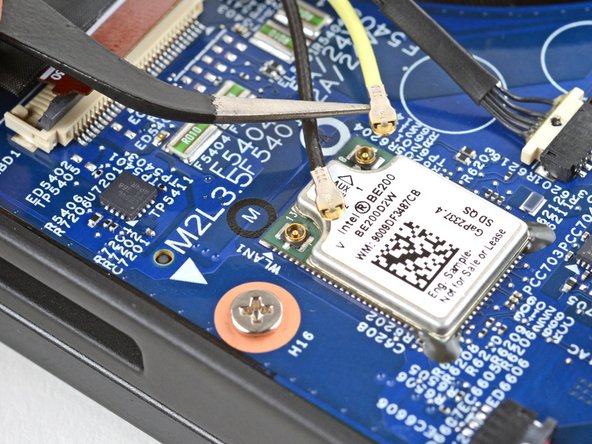
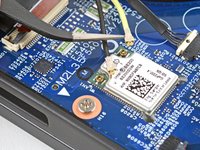
    • Slide an arm of a pair of angled tweezers under the metal neck of one of the Wi‑Fi card coaxial connectors, just below the left screen-cable.

    • Lift straight up to disconnect the cable.

    • Repeat the process to disconnect the other Wi‑Fi card cable.

    Ask FixBot

    Add Comment

  16. Lenovo ThinkPad P1 Gen 7 Screen Replacement: step 16, image 1 of 3 Lenovo ThinkPad P1 Gen 7 Screen Replacement: step 16, image 2 of 3 Lenovo ThinkPad P1 Gen 7 Screen Replacement: step 16, image 3 of 3
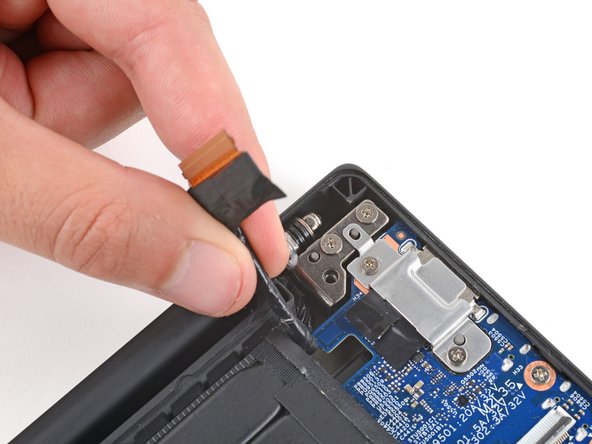
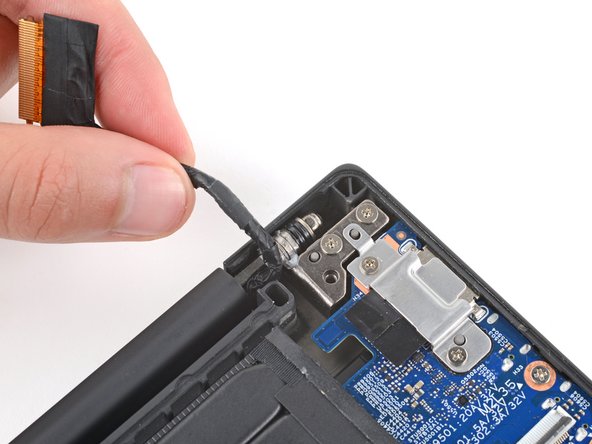
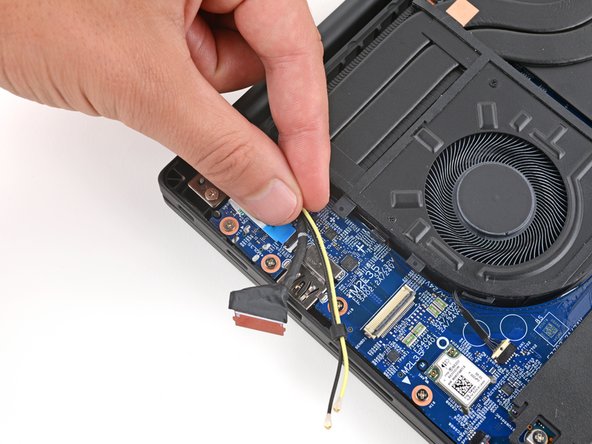
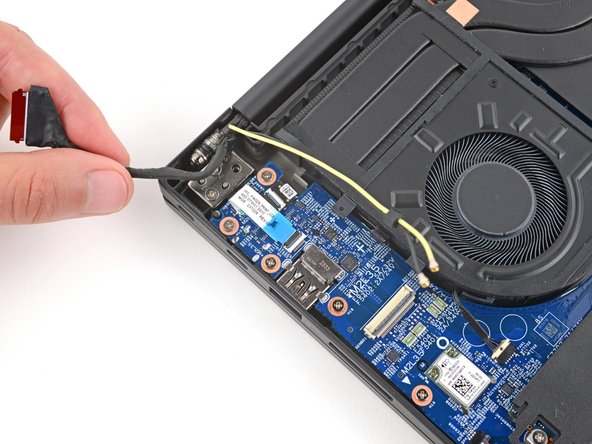
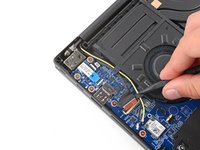
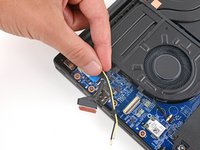
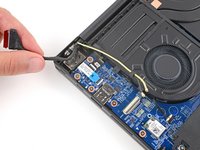
    • Use a spudger or your fingers to gently guide the two thinner cables (black and yellow) and the screen cable out of their clips on the edge of the left fan.

    Ask FixBot

    Add Comment

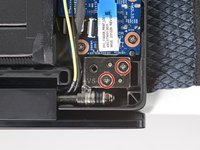
  17. Lenovo ThinkPad P1 Gen 7 Screen Replacement: step 17, image 1 of 1
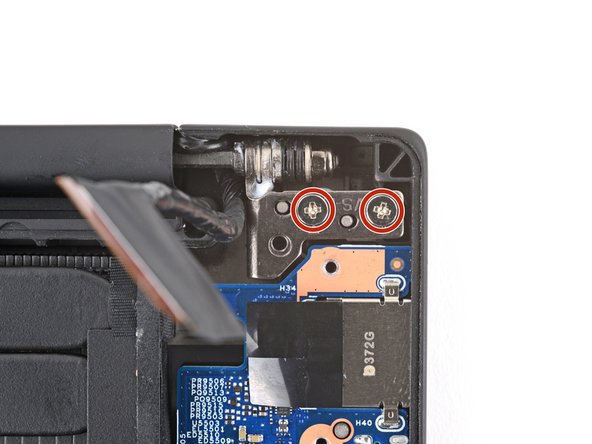
    • Use a Phillips screwdriver to remove the two 4.6 mm‑long screws securing the charging port bracket.

    Ask FixBot

    Add Comment

  18. Lenovo ThinkPad P1 Gen 7 Screen Replacement: step 18, image 1 of 2 Lenovo ThinkPad P1 Gen 7 Screen Replacement: step 18, image 2 of 2
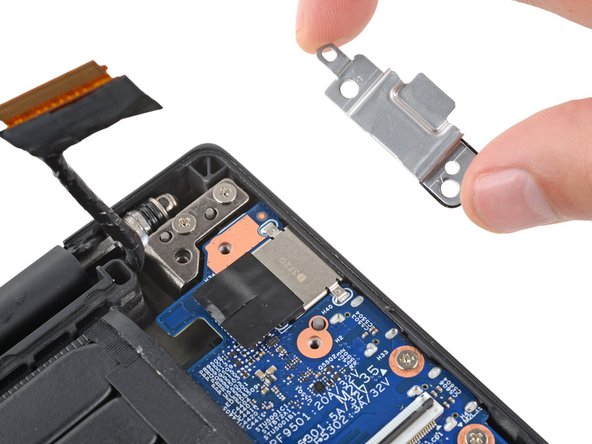
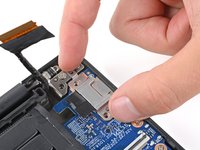
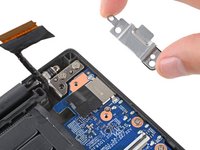
    • Remove the charging port bracket.

    Ask FixBot

    Add Comment

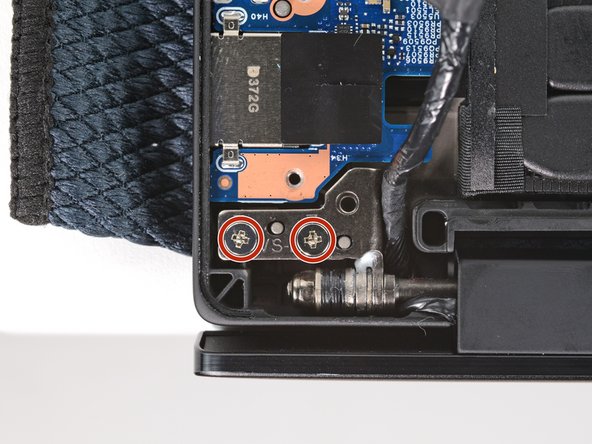
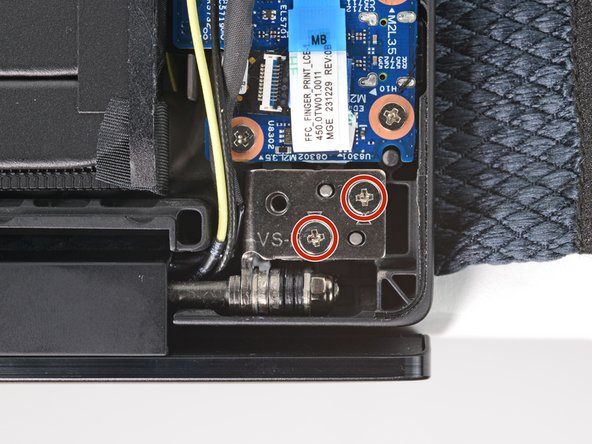
  19. Lenovo ThinkPad P1 Gen 7 Screen Replacement, Loosen the hinge screws: step 19, image 1 of 2 Lenovo ThinkPad P1 Gen 7 Screen Replacement, Loosen the hinge screws: step 19, image 2 of 2
    • Use a Phillips screwdriver to loosen (not remove) all four hinge screws.

    Ask FixBot

    Add Comment

  20. Lenovo ThinkPad P1 Gen 7 Screen Replacement: step 20, image 1 of 2 Lenovo ThinkPad P1 Gen 7 Screen Replacement: step 20, image 2 of 2
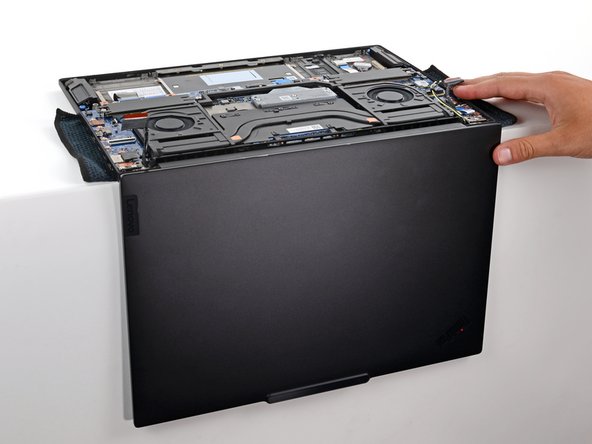
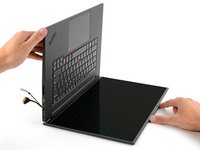
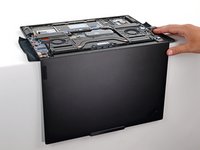
    • Open your laptop 90 degrees and gently place it keyboard side down on a table, so the screen hangs over the edge.

    • Optionally, you can place a soft cloth under your keyboard to protect it.

    Ask FixBot

    Add Comment

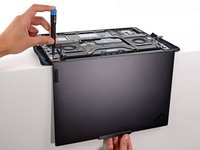
  21. Lenovo ThinkPad P1 Gen 7 Screen Replacement, Remove the screen: step 21, image 1 of 3 Lenovo ThinkPad P1 Gen 7 Screen Replacement, Remove the screen: step 21, image 2 of 3 Lenovo ThinkPad P1 Gen 7 Screen Replacement, Remove the screen: step 21, image 3 of 3
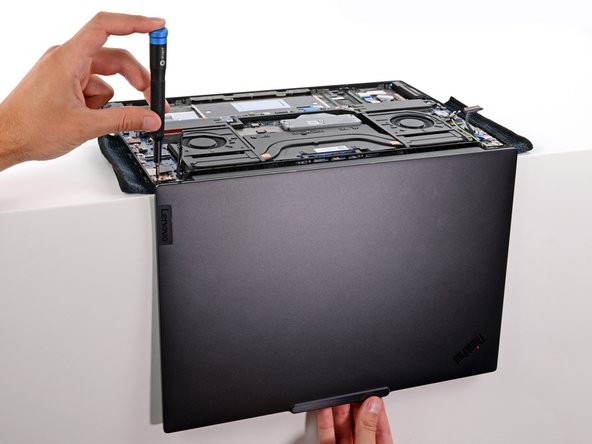
    • Keep a firm grip on your laptop, as it can easily fall off the table.

    • Support the screen with one hand and use your free hand to remove the four 4.4 mm–long Phillips screws securing the hinges.

    Ask FixBot

    Add Comment

  22. Lenovo ThinkPad P1 Gen 7 Screen Replacement: step 22, image 1 of 3 Lenovo ThinkPad P1 Gen 7 Screen Replacement: step 22, image 2 of 3 Lenovo ThinkPad P1 Gen 7 Screen Replacement: step 22, image 3 of 3
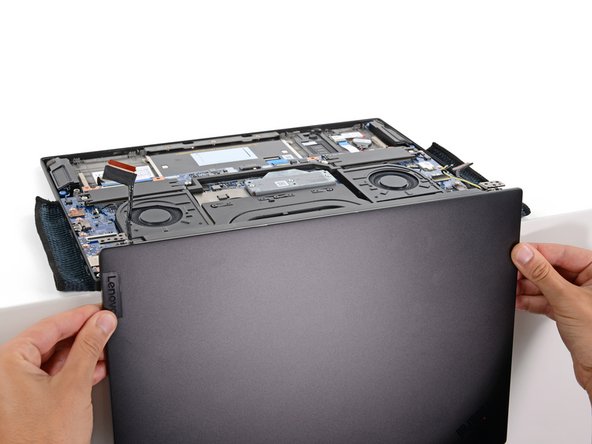
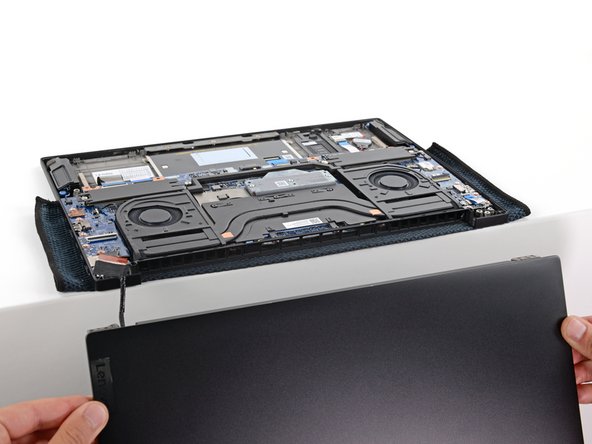
    • Hold the screen with both hands and lift the hinges out of their recesses to remove the screen.

    • During reassembly:

    • Make sure the screen hinges are open 90 degrees and guide them into their recesses in the frame.

    • Install and partially tighten the four hinge screws.

    • Close your laptop and make sure the screen is properly aligned. If it clicks or snaps, readjust the alignment.

    • Fully tighten the hinge screws.

    Ask FixBot

    Add Comment

Conclusion

To reassemble your device, follow these instructions in reverse order.

Take your e-waste to an R2 or e-Stewards certified recycler.

Repair didn’t go as planned? Try some basic troubleshooting, or ask our Answers community for help.


Cancel: I did not complete this guide.

Spencer Day

Member since: 09/14/22

195,148 Reputation

1,243 Guides authored

Team

iFixit Member of iFixit

Staff

122 Members

26,617 Guides authored

0 Guide Comments

Add Comment

View Statistics:

Past 24 Hours: 0

Past 7 Days: 10

Past 30 Days: 82

All Time: 1,267