Free Shipping on Domestic Orders $75+

Lenovo ThinkPad P1 Gen 7 SSD Replacement

What you need

    1. Lenovo ThinkPad P1 Gen 7 SSD Replacement, Turn off your laptop: step 1, image 1 of 3 Lenovo ThinkPad P1 Gen 7 SSD Replacement, Turn off your laptop: step 1, image 2 of 3 Lenovo ThinkPad P1 Gen 7 SSD Replacement, Turn off your laptop: step 1, image 3 of 3
      • Shut down your laptop (don't just put it in sleep mode) and disconnect all cables.

      • Flip the laptop upside-down, and rotate it so the screen hinge faces towards you.

      Ask FixBot

      Add Comment

    2. Lenovo ThinkPad P1 Gen 7 SSD Replacement, Loosen the base cover screws: step 2, image 1 of 1
      • Use a Phillips screwdriver to loosen the six captive screws securing the base cover.

      Ask FixBot

      Add Comment

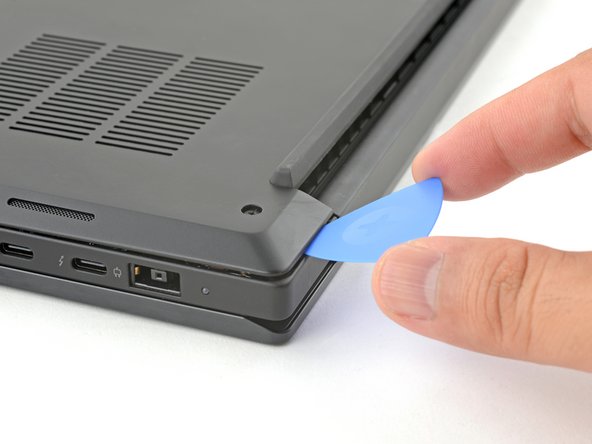
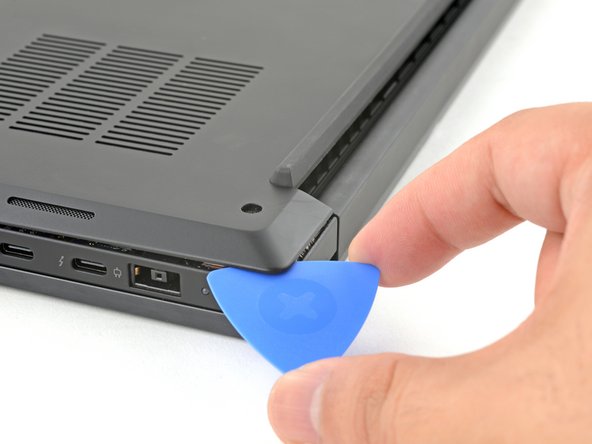
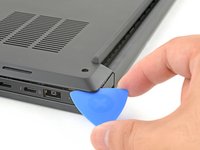
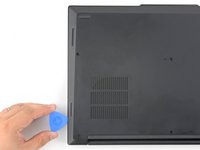
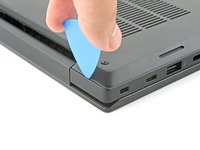
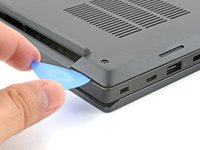
    3. Lenovo ThinkPad P1 Gen 7 SSD Replacement, Loosen the base cover's left side: step 3, image 1 of 3 Lenovo ThinkPad P1 Gen 7 SSD Replacement, Loosen the base cover's left side: step 3, image 2 of 3 Lenovo ThinkPad P1 Gen 7 SSD Replacement, Loosen the base cover's left side: step 3, image 3 of 3
      • Press the tip of an opening pick into the seam between the base cover and the bottom-left corner of the frame (near the screen hinge).

      • It can be tricky to get the pick into the seam for the first time. Angle the pick vertically and press down with firm pressure.

      • Pivot the pick down and slide it around the corner to release the clips.

      Ask FixBot

      Add Comment

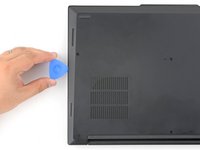
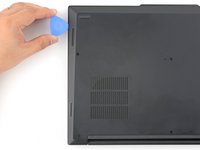
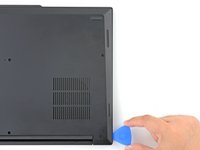
    4. Lenovo ThinkPad P1 Gen 7 SSD Replacement: step 4, image 1 of 3 Lenovo ThinkPad P1 Gen 7 SSD Replacement: step 4, image 2 of 3 Lenovo ThinkPad P1 Gen 7 SSD Replacement: step 4, image 3 of 3
      • Slide the opening pick along the left edge to release the clips securing the cover.

      Ask FixBot

      Add Comment

    5. Lenovo ThinkPad P1 Gen 7 SSD Replacement, Loosen the base cover's right side: step 5, image 1 of 3 Lenovo ThinkPad P1 Gen 7 SSD Replacement, Loosen the base cover's right side: step 5, image 2 of 3 Lenovo ThinkPad P1 Gen 7 SSD Replacement, Loosen the base cover's right side: step 5, image 3 of 3
      • Press the tip of an opening pick into the seam between the base cover and the bottom-right corner of the frame (near the screen hinge).

      • Pivot the pick down and slide it around the corner to release the clips.

      Ask FixBot

      Add Comment

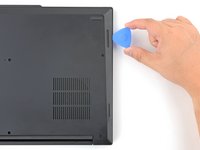
    6. Lenovo ThinkPad P1 Gen 7 SSD Replacement: step 6, image 1 of 2 Lenovo ThinkPad P1 Gen 7 SSD Replacement: step 6, image 2 of 2
      • Slide the opening pick along the right edge to release the clips securing the cover.

      Ask FixBot

      Add Comment

    7. Lenovo ThinkPad P1 Gen 7 SSD Replacement, Remove the base cover: step 7, image 1 of 2 Lenovo ThinkPad P1 Gen 7 SSD Replacement, Remove the base cover: step 7, image 2 of 2
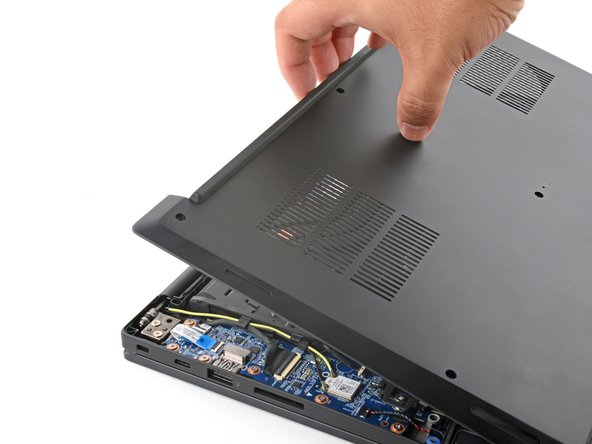
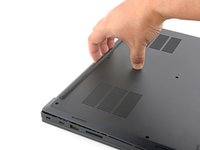
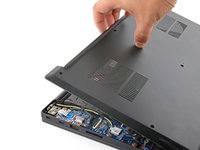
      • Grasp the base cover along the screen hinge edge and pull up to loosen the cover.

      Ask FixBot

      Add Comment

    8. Lenovo ThinkPad P1 Gen 7 SSD Replacement: step 8, image 1 of 2 Lenovo ThinkPad P1 Gen 7 SSD Replacement: step 8, image 2 of 2
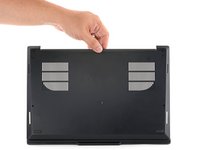
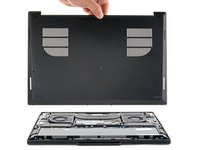
      • Lift and remove the base cover.

      Ask FixBot

      Add Comment

    1. Lenovo ThinkPad P1 Gen 7 SSD Replacement, Loosen the battery screws: step 9, image 1 of 1
      • Because of the battery connector's design, the only way to disconnect the battery is by physically removing it.

      • Use a Phillips screwdriver to loosen the six captive screws securing the battery.

      Ask FixBot

      Add Comment

    2. Lenovo ThinkPad P1 Gen 7 SSD Replacement, Remove the battery: step 10, image 1 of 2 Lenovo ThinkPad P1 Gen 7 SSD Replacement, Remove the battery: step 10, image 2 of 2
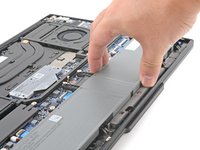
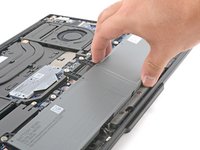
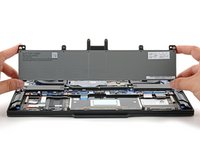
      • Grasp the top edge of the battery and lift to disconnect it.

      • You may feel a little resistance from the battery connector as it disconnects—that's normal.

      Ask FixBot

      Add Comment

    3. Lenovo ThinkPad P1 Gen 7 SSD Replacement: step 11, image 1 of 2 Lenovo ThinkPad P1 Gen 7 SSD Replacement: step 11, image 2 of 2
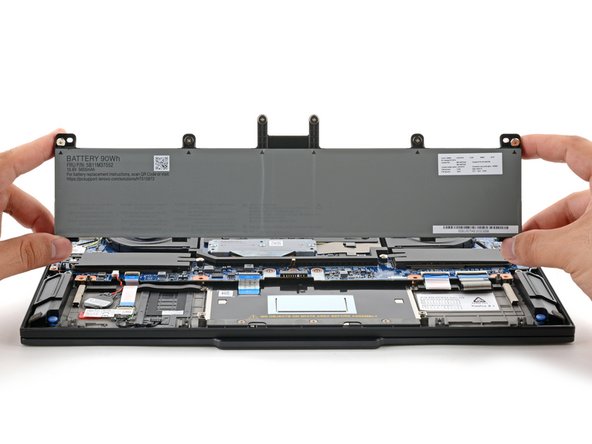
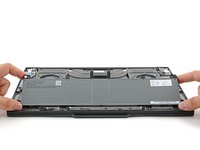
      • Lift and remove the battery.

      Ask FixBot

      Add Comment

    1. Lenovo ThinkPad P1 Gen 7 SSD Replacement, Model differences: step 12, image 1 of 1
      • Depending on the model, your laptop may have two SSD slots. The replacement procedure is the same for both of them.

      Ask FixBot

      Add Comment

    2. Lenovo ThinkPad P1 Gen 7 SSD Replacement, Remove the SSD cover: step 13, image 1 of 1
      • Use a Phillips screwdriver to loosen the two captive screws securing the SSD cover.

      Ask FixBot

      Add Comment

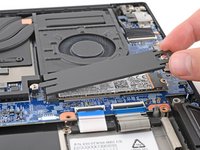
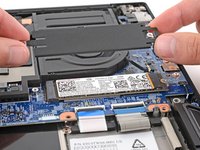
    3. Lenovo ThinkPad P1 Gen 7 SSD Replacement: step 14, image 1 of 3 Lenovo ThinkPad P1 Gen 7 SSD Replacement: step 14, image 2 of 3 Lenovo ThinkPad P1 Gen 7 SSD Replacement: step 14, image 3 of 3
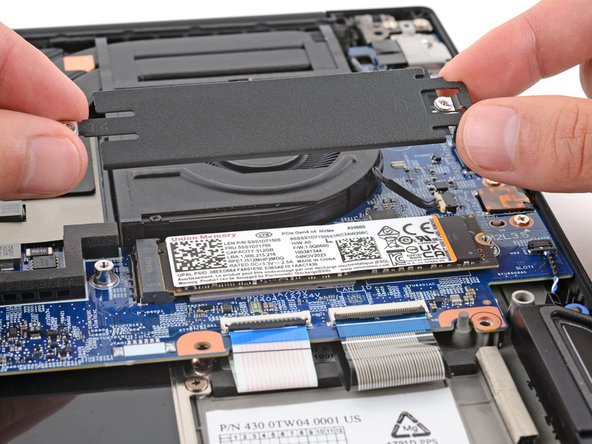
      • Lift and remove the SSD cover.

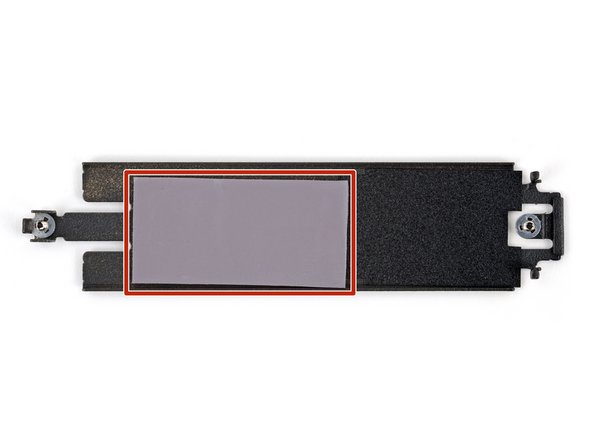
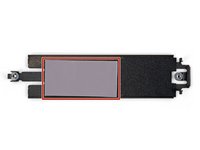
      • You may feel slight resistance, as there's a thin thermal pad between the top of the SSD and the cover.

      • During reassembly:

      • Make sure the bottom of the cover has a thermal pad. If the pad remained intact on top of the old SSD, carefully transfer it to the cover.

      • If you're replacing the pad, make sure the new one is the same thickness as the old pad.

      Ask FixBot

      Add Comment

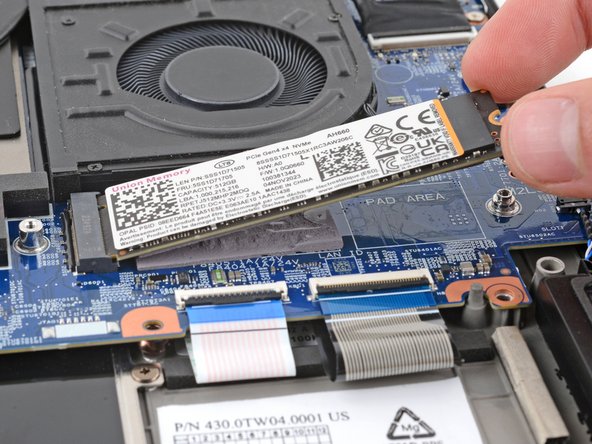
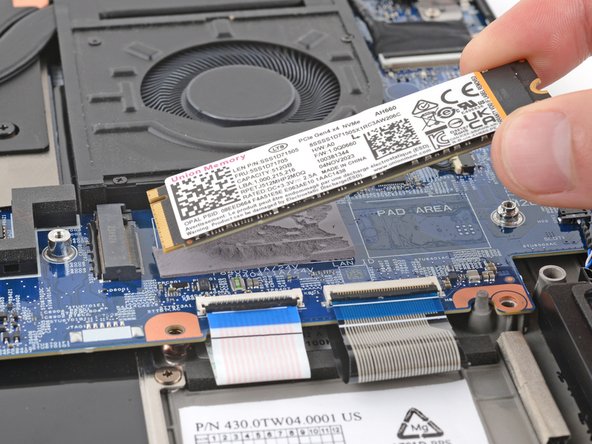
    4. Lenovo ThinkPad P1 Gen 7 SSD Replacement, Remove the SSD: step 15, image 1 of 3 Lenovo ThinkPad P1 Gen 7 SSD Replacement, Remove the SSD: step 15, image 2 of 3 Lenovo ThinkPad P1 Gen 7 SSD Replacement, Remove the SSD: step 15, image 3 of 3
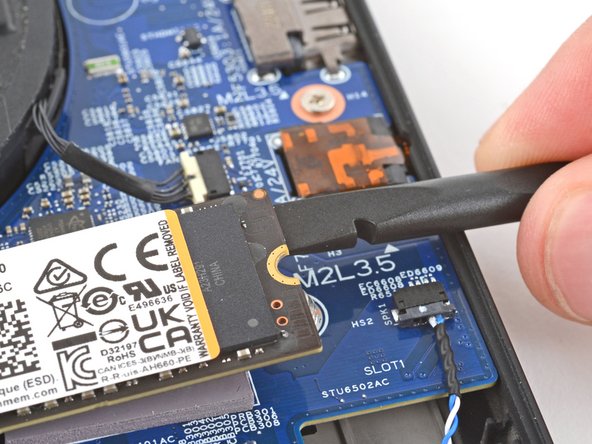
      • Two thermal pads bond the bottom of the SSD to the motherboard. Depending on their age and condition, it may take some force to separate the SSD from the pads.

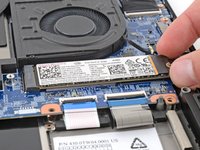
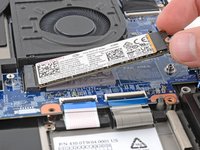
      • Grip the SSD by its edges near the screw notch and lift to separate it from the thermal pads underneath—it should pop up at a slight angle.

      • Lift with gradual force. If the SSD detaches from the pads unexpectedly, you may pull up too hard and damage the socket.

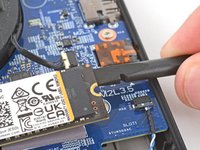
      • If the SSD isn't budging, try using the flat end of a spudger to pry up the edge of the SSD with the screw notch.

      Ask FixBot

      Add Comment

    5. Lenovo ThinkPad P1 Gen 7 SSD Replacement: step 16, image 1 of 2 Lenovo ThinkPad P1 Gen 7 SSD Replacement: step 16, image 2 of 2
      • Grip the SSD by its edges near the screw notch and pull it straight out of its socket.

      Ask FixBot

      Add Comment

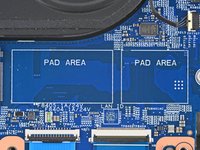
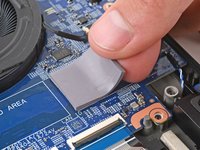
    6. Lenovo ThinkPad P1 Gen 7 SSD Replacement, Thermal pad information: step 17, image 1 of 3 Lenovo ThinkPad P1 Gen 7 SSD Replacement, Thermal pad information: step 17, image 2 of 3 Lenovo ThinkPad P1 Gen 7 SSD Replacement, Thermal pad information: step 17, image 3 of 3
      • Check the condition of the two thermal pads under the SSD and replace them if they're damaged. If a pad remained intact on the bottom of the old SSD, carefully transfer it to its spot on the board.

      • If you're changing the type of SSD (single-sided or double-sided), you'll need to change the pads so they're the proper thickness.

      • To replace a damaged pad:

      • Make sure your new pad is the correct thickness and size. Pad thickness depends on the type of your replacement SSD—2.25 mm for a single-sided SSD and 0.8 mm for a double-sided SSD.

      • Use a spudger or your fingers to carefully remove all of the old pad from the motherboard.

      • Be very careful not to damage any of the small surface-mounted components on the board.

      • Use highly-concentrated (more than 90%) isopropyl alcohol and a lint-free cloth (or coffee filters) to clean up any thermal pad residue.

      • Carefully put the new pad onto the board, making sure it goes into the rectangle marked PAD AREA.

      Ask FixBot

      Add Comment

Conclusion

To reassemble your device, follow these instructions in reverse order.

Take your e-waste to an R2 or e-Stewards certified recycler.

Repair didn’t go as planned? Try some basic troubleshooting, or ask our Answers community for help.

Cancel: I did not complete this guide.

One other person completed this guide.

Spencer Day

Member since: 09/14/22

199,856 Reputation

1,243 Guides authored

Team

iFixit Member of iFixit

Staff

123 Members

78,324 Guides authored

1 Guide Comment

Thanks, good piece. It looks like you are installing the SSD in the second slot. And the text mentions that we should check for a thermal pad in the SSD cover. Is there a thermal pad in that cover when it has not been used before? I will install a Samsung 990 Pro 1 TB drive there and I'd like to know what thermal pads to acquire for this.

arlo247 - Reply Share

Add Comment

View Statistics:

Past 24 Hours: 5

Past 7 Days: 21

Past 30 Days: 91

All Time: 3,123